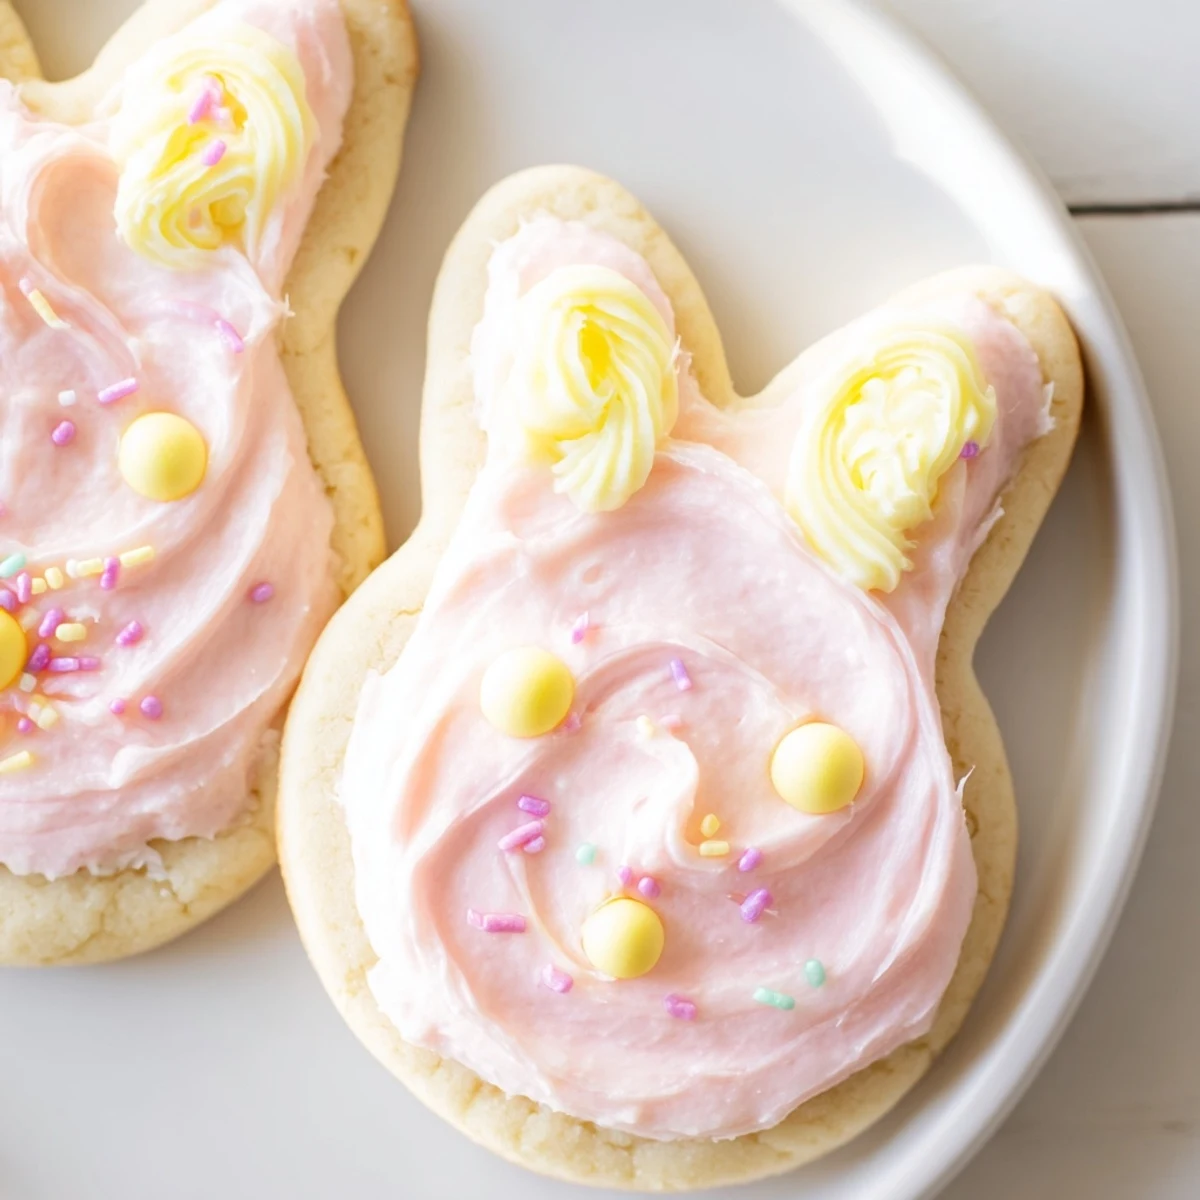
 Pin it
 These delightful bunny-shaped treats feature soft, buttery sugar cookie dough rolled out and cut with a bunny cutter, then baked until golden. The star is the silky buttercream frosting—creamy, smooth, and tinted in soft pastel shades that captures spring's essence. Each bunny gets decorated with candy eyes, chocolate chips, or sprinkles to create charming faces that kids and adults adore.
The dough comes together quickly with basic pantry staples, though chilling time is essential for clean edges. The frosting whips up in minutes and pipes beautifully onto cooled cookies. Make the dough ahead for easier assembly, or involve little ones in the decorating process for a fun holiday activity.
The first time I made these buttercream bunny cookies, my kitchen smelled like vanilla and hope. I'd bought the bunny cutter on impulse during a discount bin raid, and suddenly I had three dozen cookies to frost and no plan. My roommate wandered in, spotted the pastel frosting situation taking over our tiny counter, and asked if we were opening a bakery.
Last Easter, my niece decided every single bunny needed its own personality expressed through frosting swirls and sprinkle placement. We spent two hours piping tiny ears and discussing the emotional lives of cookies. The next day, she told her preschool class that her auntie makes cookies with feelings.
Ingredients
- All-purpose flour: This foundation needs to be measured properly, spooned and leveled rather than scooped directly, to keep cookies tender instead of tough
- Baking powder: Just enough to give these bunnies a subtle lift without losing that classic sugar cookie crunch we all want
- Unsalted butter: Two separate batches needed here, one for the cookie dough and another for that silky buttercream that makes everything better
- Granulated sugar: Creamed thoroughly with butter until the mixture looks pale and fluffy, creating those tiny air pockets that make cookies melt in your mouth
- Powdered sugar: Sift this first unless you enjoy fighting stubborn lumps in your perfectly smooth buttercream frosting
- Pure vanilla extract: Do not skimp here, the real stuff makes these taste like they came from a proper bakery instead of a box
- Food coloring: Gel coloring gives you those gorgeous pastel shades without adding extra liquid that could wreck your frosting consistency
Instructions
- Preheat your oven and prepare your workspace:
- Heat the oven to 350°F and line two baking sheets with parchment paper, because nobody wants to chisel cute bunnies off a bare baking sheet later.
- Whisk the dry ingredients together:
- In a medium bowl, combine the flour, baking powder, and salt until everything is evenly distributed and ready to join the buttery goodness.
- Cream the butter and sugar until fluffy:
- Beat the softened butter and granulated sugar for about 3 minutes until the mixture is pale and airy, creating the foundation for tender cookies that hold their shape.
- Add the egg and vanilla:
- Beat in the egg and vanilla extract until completely incorporated, scraping down the sides of the bowl to catch any escaped butter or sugar.
- Combine wet and dry ingredients:
- Gradually add the flour mixture to the butter mixture, mixing just until the dough comes together and no dry streaks remain.
- Chill the dough for easier handling:
- Divide the dough into two discs, wrap them in plastic, and refrigerate for at least 30 minutes because warm dough spreads into blob bunnies instead of cute bunnies.
- Roll and cut your bunny shapes:
- On a lightly floured surface, roll the dough to 1/4 inch thickness and cut out bunnies, placing them 2 inches apart on your prepared baking sheets.
- Bake until edges are barely golden:
- Bake for 8 to 10 minutes until the edges just start turning golden, because pale centers mean soft, tender cookies that do not crumble when you bite them.
- Prepare the buttercream while cookies cool:
- Beat the softened butter until creamy, then gradually add powdered sugar, milk, and vanilla, mixing until smooth and spreadable.
- Frost and decorate your bunnies:
- Let the cookies cool completely, then pipe or spread the buttercream and add candy eyes or sprinkles to bring these bunnies to life.
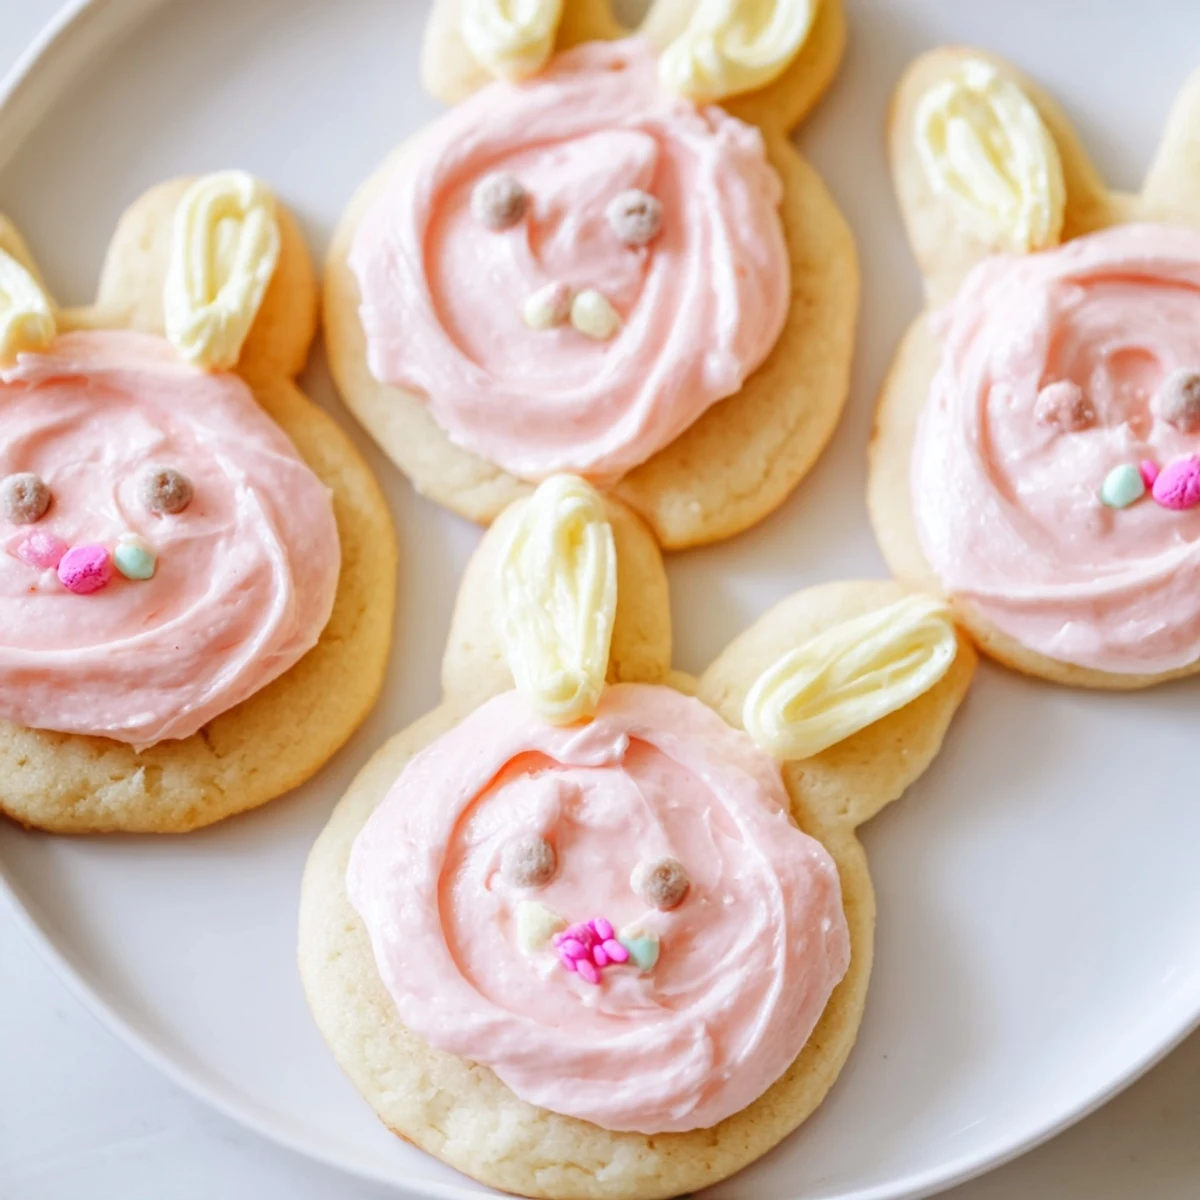 Pin it
 My mom still talks about the year I brought these to our family Easter gathering and her brother accidentally ate three before dinner was even served. He claimed he was just quality testing, but the frosting on his chin told a different story.
Making The Perfect Buttercream
The secret to bakery quality buttercream is beating the butter alone first until it is practically white and creamy. This extra step incorporates air and creates that silky texture that makes people think you spent hours on something that actually comes together in minutes.
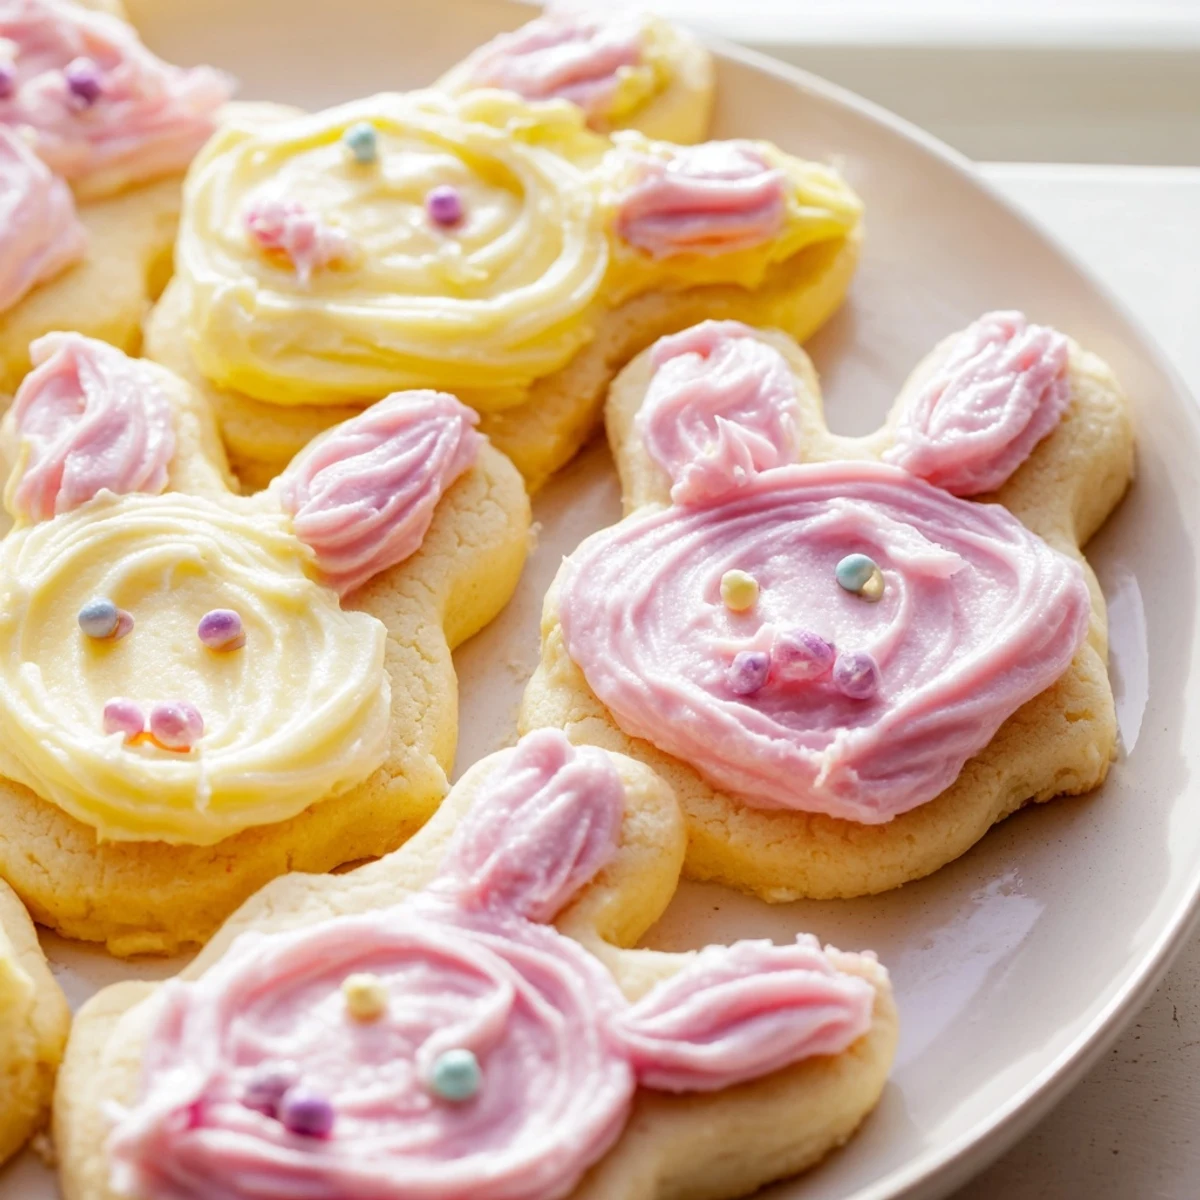
Customizing Your Bunny Crew
Not every bunny needs to be identical and that is what makes them charming. Try piping different frosting colors, experimenting with sprinkle combinations, or giving each bunny its own expression with candy eyes positioned slightly differently.
Storage And Make Ahead Tips
The dough actually improves after chilling overnight, so you can prep everything a day ahead and bake fresh cookies the morning of your event.
- Undecorated cookies stay fresh in an airtight container for up to three days at room temperature
- Frosted cookies last longer when refrigerated, though the texture might change slightly after the first day
- Freeze unfrosted cookies between layers of parchment paper for up to a month, then thaw and frost when needed
 Pin it
 These buttercream bunny cookies have become my go to spring project, turning an ordinary afternoon into something that feels like a tiny celebration. Hope your kitchen fills with flour dust, laughter, and maybe a few taste tested bunnies along the way.
Recipe Questions & Answers
- → How far ahead can I make the bunny cookie dough?
-
The dough can be prepared up to 24 hours in advance and stored wrapped in plastic in the refrigerator. Chilling overnight actually improves the flavor and makes the dough easier to roll out without sticking.
- → What's the best way to store decorated bunny cookies?
-
Store finished treats in an airtight container at room temperature for up to 3 days. If you need longer storage, refrigerate for up to one week. Bring to room temperature before serving for the best texture and flavor.
- → Can I freeze the unbaked bunny-shaped dough?
-
Yes, wrap the dough discs tightly in plastic wrap and then foil, and freeze for up to 3 months. Thaw overnight in the refrigerator before rolling and cutting. The frozen dough may need a few extra minutes to come to workable temperature.
- → What type of food coloring works best for pastel frosting?
-
Gel food coloring delivers the most vibrant pastel shades without thinning the buttercream. Start with a tiny amount and add gradually—gel colors are concentrated, so a little goes far. Liquid coloring can make frosting too soft for detailed piping.
- → How do I prevent the bunny shapes from spreading during baking?
-
Chilling the cut shapes on the baking sheet for 10-15 minutes before baking helps maintain their definition. Also avoid over-creaming the butter and sugar, which incorporates too much air and causes spreading. Using a reliable buttercream consistency helps too.
- → Can I make these treats without a bunny-shaped cutter?
-
Absolutely! Use any seasonal cutter you have, or simply cut into rounds and decorate with bunny faces using frosting dots, candy ears, and other decorations. The taste remains the same regardless of shape.
