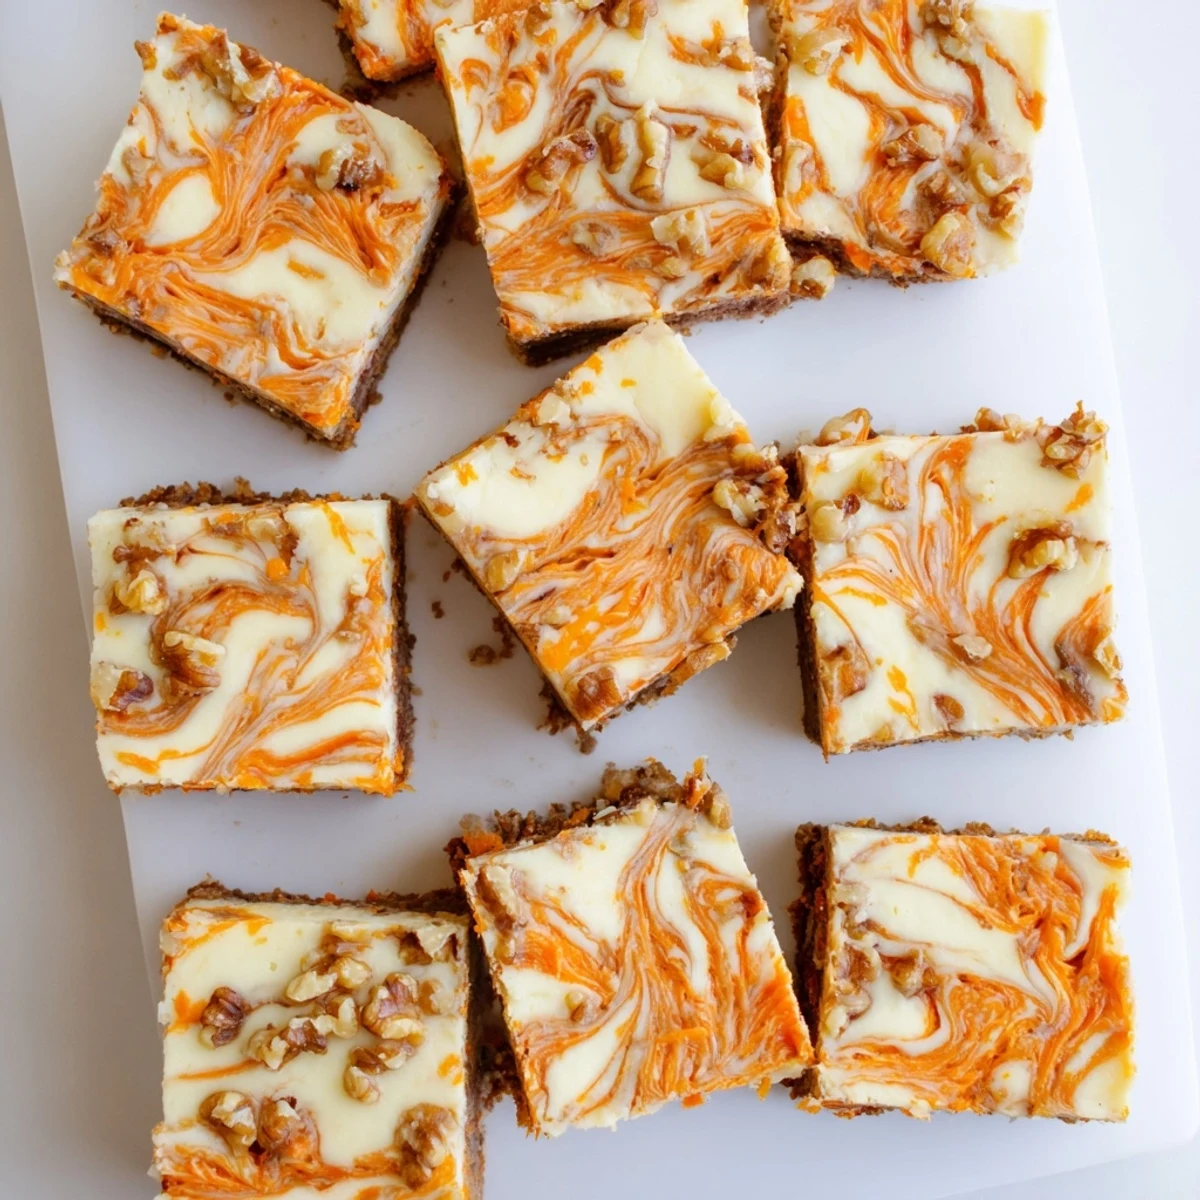
 Pin it
 These swirled bars combine the best of both worlds — moist, warmly spiced carrot cake batter and rich, tangy cream cheese filling. The marbled pattern creates beautiful presentation while the contrasting textures — from tender grated carrots and optional crushed pineapple to smooth cheesecake — make every bite interesting.
What makes these bars special is the swirl technique: most of the carrot cake batter forms the base, then cream cheese mixture gets layered on top, followed by dollops of remaining cake batter. A quick knife swirl creates that gorgeous marble pattern. The bars need to chill completely before slicing for clean edges.
Optional ingredients like crushed pineapple add moisture and sweetness, while chopped walnuts or pecans provide satisfying crunch. The result is a handheld dessert that's less fussy than a full cake but just as impressive.
The first time I made these bars, it was actually a mistake. I'd planned to make a layered cake but ran out of pans, so I threw everything together in one square dish and crossed my fingers. When that marble pattern came out of the oven, my kitchen smelled like cinnamon and cream cheese heaven, and I knew this happy accident was staying in the rotation.
My neighbor Susan practically begged me for the recipe after I brought these over for a spring garden party last year. She texted me at 11pm that same night saying she'd eaten three bars standing at her counter and didnt regret a single bite.
Ingredients
- All-purpose flour: The backbone that gives structure to the moist carrot cake layer
- Baking powder and soda: These work together to create that tender, airy crumb texture
- Salt: Just enough to make all those warm spices sing
- Ground cinnamon and nutmeg: The classic spice combo that makes carrot cake taste like home
- Light brown sugar: Adds moisture and a subtle caramel depth
- Granulated sugar: Provides sweetness and helps create a slightly crispy top edge
- Eggs: Bind everything together and contribute to the bars richness
- Vegetable oil: Keeps the cake incredibly moist, unlike butter which can firm up when chilled
- Vanilla extract: Dont skimp here, it rounds out all the flavors beautifully
- Finely grated carrots: The star of the show, providing sweetness, moisture, and texture
- Crushed pineapple: Optional but adds extra moisture and a tropical sweetness that people wont be able to identify
- Chopped walnuts or pecans: For that satisfying crunch throughout every bite
- Cream cheese: Use it fully softened so your cheesecake layer transforms into silky perfection
Instructions
- Get your oven ready:
- Preheat to 350°F and line an 8x8 pan with parchment paper, letting the edges hang over like handles. This will save your life when it comes time to lift the bars out later.
- Whisk the dry team:
- In a medium bowl, combine flour, baking powder, baking soda, salt, cinnamon, and nutmeg until well blended. This ensures even distribution of leavening and spices.
- Make the carrot cake batter:
- Whisk both sugars, eggs, oil, and vanilla until smooth. Fold in the carrots, pineapple, and nuts, then gently stir in the dry ingredients until just combined.
- Prepare the cream cheese layer:
- Beat the softened cream cheese until completely smooth, then add sugar, egg, and vanilla. Keep mixing until no lumps remain and the mixture is glossy and creamy.
- Layer and swirl:
- Spread two-thirds of the carrot batter in your pan. Pour the cream cheese mixture over it, then dollop the remaining carrot batter on top. Use a knife to swirl gently for that gorgeous marble effect.
- Bake until perfect:
- Bake for 38 to 42 minutes until a toothpick comes out mostly clean. Cool completely in the pan, then chill for 2 hours for the cleanest slices.
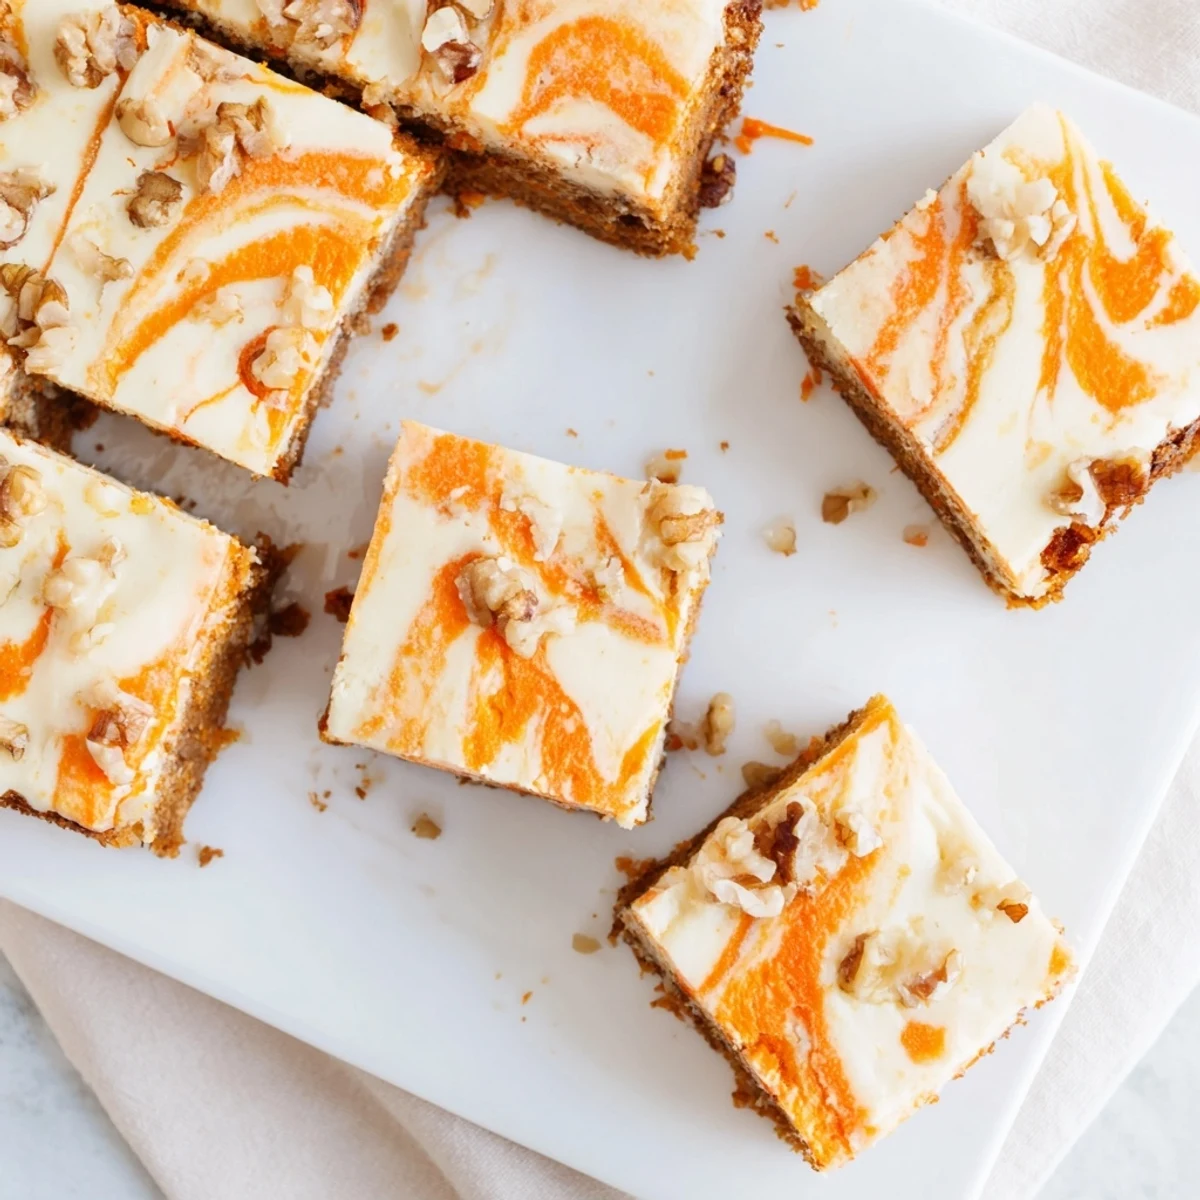 Pin it
 These bars became my go-to contribution for family reunions after my grandmother asked for seconds and then thirds. Theres something about the combination of textures and flavors that makes people pause and close their eyes for just a moment.
Making Ahead
I actually prefer making these the day before serving. The flavors meld together beautifully overnight, and the bars become easier to slice cleanly when fully chilled. Plus, it means one less thing to worry about on party day.
Storage Secrets
Keep these bars in the refrigerator, tightly covered, for up to four days. The cream cheese layer stays perfectly creamy and the cake remains impossibly moist. I've also frozen whole uncut pans wrapped in plastic and foil, then thawed overnight in the fridge with great success.
Serving Suggestions
Serve them slightly chilled so the cream cheese layer has that luxurious cool-cream texture against the spiced cake. A light dusting of powdered sugar right before serving makes them look bakery beautiful.
- Skip the nuts if you're serving anyone with allergies without sacrificing flavor
- Try adding shredded coconut to the carrot cake layer for a tropical twist
- These pair incredibly well with a cup of hot coffee or cold milk
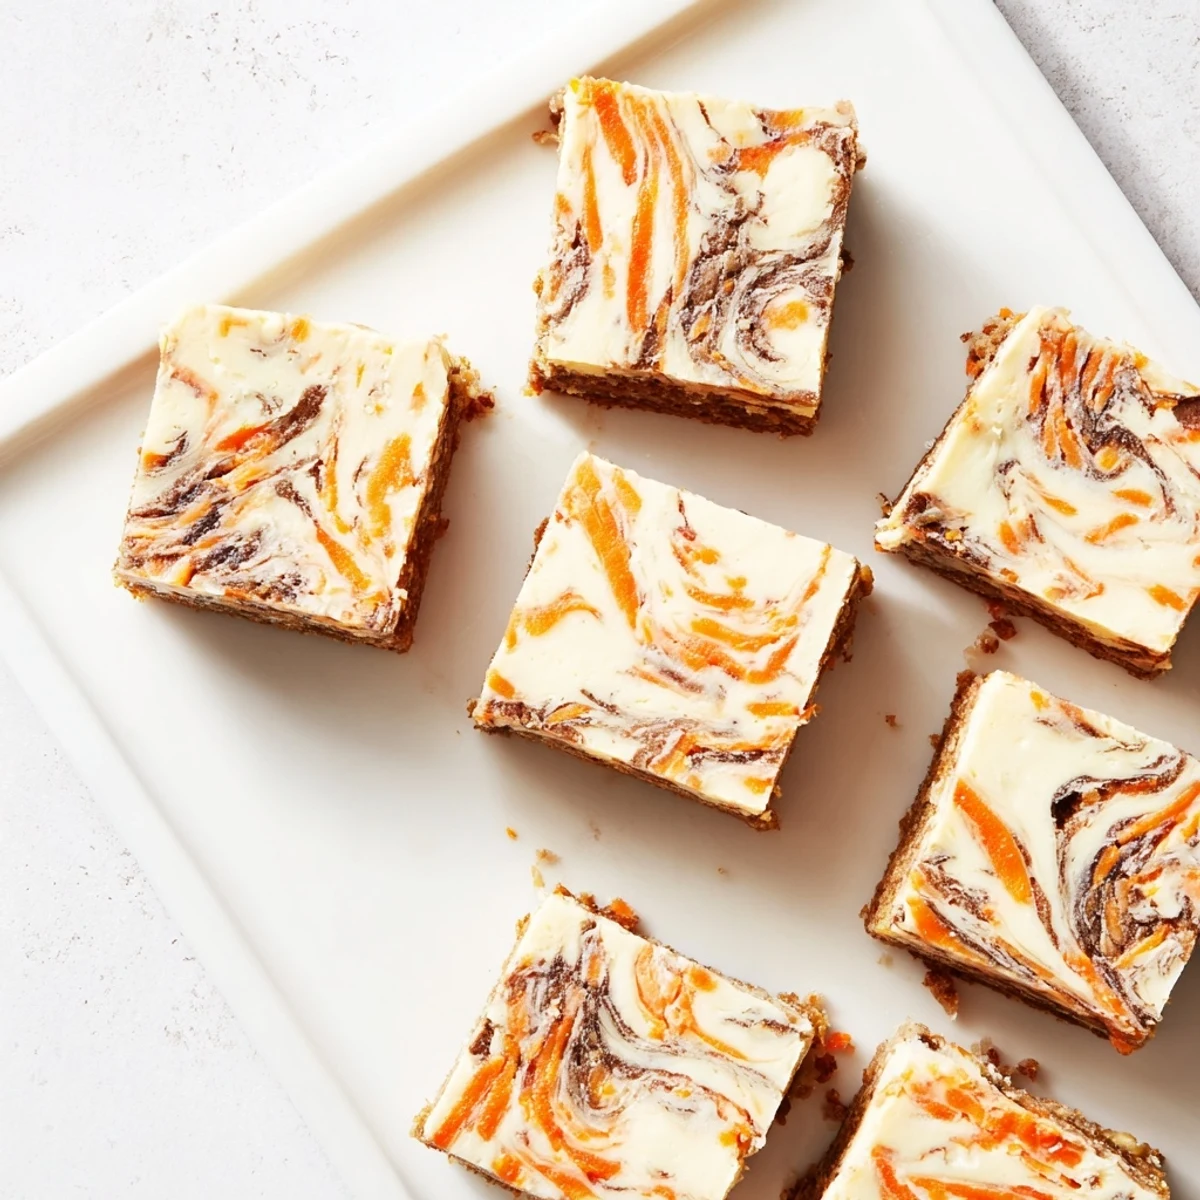 Pin it
 Every time I pull these from the oven, that cinnamon-vanilla fragrance fills the whole house and somehow pulls everyone into the kitchen. They're the kind of treat that turns an ordinary Tuesday into something worth celebrating.
Recipe Questions & Answers
- → Can I make these bars ahead of time?
-
Yes, these bars actually taste better after chilling. They can be stored in the refrigerator for up to 4 days, making them perfect for preparing a day before your gathering.
- → Why is chilling necessary before cutting?
-
Chilling for at least 2 hours helps the cream cheese layer set completely, which ensures clean slices without the filling smearing or the bars crumbling.
- → Can I freeze these bars?
-
Absolutely. Wrap individual bars in plastic wrap and freeze for up to 3 months. Thaw overnight in the refrigerator for best texture.
- → What's the purpose of pineapple in the batter?
-
Crushed pineapple adds natural sweetness and extra moisture to the carrot cake layer, keeping the bars tender. It's optional but highly recommended.
- → Can I use different nuts?
-
Walnuts and pecans work best, but you can substitute with toasted almonds or leave them out entirely for a nut-free version suitable for those with allergies.
- → How do I know when they're done baking?
-
Insert a toothpick in the center — it should come out mostly clean with just a few moist crumbs. The edges should be slightly golden and set.
