 Pin it
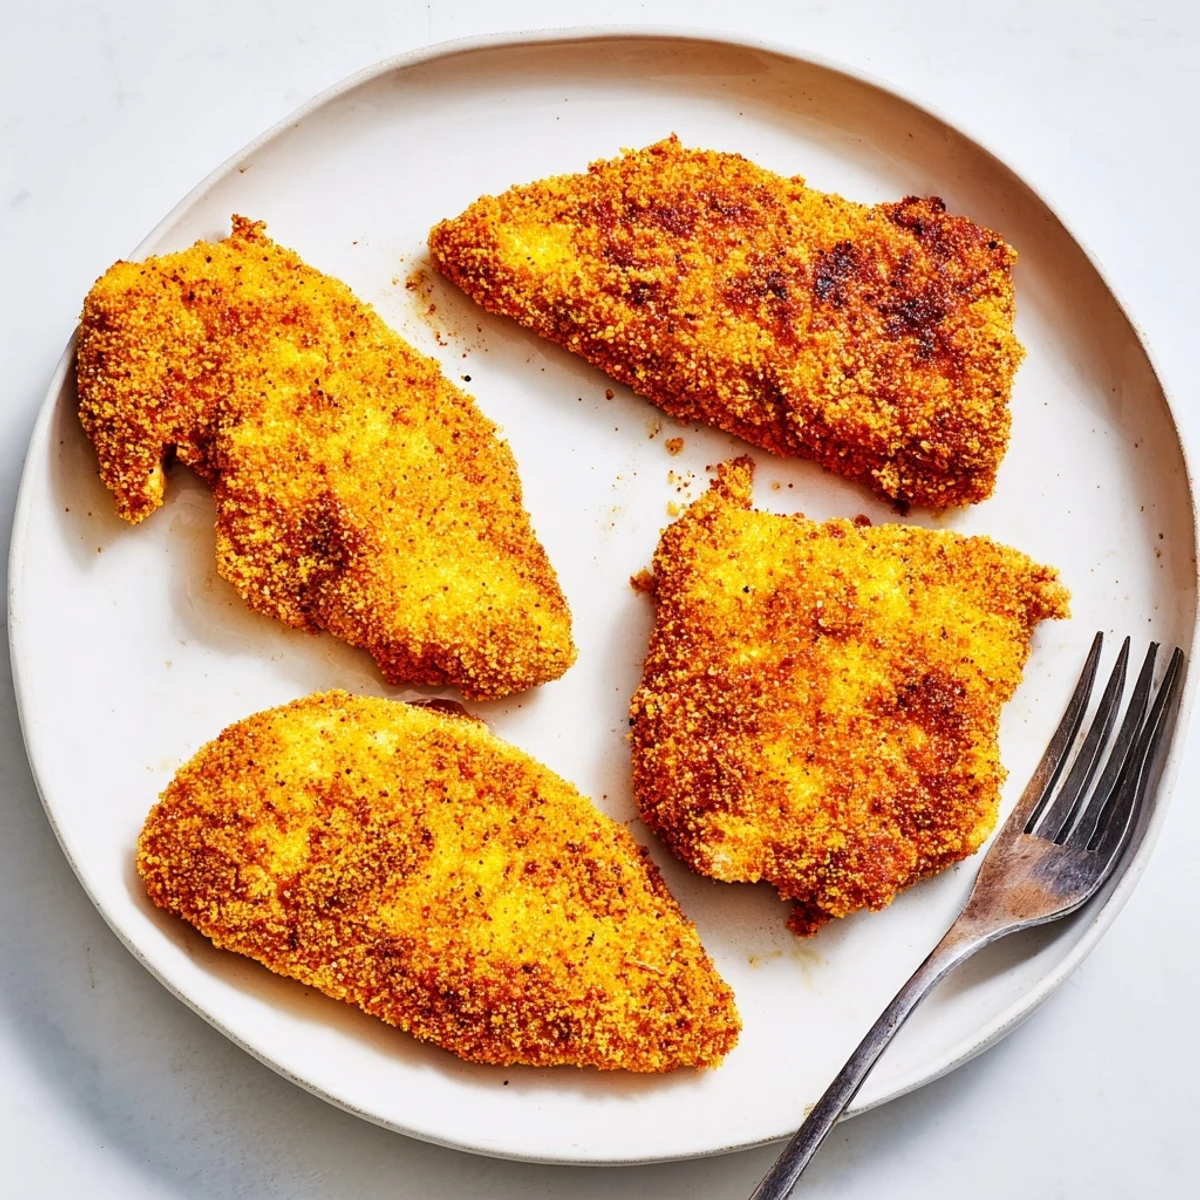
 These chicken breasts deliver restaurant-quality crunch with a tender, juicy center. The buttermilk marinade ensures moisture while the spiced flour coating creates that irresistible golden crust. Perfect for weeknight dinners, this American classic comes together in just 30 minutes and serves four hungry people beautifully.
There is something about the sound of chicken hitting hot oil that makes everyone in my house suddenly appear in the kitchen, hovering near the stove with plates already in hand. It does not matter what else is going on. That sizzle is a magnet. Fried chicken breast was one of the first things I learned to make without a recipe, guided mostly by stubbornness and a very patient grandmother who believed measuring cups were for people who lacked confidence.
One Sunday my cousin walked in right as I was pulling the first golden breast out of the pan and she stood over the wire rack eating it bare handed, burning her fingers, refusing to wait even five minutes for it to rest. That is the kind of loyalty this recipe inspires.
Ingredients
- 4 boneless, skinless chicken breasts: Pounding them to an even thickness is the single most important step, because otherwise the thin end dries out before the thick part cooks through.
- 1 cup buttermilk: If you do not have any on hand, add a tablespoon of lemon juice or white vinegar to regular milk and let it sit for five minutes.
- 1 teaspoon salt plus 1/2 teaspoon black pepper for marinade: These get absorbed directly into the meat during soaking, so do not skimp.
- 1/2 teaspoon garlic powder: It disperses more evenly than fresh garlic in a marinade and will not burn during frying.
- 1 1/2 cups all-purpose flour: This forms the crust structure, and you want enough in the bowl to really press the coating onto each piece.
- 1 teaspoon paprika: Adds a subtle sweetness and helps the breading turn that beautiful amber color.
- 1/2 teaspoon cayenne pepper: Not enough to make it spicy, just enough to give the coating a gentle warmth at the back of your throat.
- 1 teaspoon onion powder: Works in the background to deepen the savory flavor of the breading without competing with the paprika.
- 1 teaspoon salt plus 1/2 teaspoon black pepper for breading: Seasoned flour is your last chance to build flavor before the chicken hits the oil.
- Vegetable oil for frying: You need about two cups, poured to roughly half an inch depth in your pan so the chicken fries rather than steams.
Instructions
- Flatten the chicken:
- Place each breast between two sheets of plastic wrap and use a meat mallet or rolling pin to gently pound them to about half an inch thick, working from the center outward so you do not tear the meat.
- Soak in buttermilk:
- Whisk together the buttermilk, salt, black pepper, and garlic powder in a wide bowl, then submerge the pounded chicken completely and let it soak for at least thirty minutes or cover and refrigerate overnight for the best results.
- Build the seasoned flour:
- In a separate shallow bowl or rimmed plate, combine the flour, paprika, cayenne, onion powder, salt, and black pepper, whisking until the color looks evenly speckled throughout.
- Heat the oil:
- Pour vegetable oil into a large skillet to about half an inch deep and set it over medium high heat until it reaches 350 degrees Fahrenheit, which you can test by flicking in a tiny pinch of flour to see if it sizzles immediately.
- Coat the chicken:
- Lift each breast from the buttermilk, let the excess drip back into the bowl, then lay it in the flour and press firmly on both sides so the coating packs on thick and there are no bare wet spots.
- Fry until golden:
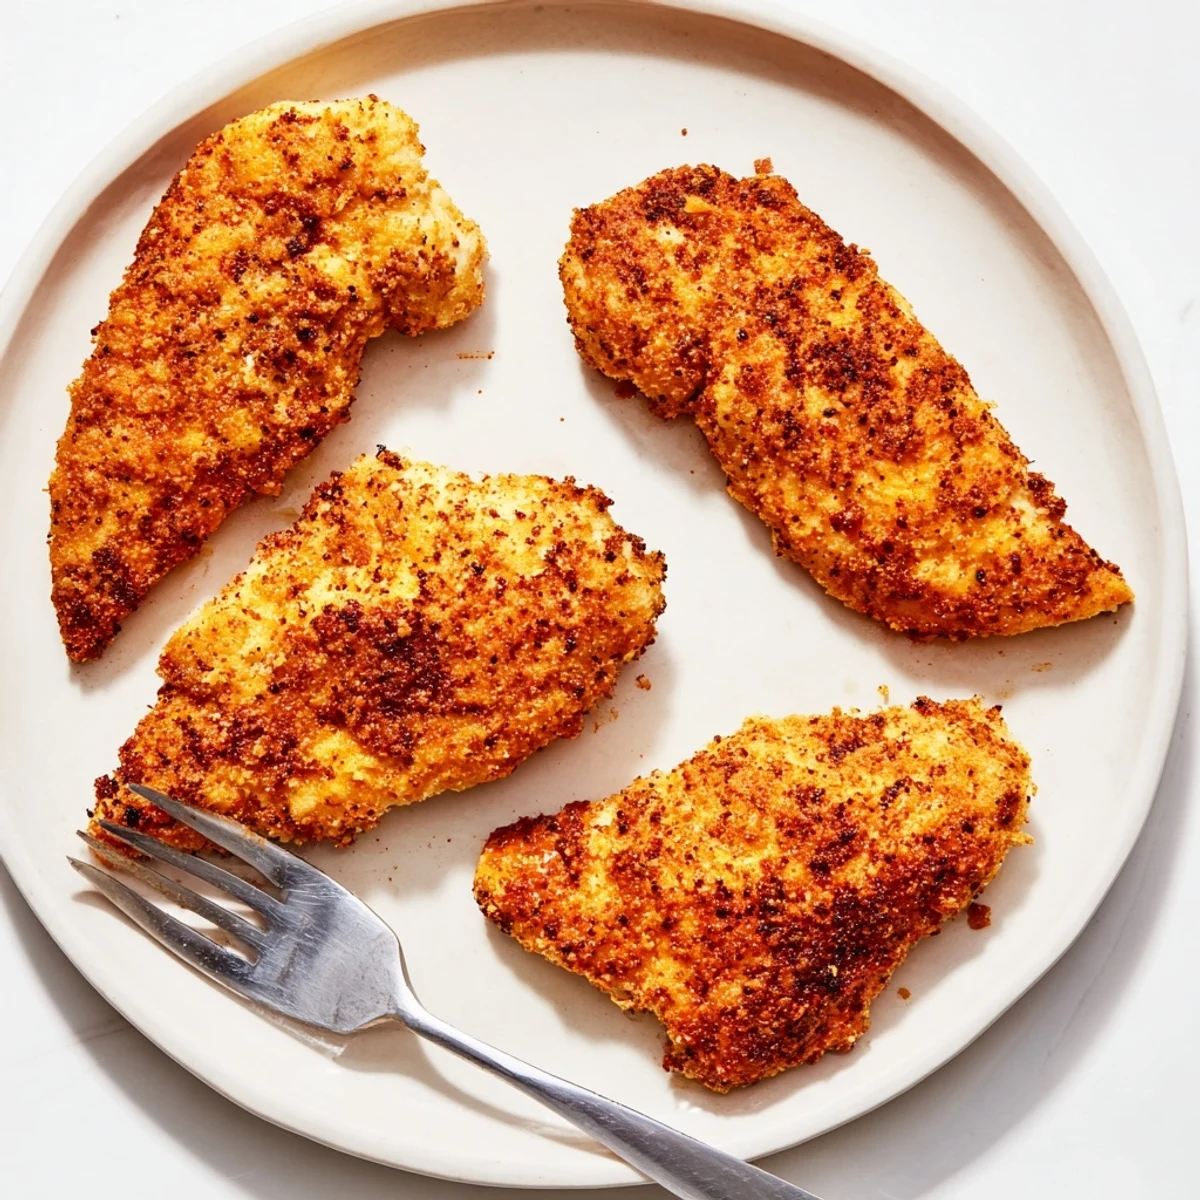
- Carefully lower the coated chicken into the hot oil, working in batches if needed to avoid crowding, and fry for six to seven minutes per side until the crust is deep golden and the internal temperature reads 165 degrees Fahrenheit.
- Rest before serving:
- Transfer the fried chicken to a wire rack set over a baking sheet or to a paper towel lined plate and let it rest for five minutes so the juices redistribute and the crust firms up.
 Pin it
 There was a night I made this for a house full of friends during a rainstorm and nobody spoke for a full ten minutes because everyone was too busy eating, which remains the highest compliment I have ever received as a cook.
What to Serve Alongside It
Mashed potatoes with plenty of butter are the obvious choice and honestly hard to beat, but a crunchy vinegar slaw cuts through the richness in a way that keeps you reaching for another piece. Biscuits on the side never hurt anyone either.
Making It Ahead
You can soak the chicken in buttermilk overnight, which actually improves the texture and means dinner comes together in under twenty minutes the next day. The breaded, uncooked breasts also freeze well on a sheet pan before being transferred to a bag for up to three months.
Troubleshooting Common Problems
The most frequent issue is the coating peeling off during frying, which almost always means the oil was not hot enough or the chicken was too wet when you dredged it. Patience and a reliable thermometer solve nearly everything.
- If the crust is browning too fast but the center is still pink, lower the heat slightly and cover the pan with a lid for one minute to trap steam and finish cooking the interior.
- For a thicker crunch, try the double dip method by running the breaded chicken back through the buttermilk and flour one more time before frying.
- Always let the chicken rest on a wire rack rather than a flat plate so air circulates underneath and the bottom crust stays crispy.
 Pin it
 Fried chicken breast is never going to be fancy and that is exactly why it is perfect. It is honest, hands on food that rewards you with a sound, a smell, and a crunch that makes everyone happy to be in your kitchen.
Recipe Questions & Answers
- → How do I get the crispiest coating?
-
Double-dip by returning the chicken to the marinade, then coating again in the flour mixture. This creates an extra-thick, crunchy layer that stays crisp longer.
- → Can I use chicken thighs instead?
-
Absolutely. Boneless thighs work wonderfully and stay even juicier. Adjust cooking time to 8-10 minutes per side depending on thickness.
- → What oil temperature is best?
-
Maintain 350°F (175°C). Too cool and the coating gets soggy; too hot and it burns before the chicken cooks through. Use a thermometer for accuracy.
- → Can I make this gluten-free?
-
Yes, substitute the all-purpose flour with a 1:1 gluten-free flour blend. The coating texture remains excellent, though it may brown slightly faster.
- → How long should I marinate?
-
Minimum 30 minutes for flavor, but overnight marinating in the refrigerator makes the chicken exceptionally tender and flavorful throughout.
- → How do I know when it's done?
-
The coating should be deep golden brown, and an instant-read thermometer inserted into the thickest part should read 165°F (74°C).
