 Pin it
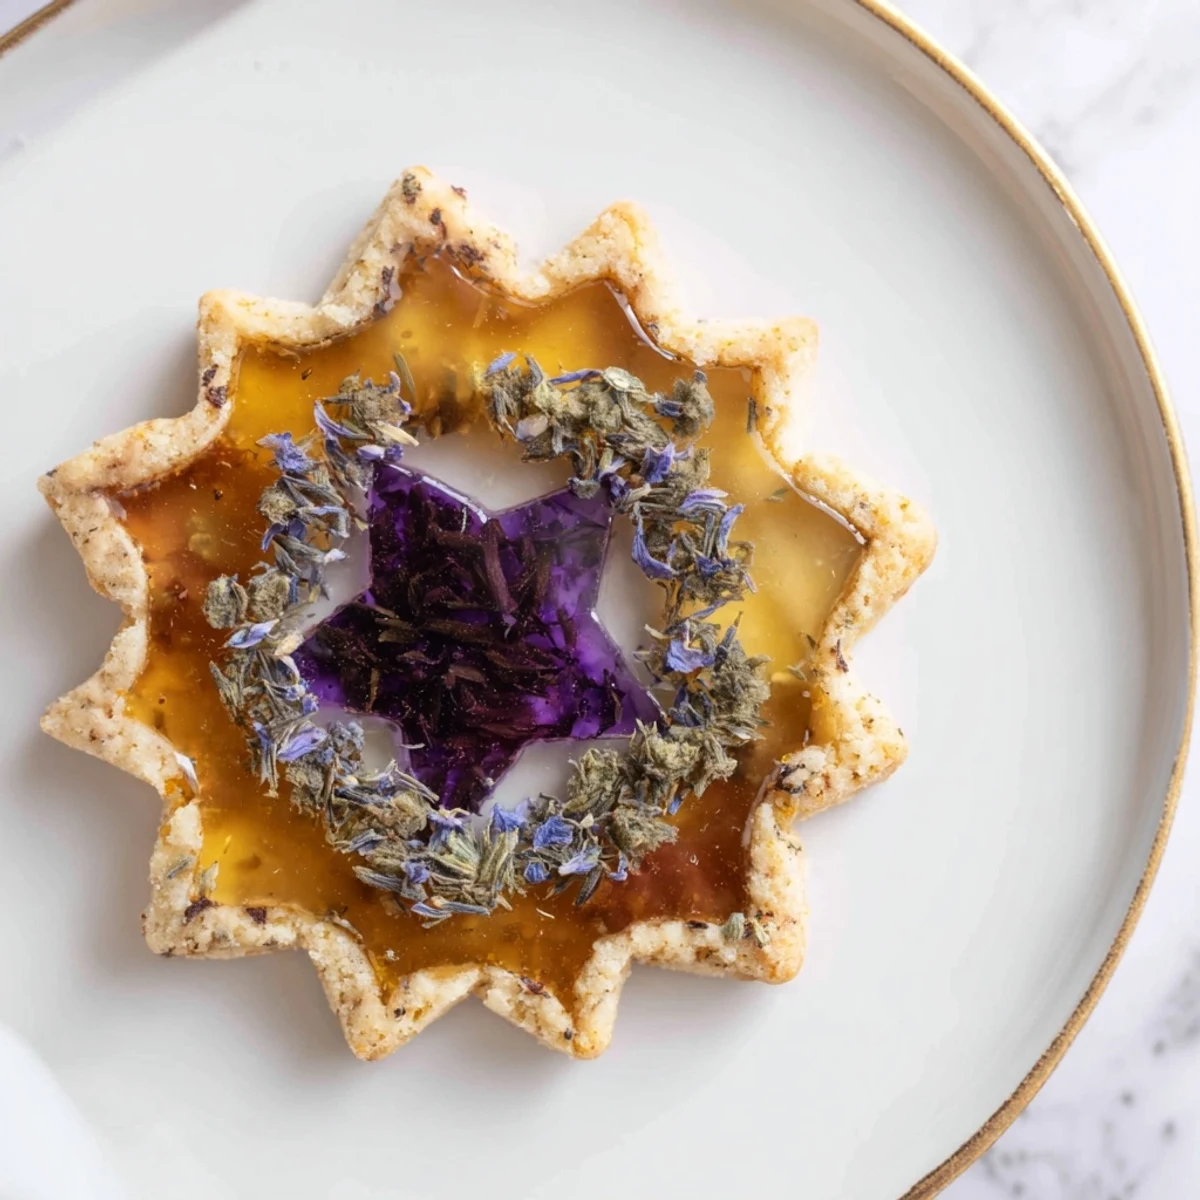
 These elegant cookies combine the aromatic sophistication of Earl Grey tea with a mesmerizing stained glass technique. The dough features finely ground tea leaves blended with gluten-free flours, creating a subtly fragrant base. Center cutouts are filled with crushed vegan hard candies that melt during baking to form translucent jewel-like windows, while delicate edible flowers are pressed into the surface for botanical artistry. The result produces 18–20 sophisticated treats perfect for afternoon gatherings, tea parties, or celebrations.
The afternoon sunlight hit my kitchen counter just right when I first pulled these cookies from the oven, and I actually gasped at how the light caught those translucent candy centers like tiny cathedral windows. I'd been experimenting with stained glass cookies for years, but adding Earl Grey and edible flowers felt like discovering something completely new and unexpected.
My sister-in-law showed up unexpectedly last spring while I was testing this recipe, and she stood in my kitchen watching the candy melt through the oven door like we were both five years old again. We ate them warm with tea while rain tapped against the window, and she made me promise to write down exactly what I'd done.
Ingredients
- Gluten-free all-purpose flour blend: This creates the structural foundation that holds everything together while staying tender
- Almond flour: Adds essential fat and a subtle nuttiness that bridges the gap between tea flavors and sweet candy centers
- Earl Grey tea bags: Grinding these directly into the flour infuses every bite with that distinctive citrusy bergamot aroma
- Baking powder: Just enough lift to keep these from becoming tough little discs without making them spread too thin
- Fine sea salt: A crucial pinch that wakes up all the other flavors and keeps the sweetness from becoming cloying
- Organic granulated sugar: Provides the crisp edges we want while still allowing the centers to stay slightly chewy
- Vegan butter: Creates that perfect buttery richness and helps the cookies hold their shape during the tricky stained glass process
- Unsweetened plant milk: Just enough moisture to bring the dough together without making it sticky or unworkable
- Maple syrup: Adds a deep caramel note that plays beautifully with both the tea and candy flavors
- Pure vanilla extract: Rounds everything out and ties the floral elements together with something familiar and comforting
- Vegan hard candies: These create the actual stained glass effect so choose colors that will look stunning when held to light
- Edible dried flowers: The finishing touch that makes these look like something from a fancy patisserie window
Instructions
- Preheat and prepare your baking space:
- Get your oven to 350°F (175°C) and line two baking sheets with parchment paper, knowing this preparation will save you from frustration later.
- Infuse your flour with Earl Grey magic:
- Cut open those tea bags and grind the contents into a fine powder, then whisk it with both flours, baking powder, and salt in a medium bowl until combined.
- Build a creamy butter base:
- Cream your vegan butter and sugar until fluffy and pale, then stir in the plant milk, maple syrup, and vanilla until everything is smooth and incorporated.
- Bring the dough together:
- Gently fold the dry ingredients into the wet mixture, mixing just until a soft dough forms, and pop it in the fridge for 15 minutes if it feels too sticky to handle.
- Roll and cut your windows:
- Lightly flour your surface with gluten-free flour and roll the dough to 1/4 inch thickness, then use a large cutter for the outer shape and a smaller one to create that center window.
- Create the stained glass effect:
- Carefully transfer cookies to your prepared trays and fill each cut-out center with 1-2 teaspoons of crushed candy, sprinkling a few edible flowers on top and pressing gently so they stick.
- Bake until the magic happens:
- Slide them into the oven for 9-11 minutes, watching as the candy melts into those gorgeous translucent pools while edges turn just golden.
- Exercise patience during cooling:
- Let these cool completely on the baking sheets because that candy center needs to harden again before you can move them without cracking.
 Pin it
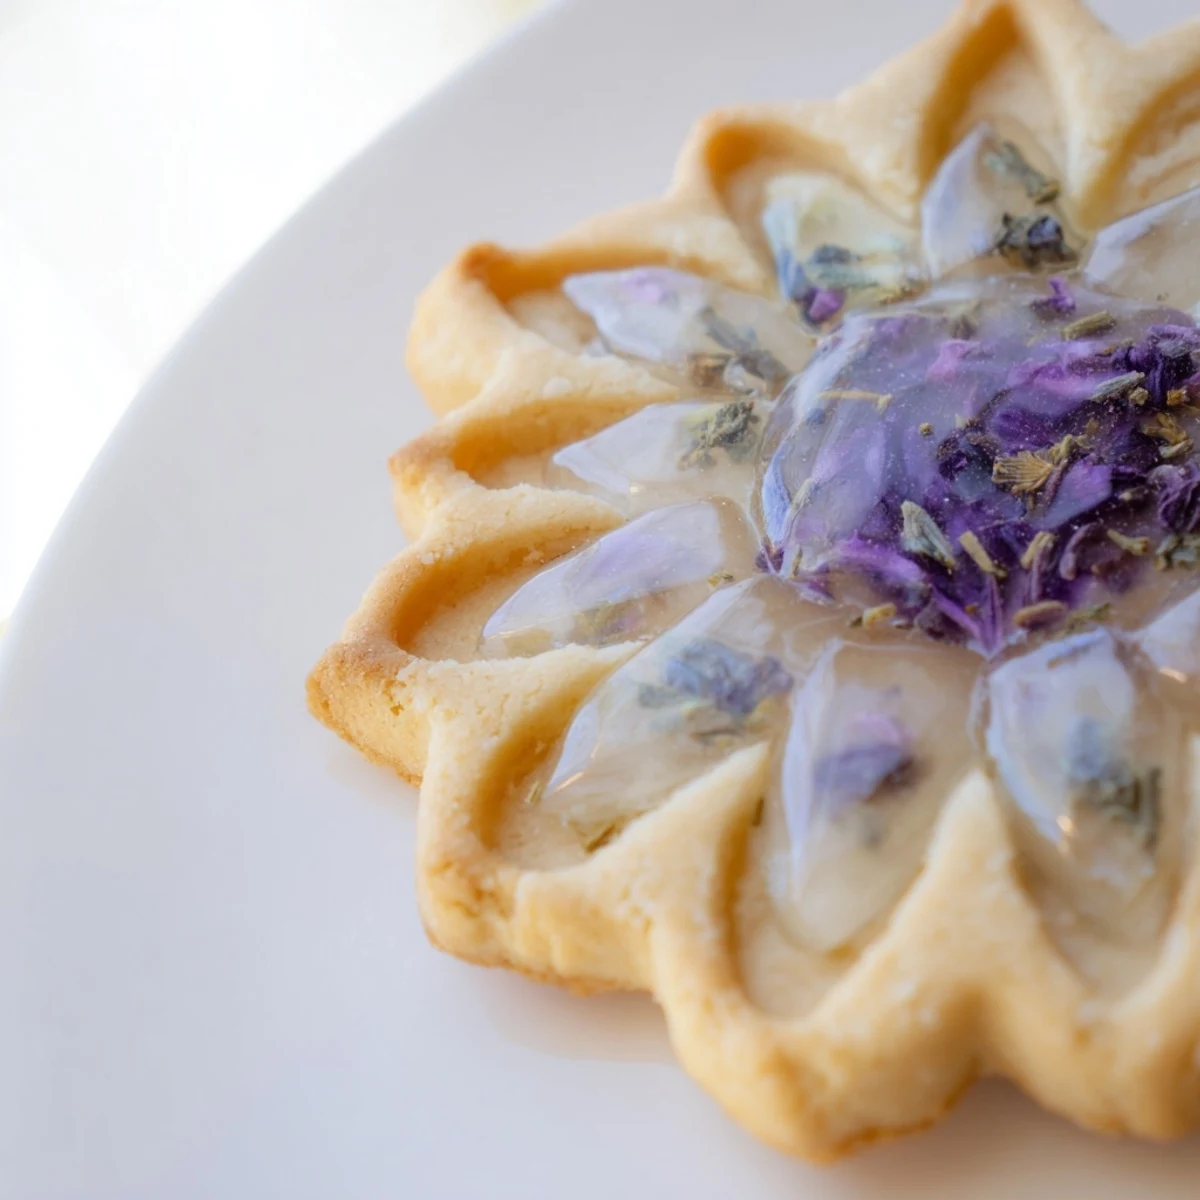
 These became my go-to gift for friends who need a little pick-me-up because they are impossibly pretty but also genuinely delicious. Something about holding them up to the light makes people pause and forget their troubles for just a moment.
Choosing Your Candy Colors
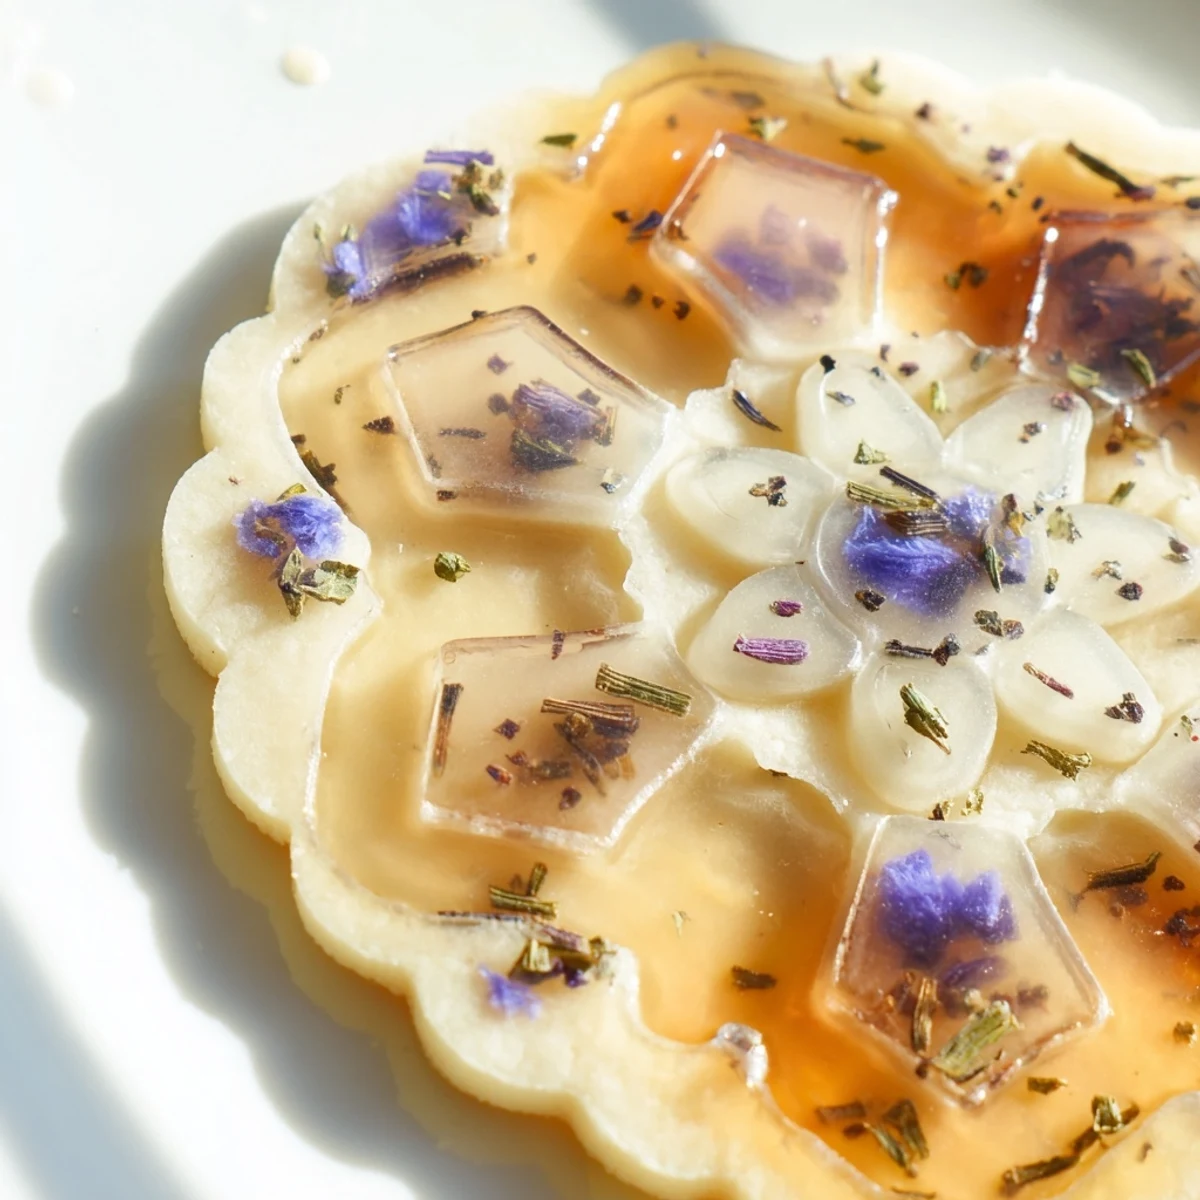
I've learned that translucent candies work best for that authentic stained glass look, so avoid opaque or cream-centered options. Think about color combinations that will complement the Earl Grey flavor—soft lavenders, pale pinks, and clear yellows feel particularly elegant.
Working with Edible Flowers
Not all flowers sold as edible are actually food-safe, so purchase from reputable suppliers specifically meant for culinary use. I've learned that delicate petals like rose and cornflower hold up better in the hot candy than more substantial blooms.
Making These Ahead
You can actually prep the dough balls and freeze them for up to a month, then thaw and roll when the mood strikes. The stained glass centers will stay translucent for days if stored properly.
- Place parchment between stacked cookies to prevent them from sticking together
- Keep these away from humidity or the candy centers will become tacky and lose their shine
- A glass container shows them off beautifully while protecting fragile flowers
 Pin it
 There is something deeply satisfying about making food that is also art, even if it is just for a Tuesday afternoon tea with yourself. Enjoy every moment of holding your creation up to the light.
Recipe Questions & Answers
- → What creates the stained glass effect?
-
Crushed vegan hard candies melt during baking to form translucent jewel centers that harden when cooled, creating the stained glass appearance.
- → Which flowers work best?
-
Edible options like rose petals, cornflowers, violets, and lavender provide both visual appeal and subtle complementary flavors to the Earl Grey.
- → Can I make these ahead?
-
Yes, these keep beautifully in an airtight container for up to 4 days, making them ideal for preparing in advance for events.
- → What candies should I use?
-
Any vegan hard candies work well—Jolly Rancher-style drops in various colors create beautiful light-catching effects when melted.
- → Why chill the dough?
-
Chilling for 15 minutes prevents sticking during rolling, ensuring clean cuts and maintaining the window shapes for proper candy filling.
