 Pin it
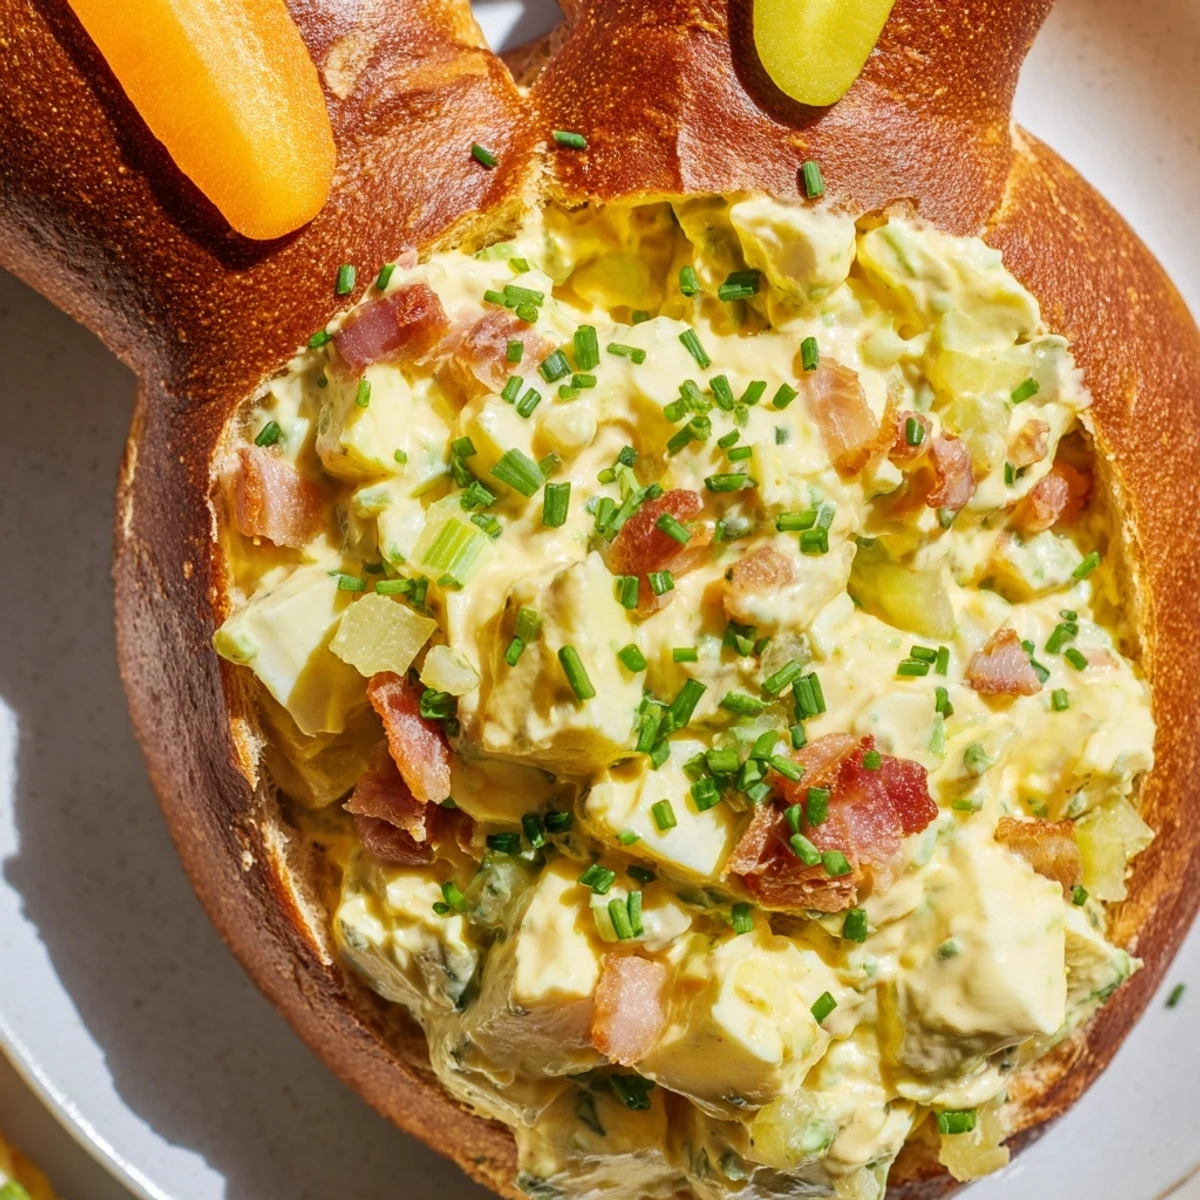
 This whimsical bread creation transforms a simple cob loaf into an adorable bunny shape, perfect as the focal point of your spring table. The hollowed bread gets filled with a classic creamy egg salad featuring mayonnaise, sour cream, Dijon mustard, and crisp celery bits. Assembly involves attaching a small roll for the head, two rolls for feet, and a split breadstick for ears, then baking until golden. Decorate with raisin eyes, a carrot nose, and herb whiskers for personality. Serve surrounded by torn bread pieces for scooping up the savory filling. Ideal for Easter brunch or any festive spring gathering.
Last Easter, my daughter demanded a bunny for brunch. Not chocolate, not marshmallow, but an actual edible bunny she could dig into. I stared at my grocery list, eyeing the round cob loaf, and suddenly it clicked—why not make the bread basket itself the centerpiece?
My youngest nephew actually named our first bread bunny Mr. Whiskers and refused to let anyone carve into him for twenty minutes. Now making Mr. Whiskers every spring has become nonnegotiable. The best part is watching guests break off pieces of toasted bread to scoop up that egg salad.
Ingredients
- 1 large round unsliced cob loaf (about 600700 g): This sturdy bread holds its shape beautifully in the oven and creates the perfect edible bowl
- 1 small bread roll: Forms the bunnys adorable head and gives you something to anchor those ears into
- 2 small bread rolls: These become the little feet that make your bunny look like hes ready to hop off the platter
- 1 breadstick: Cut in half lengthwise, these create the signature long bunny ears everyone recognizes
- 2 raisins or black olives: Simple eyes that bring your bread bunny to life without any fancy decorating skills
- 1 small baby carrot: The perfect pop of orange for a nose and adds a farm fresh touch
- Fresh parsley or chives: These become whiskers and add a fresh green garnish that screams springtime
- 1 egg, beaten: The secret to that gorgeous golden brown finish on your baked bread bunny
- 8 large eggs: Hard boiled and chopped, these create the protein rich base of our creamy filling
- 1/2 cup mayonnaise: Brings that classic creaminess we all crave in egg salad
- 2 tbsp sour cream: Adds a subtle tang that balances the richness beautifully
- 2 tsp Dijon mustard: Just enough sharpness to wake up all those mild flavors
- 1 tbsp fresh chives or green onions, finely chopped: Fresh onion flavor without the harsh bite
- 1/2 tsp salt and 1/4 tsp black pepper: Simple seasoning that lets the eggs shine through
- 1/2 cup celery, finely diced: Essential crunch that contrasts perfectly with the creamy egg mixture
- 1/2 cup cooked bacon, finely chopped: Optional, but that smoky salty crunch takes this over the top
Instructions
- Preheat and prep your oven:
- Get your oven heating to 180°C (350°F) while you gather everything. Line your largest baking sheet with parchment paper because you will need the space.
- Hollow out your cob loaf:
- Carefully slice off the top like you are making a bread bowl, then scoop out the soft center leaving about 2 cm of bread shell. Save all those bread pieces for dipping later.
- Build your bunny:
- Place your hollowed cob on the prepared tray and secure the small roll to the front top for the head using toothpicks if necessary. Position two small rolls at the base as feet, then tuck your halved breadstick behind the head for those signature long ears.
- Give your bunny some personality:
- Press raisins or olive halves into the head for eyes, add the baby carrot nose, and tuck small pieces of parsley or chives around the face for whiskers. Brush every exposed surface of bread with your beaten egg wash.
- Bake until golden:
- Slide your bunny into the oven for 1215 minutes until the bread is lightly golden and feels firm to the touch. Let it cool slightly while you make the filling.
- Cook and prep your eggs:
- Boil your eggs for exactly 10 minutes, then plunge them into cold water to stop the cooking. Peel them and chop into rustic chunks rather than tiny bits.
- Mix up that egg salad:
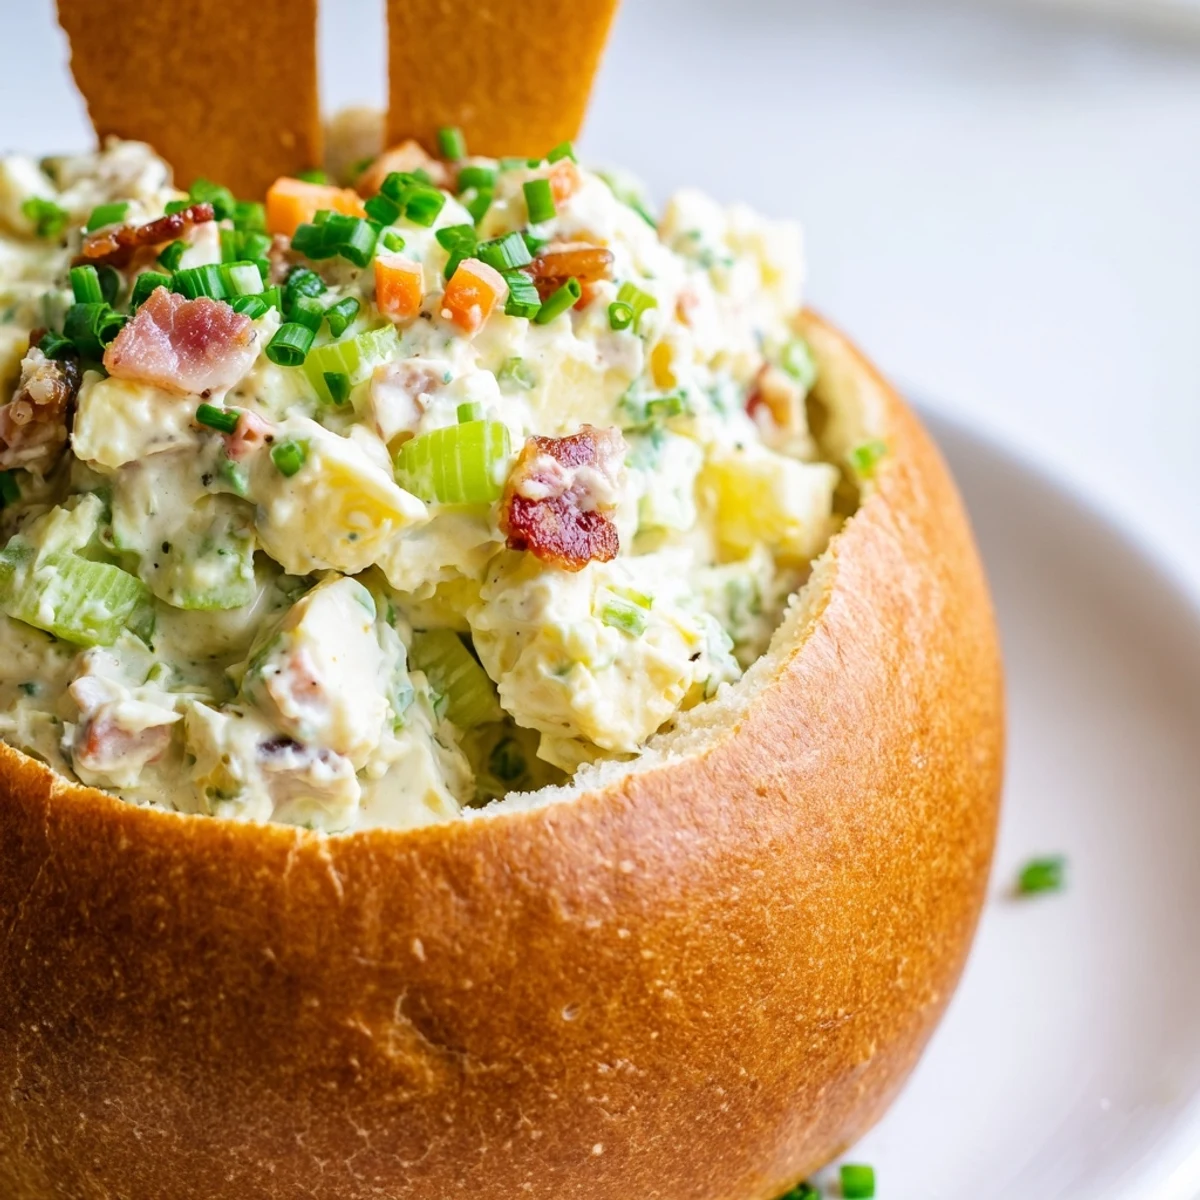
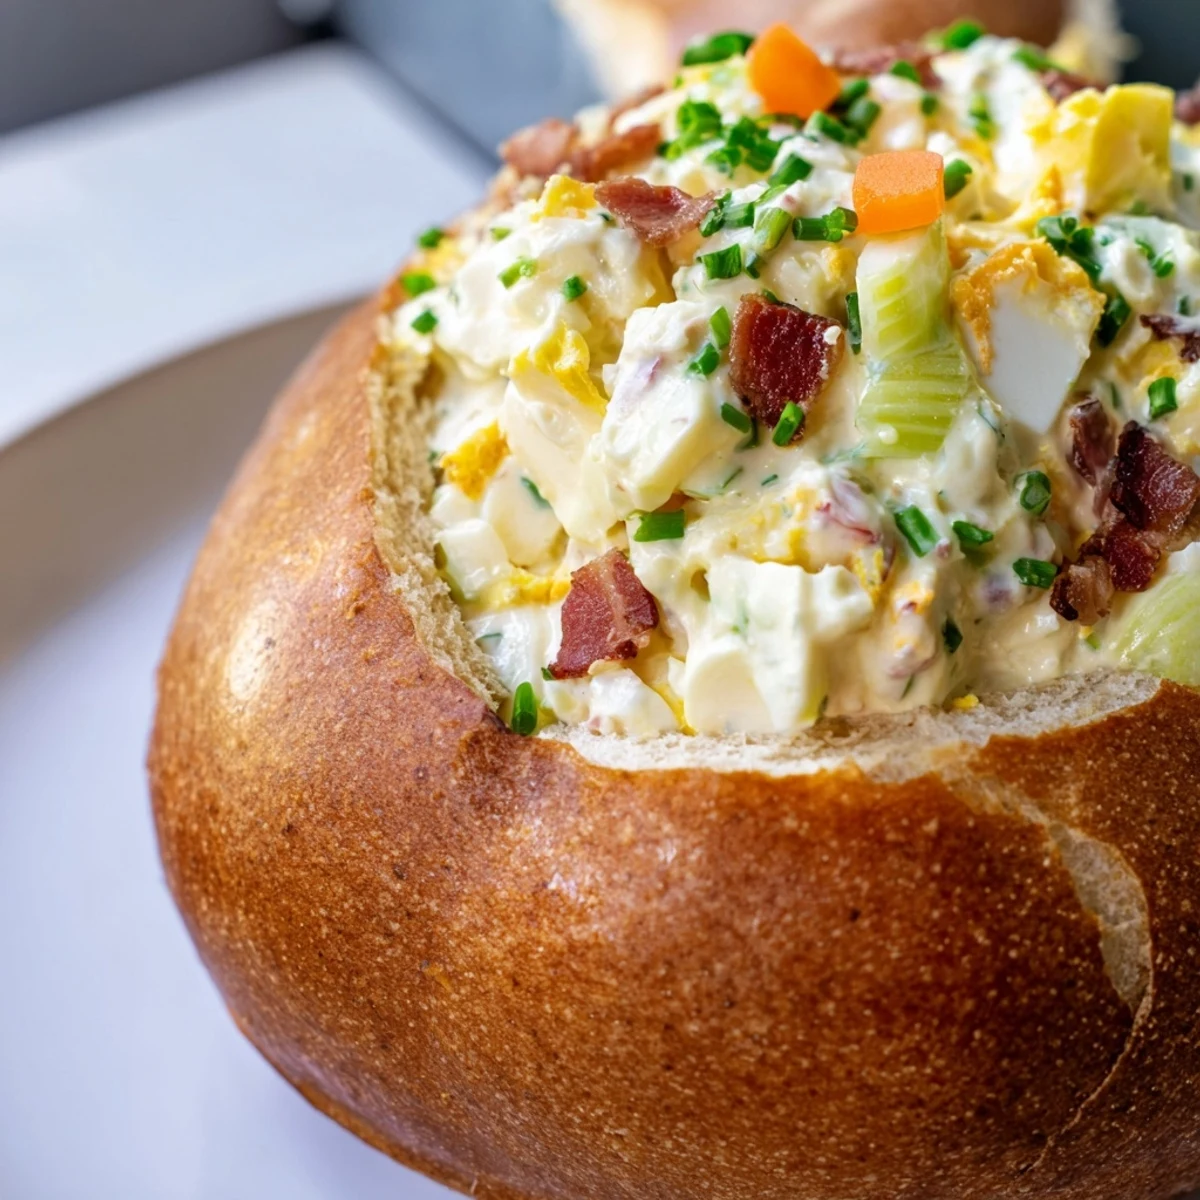
- Combine your chopped eggs with mayonnaise, sour cream, Dijon, chives, salt, pepper, celery, and bacon in a large bowl. Taste and adjust the seasoning until it hits that perfect balance.
- Assemble and serve:
- Spoon the egg salad into your cooled bread bunny right before serving. Scatter all those reserved bread pieces around the base and watch everyone dive in.
 Pin it
 Last year my sister in law actually asked if Mr. Whiskers could make an appearance at her birthday too. Something about this goofy edible creature turns ordinary brunch into a genuine celebration.
Making This Your Own
Swapping Greek yogurt for sour cream lightens everything up beautifully without sacrificing creaminess. I have also mixed in fresh dill or tarragon when I wanted something more elegant than chives.
Getting The Timing Right
Bake the bunny shell up to two hours ahead and keep it warm under foil. The egg salad can be made the night before and stored in an airtight container, then folded together just before filling.
Serving Suggestions
Set out small bowls of extra crispy bacon bits, fresh herbs, or even pickled onions so guests can customize their portions. Consider serving alongside a spring green salad dressed with light vinaigrette.
- Keep some extra bread cubes on hand because people always want more dipping pieces
- Have a small knife ready for anyone who wants to carve directly from the bunny
- Set out wet wipes because this is hands on eating at its finest
 Pin it
 There is something utterly joyful about digging into a bread bunny, and I hope this becomes one of your familys favorite traditions too.
Recipe Questions & Answers
- → Can I make the bunny cob ahead of time?
-
Prepare the bread structure up to 4 hours before serving, but wait to fill with egg salad until just before your gathering to keep the bread crisp and fresh.
- → What other fillings work well in the bread bunny?
-
Try spinach dip, chicken salad, or hummus with vegetables. The bread shell pairs beautifully with creamy fillings that aren't too liquid.
- → How do I attach the bread pieces securely?
-
Use toothpicks to secure the head, feet, and ears if needed. Insert them at angles and trim any exposed ends before serving.
- → Can I freeze the assembled bunny?
-
Freezing isn't recommended as the texture becomes soggy when thawed. Best enjoyed fresh the same day it's assembled and baked.
- → What can I use instead of a breadstick for ears?
-
Cut ear shapes from extra bread dough and bake separately, or use sturdy toast slices trimmed into points. Even pita works in a pinch.
- → How many people does this serve?
-
One bunny cob yields approximately 8 servings as an appetizer. Adjust quantities accordingly for larger gatherings by making multiple bunnies.
