 Pin it
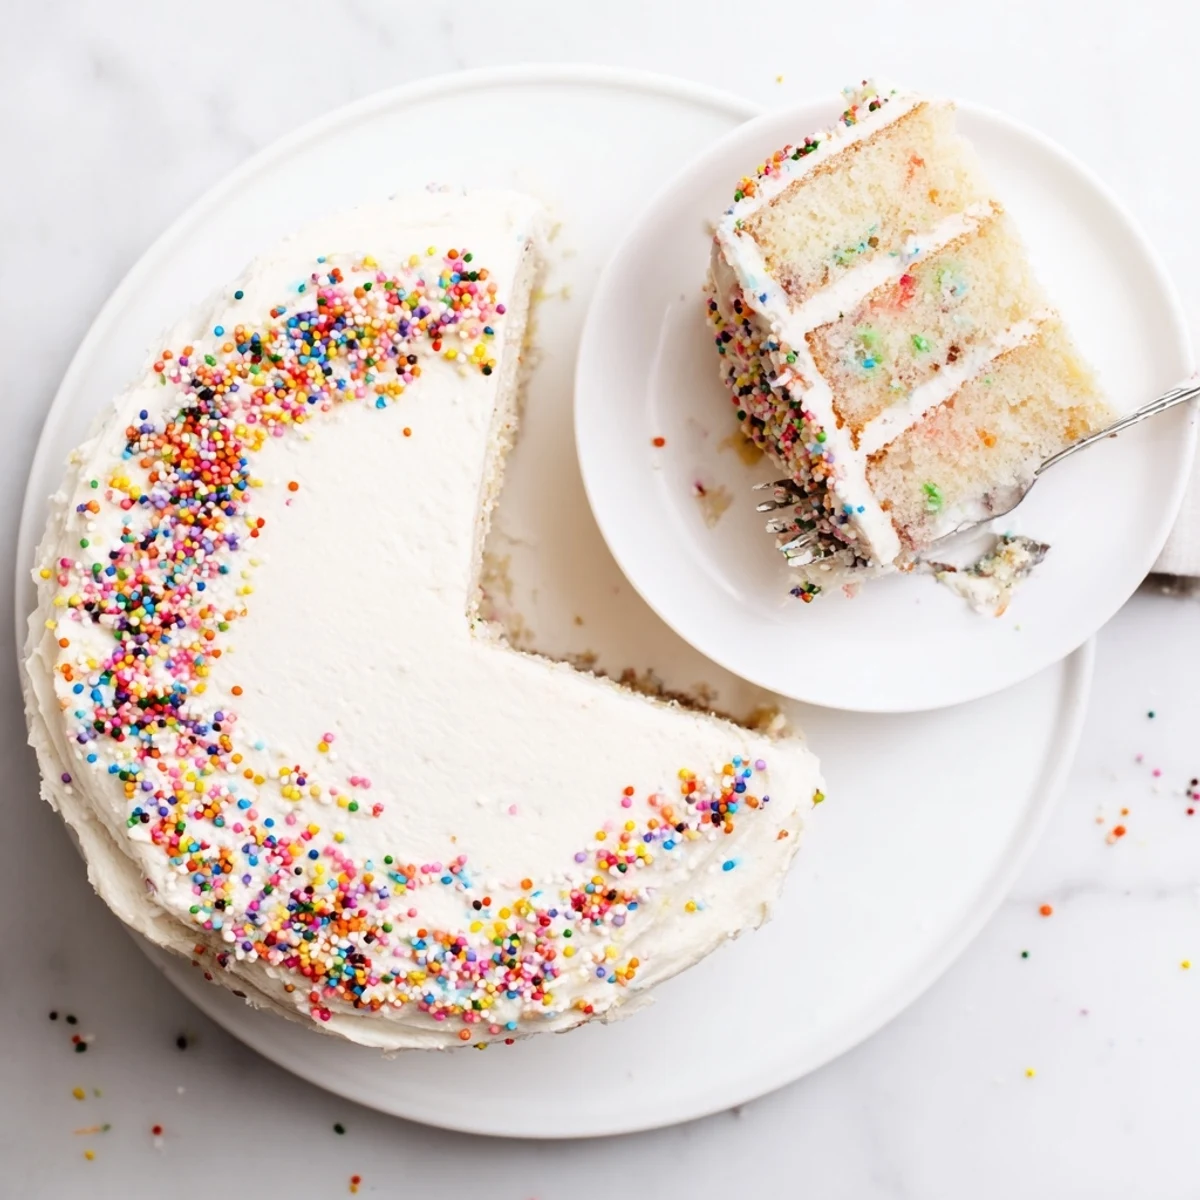
 This stunning vanilla layer cake delivers all the festive fun of classic funfetti while remaining completely gluten-free. The moist, tender crumb comes from a carefully balanced blend of gluten-free flour, butter, and oil, while rainbow sprinkles are folded throughout the batter for that signature confetti appearance. Perfect for birthdays, holidays, or any occasion calling for celebration.
Buttercream frosting made with vanilla bean-speckled butter and powdered sugar creates the ideal complement—creamy, slightly sweet, and ready for piping or spreading. The recipe yields two 8-inch rounds that stack into an impressive 12-serving centerpiece.
My niece's face when I served her first 'real' birthday cake after her celiac diagnosis—absolute pure joy, sprinkles everywhere, that moment when food becomes love in the most literal sense possible.
I learned the hard way that not all sprinkles are created equal—bled through my first batch turning the whole cake a muddy gray color that still tasted amazing but looked like a kitchen experiment gone wrong.
Ingredients
- Gluten-free all-purpose flour blend: The xanthan gum already included is non-negotiable for structure—skip it and youll have a sad crumbly situation
- Baking powder and baking soda: Both work together here since the milk provides acid and we need that extra lift for a tender crumb
- Unsalted butter: Softened properly to room temperature—it creates air pockets when creamed that make the cake light rather than dense
- Vegetable oil: This is the secret weapon keeping the cake moist for days unlike butter-only versions that dry out quickly
- Rainbow sprinkles: Must be labeled gluten-free and avoid those tiny nonpareil dots that dissolve into streaks during baking
- Powdered sugar: Sifting is annoying but absolutely necessary or youll discover lumps in your frosting that no amount of beating will fix
Instructions
- Get your oven and pans ready:
- Preheat to 350°F (175°C) and grease two 8-inch round pans with butter then line bottoms with parchment circles—this prevents any sticking drama later.
- Whisk the dry ingredients:
- In a medium bowl combine the gluten-free flour blend baking powder baking soda and salt until completely uniform—no one wants a bite of straight baking soda.
- Cream the butter mixture:
- Beat sugar butter and oil together for 2–3 minutes until its pale and fluffy—this step creates the structure so do not shortcut it.
- Add the eggs and vanilla:
- Add eggs one at a time beating well after each then mix in the vanilla—the batter should look smooth and glossy before moving on.
- Combine wet and dry:
- Alternate adding the flour mixture and milk beginning and ending with flour mixing only until just combined—overmixing makes gluten-free baked goods tough and sad.
- Fold in the sprinkles:
- Gently fold in the sprinkles with a spatula being careful not to overmix—watch those colorful bits tumble through the batter like edible confetti.
- Bake the layers:
- Divide batter evenly between pans smooth tops and bake 28–32 minutes until a toothpick in the center comes out clean—the smell will be absolutely intoxicating.
- Cool completely:
- Let cakes cool in pans 10 minutes then turn onto wire racks—frosting warm cake is a disaster Ive personally witnessed more than once.
- Make the frosting:
- Beat butter until creamy then gradually add sifted powdered sugar mixing in vanilla salt and just enough milk for spreading consistency—thick enough to hold its shape but smooth enough to spread.
- Assemble and decorate:
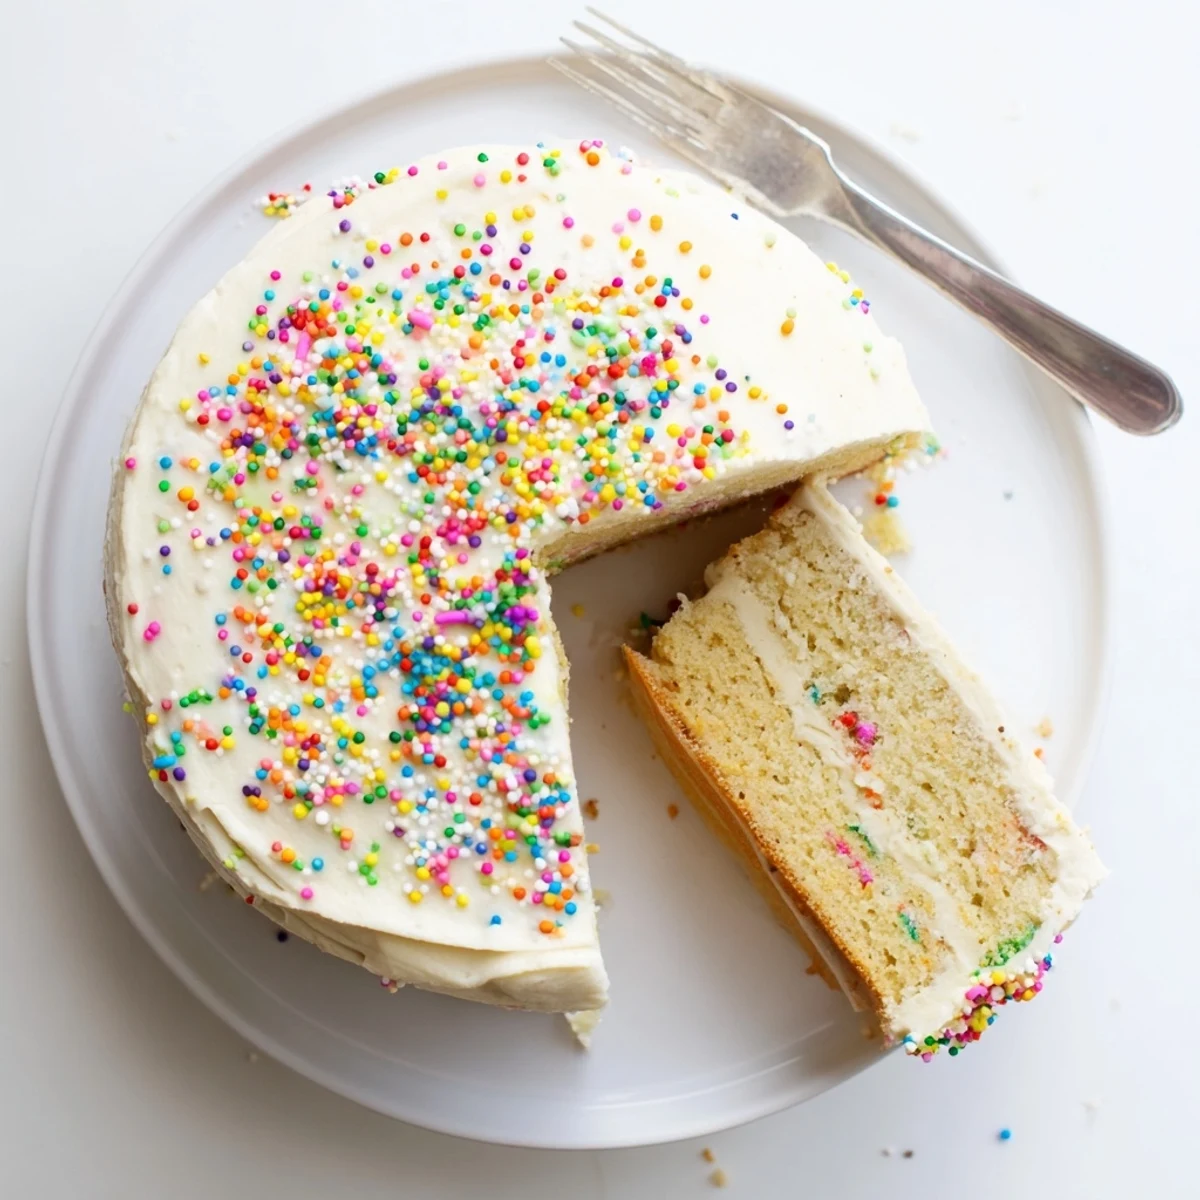
- Place one layer on a serving plate frost top add second layer then frost top and sides finishing with extra sprinkles pressed into the sides and top.
 Pin it
 Now every birthday party I host includes at least one slice for everyone regardless of dietary needs and watching someone with celiac disease finally get to eat real birthday cake—thats the kind of kitchen moment that sticks with you forever.
Making It Dairy-Free
Swap the butter for your favorite plant-based version and use any dairy-free milk you prefer—I have had great success with oat milk and almond-based butter sticks though coconut milk adds a lovely subtle sweetness.
Sprinkle Science
Those tiny nonpareil sprinkles look adorable but they bleed color like crazy during baking turning your batter into something that looks like tie-dye gone wrong—stick to the jimmies-style sprinkles that hold their shape and color beautifully in the oven.
Storage and Make-Ahead Tips
This cake actually improves slightly on the second day as the flavors meld and the moisture distributes throughout the crumb—keep it covered at room temperature for up to 2 days or refrigerate for 5 days bringing it to room temperature before serving for the best texture.
- Unfrosted layers freeze beautifully wrapped tightly for up to 3 months
- The frosting can be made 2 days ahead and kept refrigerated—let it soften before using
- Always bring refrigerated cake to room temperature for serving—cold gluten-free cake feels denser and less tender
 Pin it
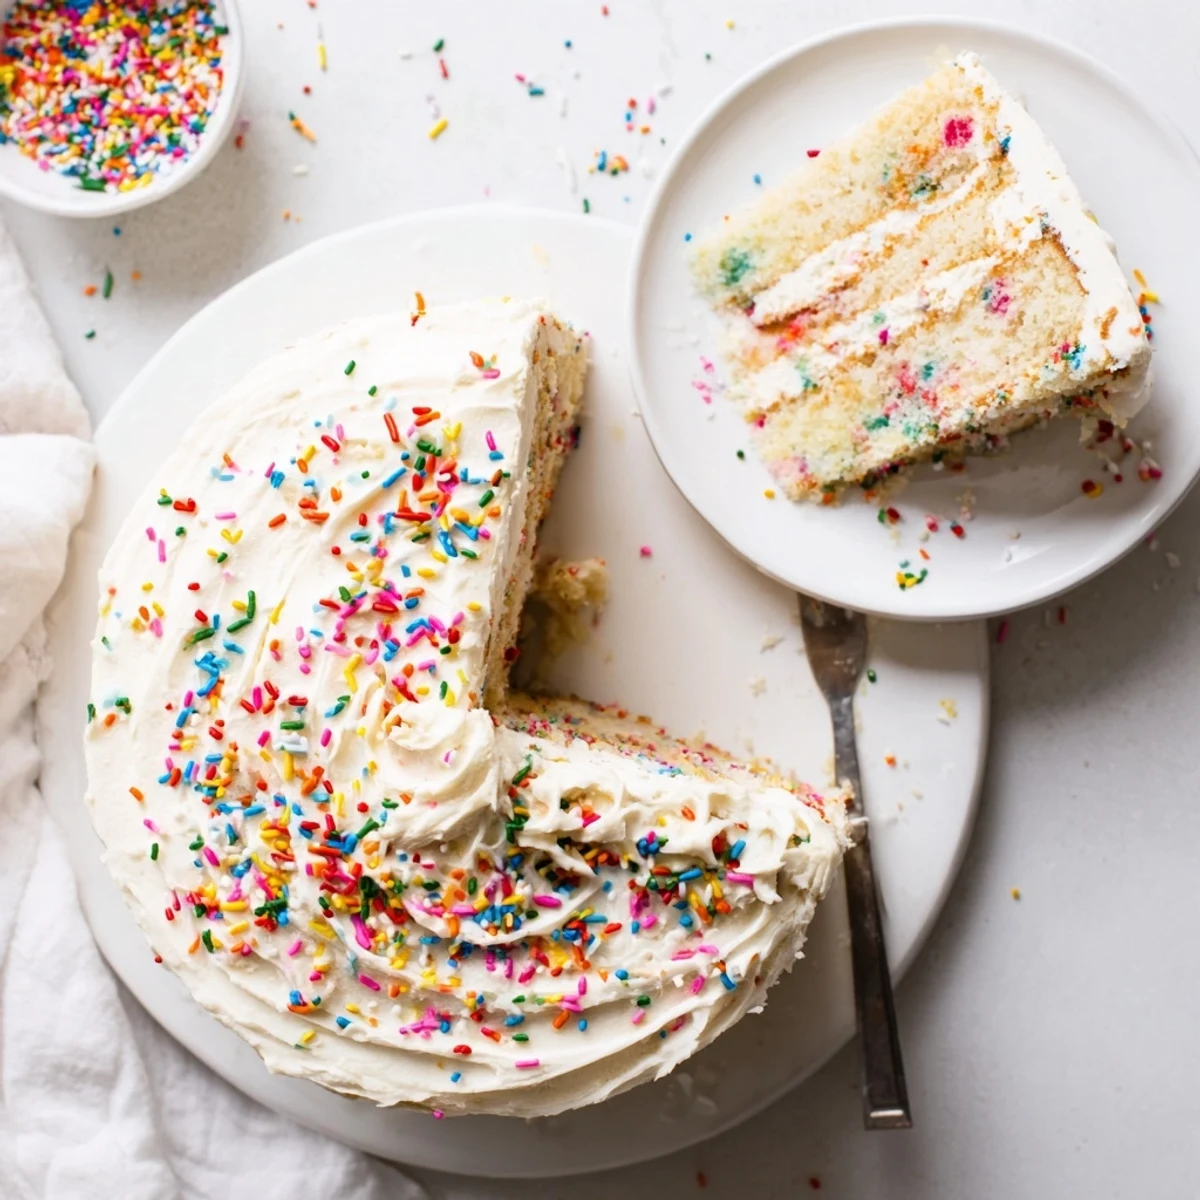
 There is something universally happy about sprinkles—whether you are five or fifty this cake brings out the kid in everyone who gets to celebrate with a slice.
Recipe Questions & Answers
- → Can I make this cake dairy-free?
-
Yes, substitute plant-based butter for both the cake and frosting, and use your preferred dairy-free milk. The texture remains excellent with these swaps.
- → How should I store this cake?
-
Keep covered at room temperature for up to 2 days, or refrigerate for up to 5 days. Bring to room temperature before serving for the best texture and flavor.
- → What sprinkles work best for this cake?
-
Use rainbow sprinkles specifically labeled gluten-free. Avoid nonpareils (the tiny ball sprinkles) as they can bleed color during baking and may contain wheat-based ingredients.
- → Can I bake this as cupcakes?
-
Absolutely. Portion the batter into standard muffin tins and bake for 18-22 minutes at 350°F. This yields about 24 cupcakes.
- → Why do the instructions specify avoiding overmixing?
-
Overmixing develops too much gluten structure, which can make the cake tough or dense. Mix until just combined for the most tender, moist crumb possible.
- → Can I freeze the unfrosted layers?
-
Yes, wrap cooled layers tightly in plastic wrap and freeze for up to 3 months. Thaw overnight in the refrigerator before frosting and serving.
