 Pin it
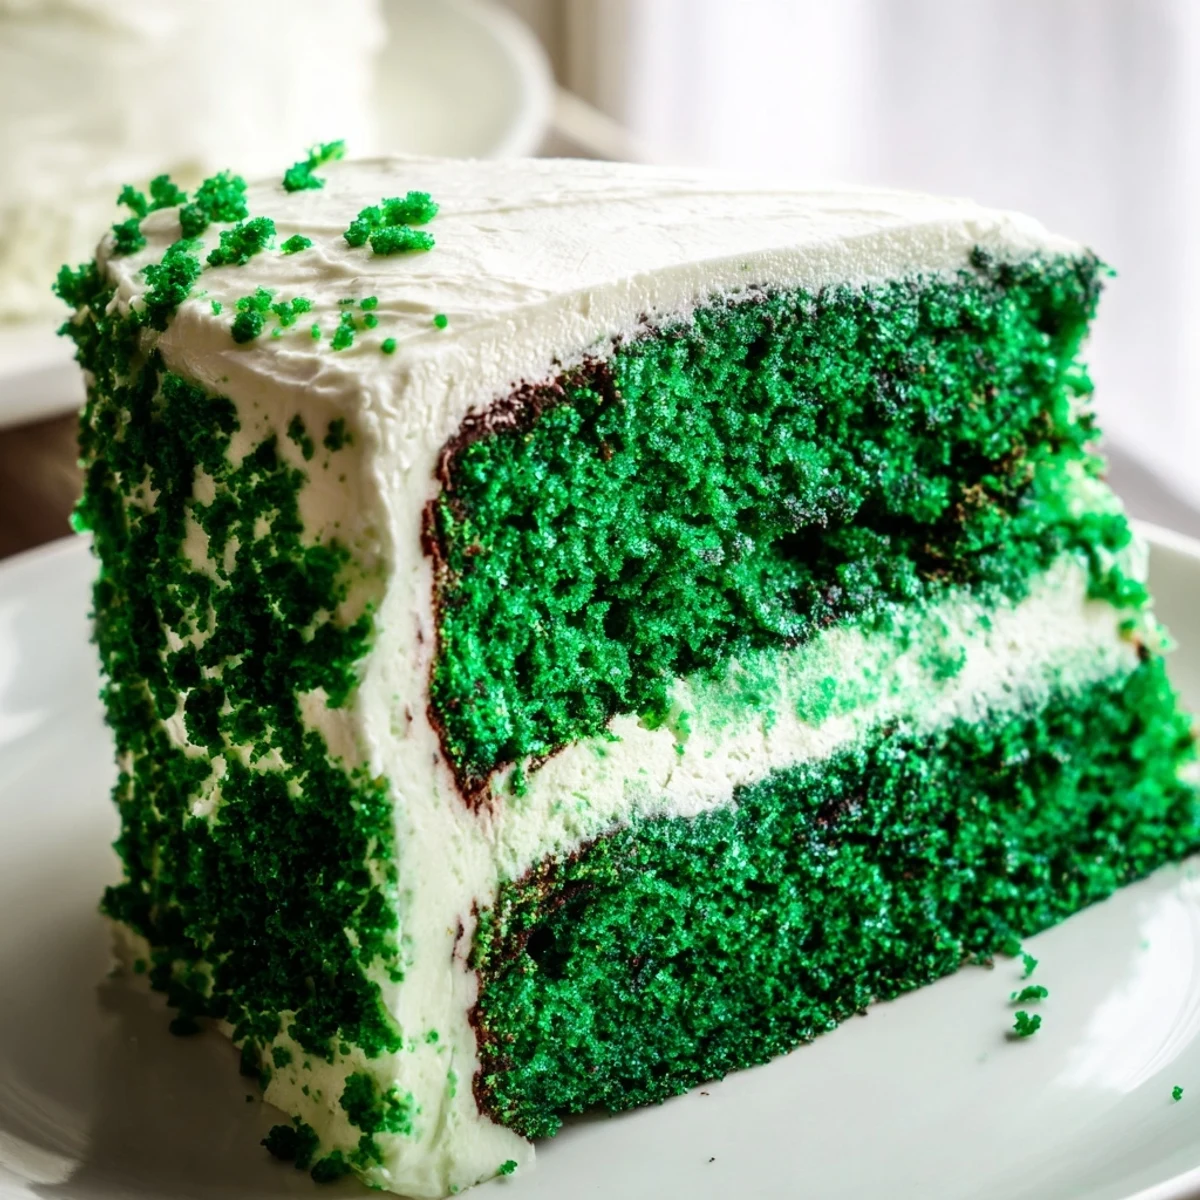
 This stunning green velvet cake transforms the classic red velvet into an eye-catching emerald centerpiece. The cocoa-enhanced crumb stays incredibly moist thanks to buttermilk and oil, while tangy cream cheese frosting provides the perfect balance of sweetness. Ready in just over an hour, this showstopping dessert serves 12 and is ideal for St. Patrick's Day gatherings, spring celebrations, or whenever you want to make a memorable impression.
The first time I attempted this emerald beauty, my kitchen looked like a science experiment gone wrong. Green food coloring splattered across my counters, my apron, somehow even the ceiling. But when that cake emerged from the oven, glowing like a precious gem, I knew every messy second was worth it. Now it's become my go-to for surprising friends, because nothing matches the delight on someone's face when they slice into something so unexpectedly vibrant.
Last March, my neighbor Sarah stopped by while I was frosting this cake and literally gasped when she saw it. We ended up sitting at my kitchen table for two hours, sipping coffee and picking at the trimmings, talking about how food this colorful just makes people happy regardless of the occasion. Now she requests it for every gathering, insisting it brings luck simply by existing on the table.
Ingredients
- Allpurpose flour: Provides structure without making the cake dense, and I've learned measuring by weight gives the most consistent results
- Unsweetened cocoa powder: Just enough to give depth and that classic velvet undertone without competing with the green color
- Baking soda: Reacts with the buttermilk and vinegar for that characteristic velvet rise and tender crumb
- Salt: Enhances all the flavors and keeps the cake from tasting flat
- Granulated sugar: Sweetens and helps create that tender fine crumb texture velvet cakes are known for
- Vegetable oil: Keeps the cake incredibly moist and neutral in flavor, unlike butter which can sometimes overshadow delicate notes
- Large eggs: Must be at room temperature or they won't emulsify properly with the oil and sugar mixture
- Buttermilk: The secret ingredient for tenderness and tang, activating the baking soda for perfect lift
- Pure vanilla extract: Rounds out all the flavors and adds that comforting baked goods aroma
- White vinegar: Enhances the velvet texture by reacting with baking soda and buttermilk
- Green gel food coloring: Gel coloring is concentrated and won't throw off your batter's consistency like liquid versions can
- Cream cheese: Use full fat and bring it to completely room temperature for the silkiest frosting that won't curdle
- Unsalted butter: Softened thoroughly so it blends seamlessly without lumps
- Powdered sugar: Sifting prevents lumps and ensures your frosting is velvety smooth
Instructions
- Prep your oven and pans:
- Heat your oven to 350°F and thoroughly grease two 9 inch round pans, lining the bottoms with parchment paper for guaranteed easy release
- Whisk the dry ingredients:
- In a medium bowl, combine flour, cocoa powder, baking soda, and salt until evenly distributed, which takes about 30 seconds of whisking
- Beat sugar and oil:
- In a large bowl, mix sugar and oil until combined, then add eggs one at a time, letting each fully incorporate before adding the next
- Add the wet ingredients:
- Pour in buttermilk, vanilla, vinegar, and green food coloring, whisking until you have an evenly colored batter that looks like liquid emerald
- Combine everything:
- Add dry ingredients to wet in two batches, folding gently just until you no longer see flour streaks, being careful not to overmix which can make the cake tough
- Divide and bake:
- Split batter evenly between your prepared pans and bake for 28 to 32 minutes, until a toothpick comes out clean and the tops spring back when lightly touched
- Cool completely:
- Let cakes rest in pans for 10 minutes before turning onto wire racks, because frosting a warm cake is a disaster waiting to happen
- Make the frosting:
- Beat room temperature cream cheese and butter until silky, then gradually add powdered sugar, vanilla, and salt until fluffy and spreadable
- Frost and decorate:
- Place one layer on your serving plate, spread frosting generously, top with the second layer, then cover the entire cake, adding any sprinkles or crumbs you like
 Pin it
 My daughter turned seven last spring and requested this cake for her party, watching with wide eyes as I mixed in the coloring. When she saw the finished masterpiece, she declared it was the kind of cake princesses in fairytales would eat, and honestly, I couldn't argue with her. There's something magical about a dessert that feels so celebratory simply by existing.
Making It Ahead
I've baked the layers up to two days in advance, wrapped them tightly in plastic, and they stay incredibly moist. The frosting can also be made ahead and stored in the refrigerator, just let it come to room temperature and give it a quick whip before spreading.
Getting That Perfect Color
Start with one tablespoon of gel coloring and add more gradually, remembering that the color will deepen slightly during baking. I've learned the hard way that what looks like plenty in the bowl might bake up slightly lighter than expected.
Serving Suggestions
This cake somehow pairs perfectly with both casual afternoon coffee and elegant evening celebrations. The tanginess of the cream cheese frosting cuts through the sweetness beautifully.
- A sprinkle of gold edible dust makes it feel even more special for holidays
- For a lighter option, serve as cupcakes with a swirl of frosting on each
- Store any leftovers in the refrigerator, though they rarely last long in my house
 Pin it
 There's something about serving this cake that makes ordinary moments feel like celebrations. Hope it brings as much joy to your table as it has to mine.
Recipe Questions & Answers
- → What makes green velvet cake different from red velvet?
-
Green velvet cake shares the same tender, cocoa-kissed crumb and tangy cream cheese frosting as traditional red velvet—only the food coloring changes. The flavor profile remains identical, with subtle chocolate notes and a velvety texture that's both moist and slightly dense.
- → Can I use liquid food coloring instead of gel?
-
Gel food coloring is recommended because it provides vibrant color without adding excess liquid to the batter. Liquid coloring can be used, but you'll need significantly more and may need to reduce other liquids slightly to maintain the proper batter consistency.
- → How should I store this cake?
-
Store the frosted cake in the refrigerator, covered with plastic wrap or a cake dome, for up to 5 days. Bring to room temperature for 30 minutes before serving for the best texture and flavor. Unfrosted cake layers can be wrapped tightly and frozen for up to 3 months.
- → Can I make this cake in advance?
-
Yes! Bake the cake layers up to 2 days ahead, wrap them tightly in plastic, and store at room temperature. Make the frosting up to 3 days ahead and refrigerate. Bring everything to room temperature before assembling and frosting for easiest spreading.
- → What can I substitute for buttermilk?
-
If you don't have buttermilk, combine 1 cup of regular milk with 1 tablespoon of white vinegar and let it sit for 5 minutes until thickened. This DIY version provides the same acidity needed to react with baking soda for a tender crumb.
