 Pin it
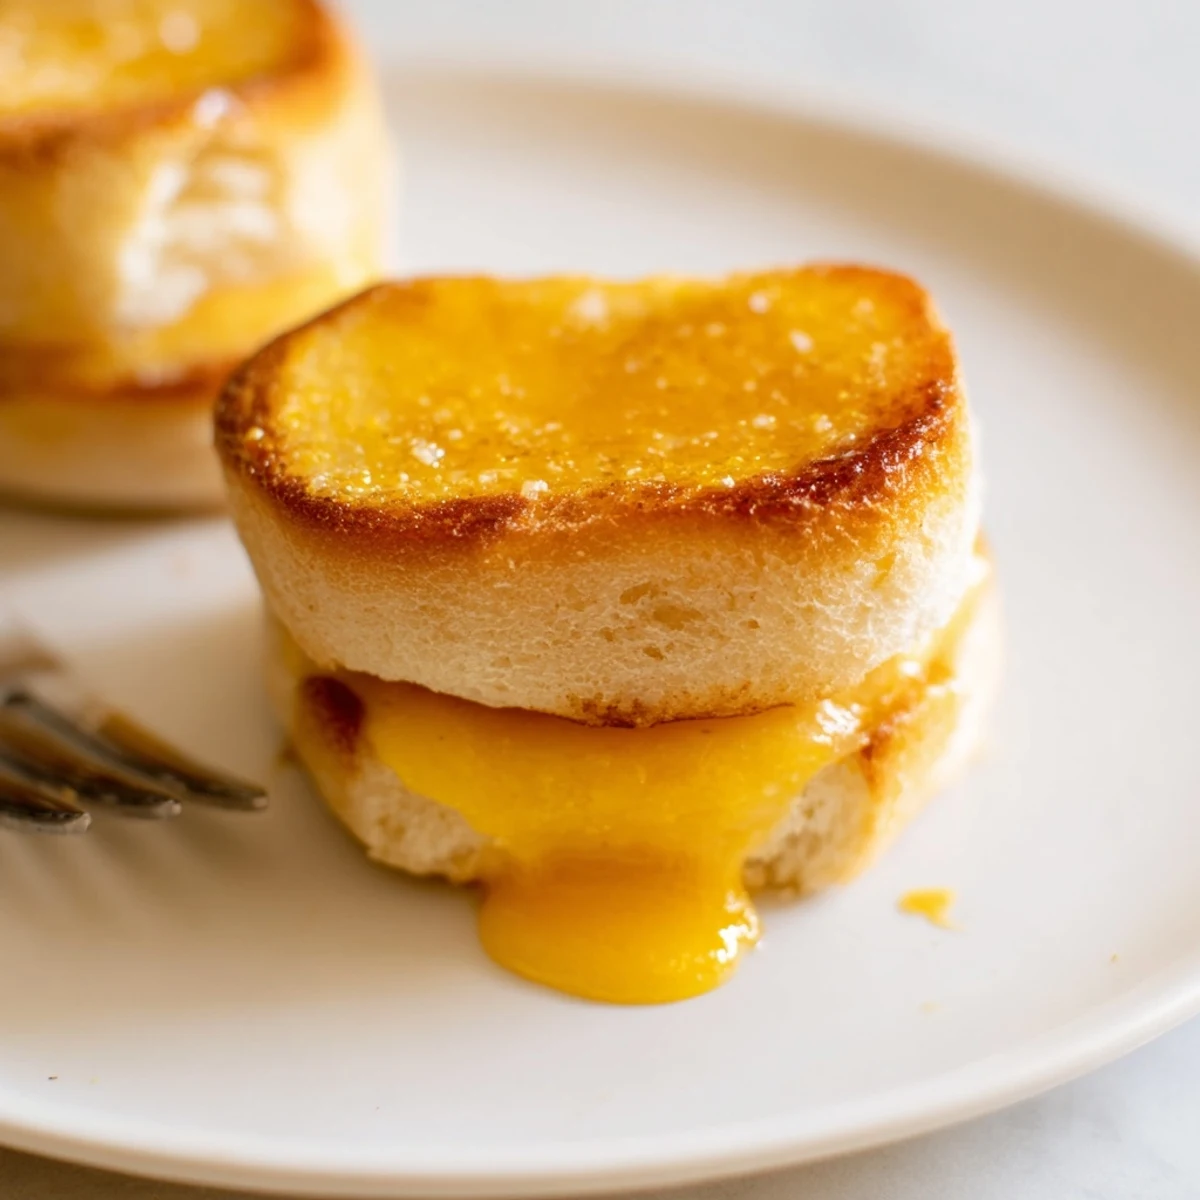
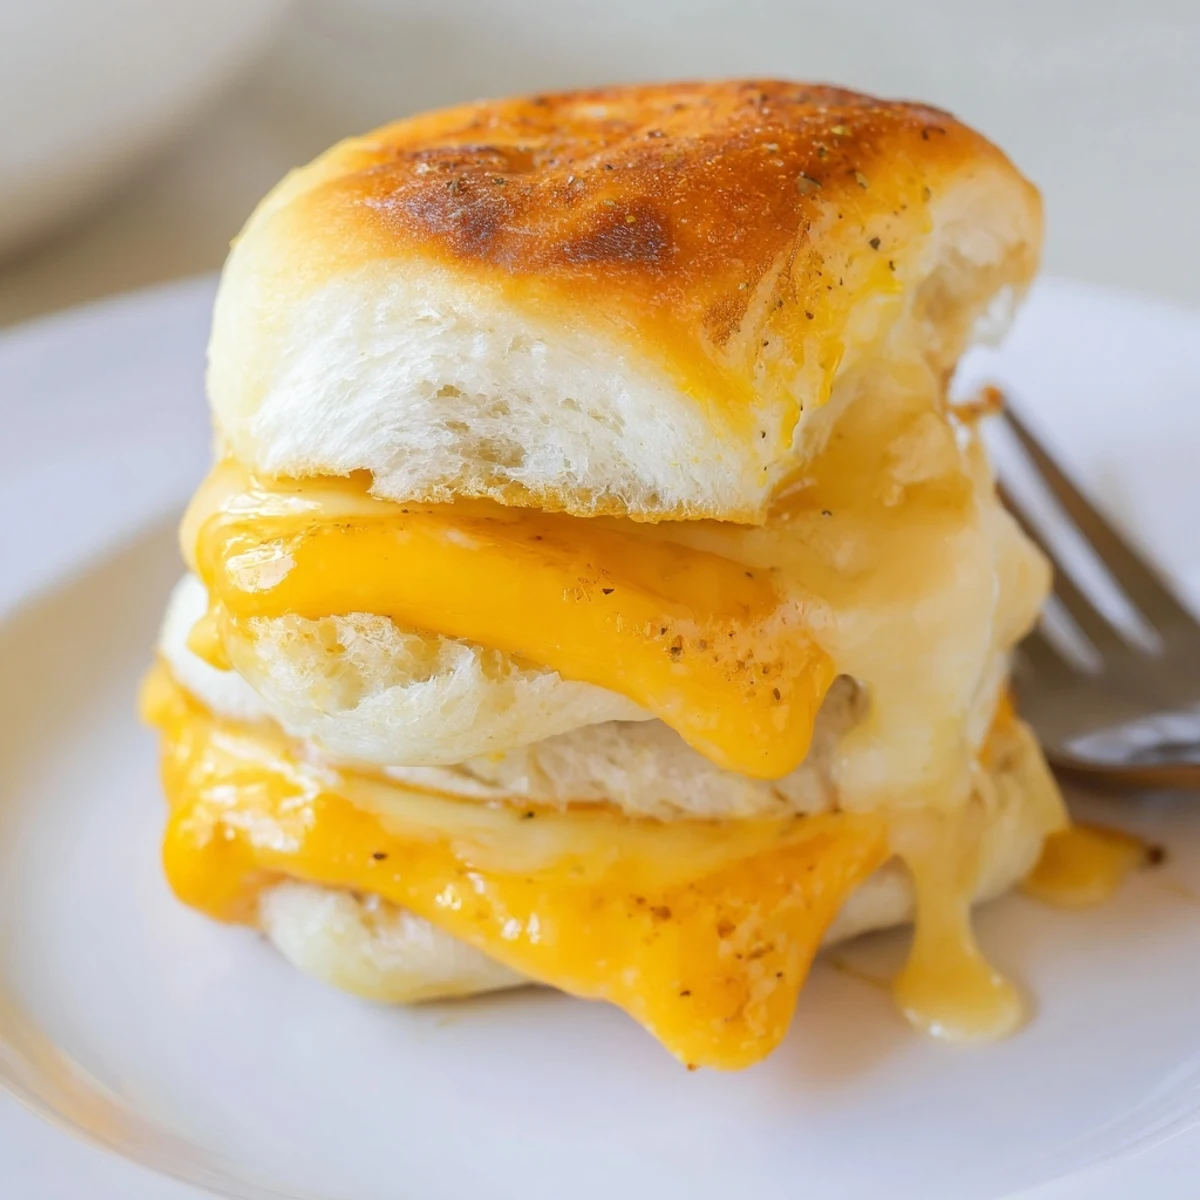
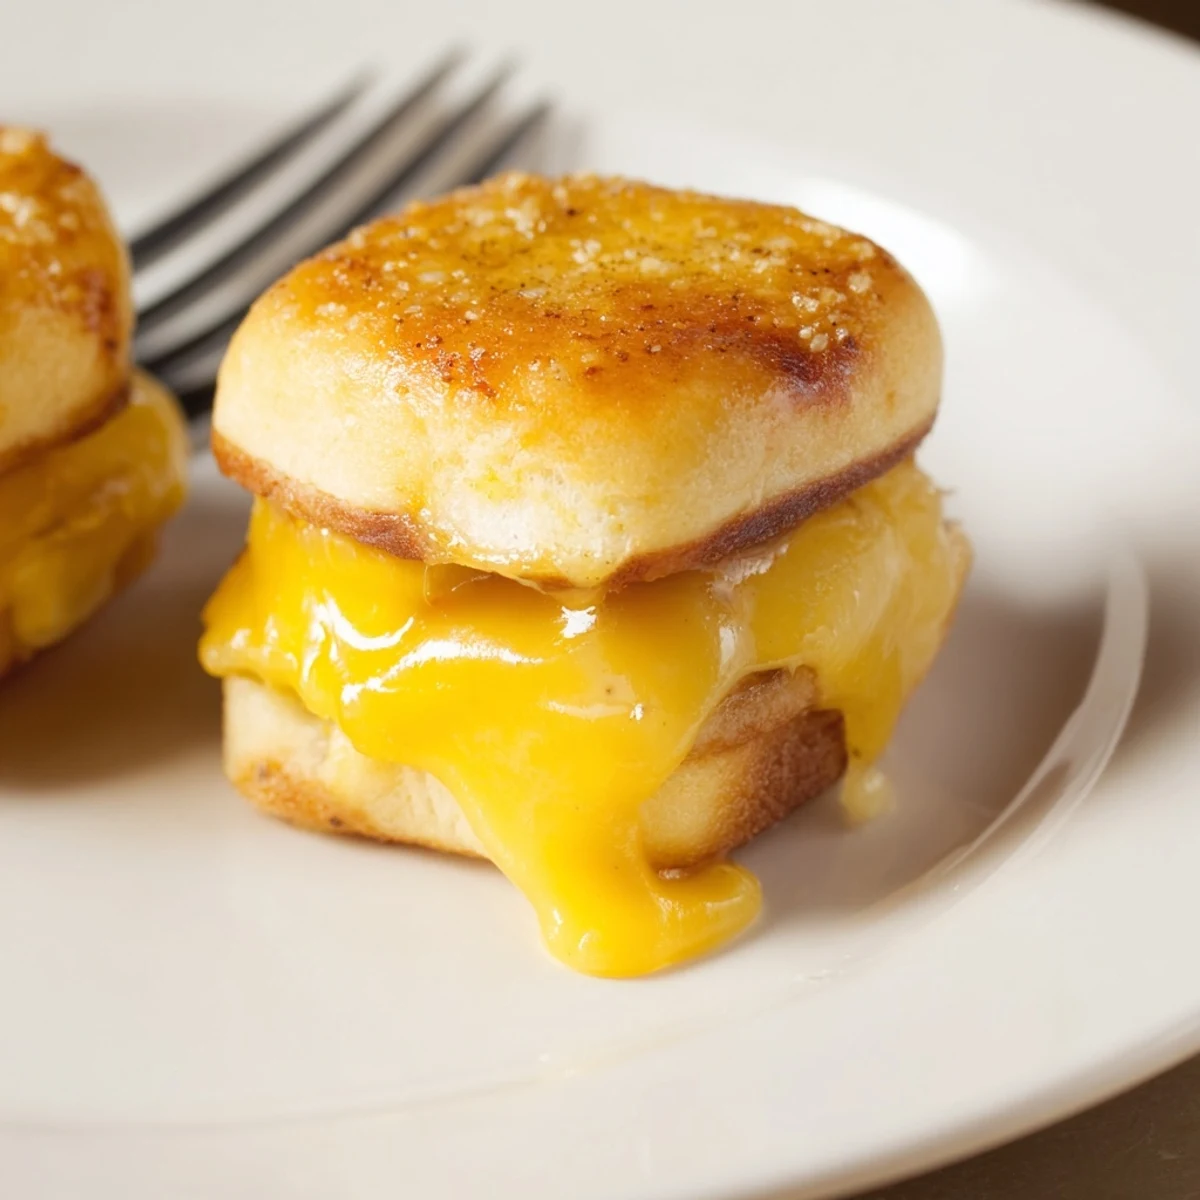
 Preheat oven to 350°F. Slice whole block of Hawaiian rolls horizontally and layer the bottom with sliced cheddar (add ham or turkey if desired). Replace the top, brush with melted butter mixed with mustard, honey and garlic powder, then bake 10–15 minutes until cheese melts and tops are golden. Cool briefly, separate into 12 mini sandwiches and serve warm with soup or dipping sauce.
The first time I made these mini grilled cheese Hawaiian rolls, the sizzle of butter on the baking tray signaled that something fun was about to happen in the kitchen. I wasn't planning a big meal—just craving a snack with that sweet-savory combination I adore. As the rolls baked, the kitchen filled with the aroma of toasted bread and bubbling cheese. I couldn't resist peeking in the oven every few minutes, impatient for that melty goodness.
One afternoon, my neighbor wandered into the kitchen just as I was brushing melted butter over the rolls. We started chatting about nothing in particular, and before I knew it, we were both reaching for a bubbling mini sandwich, laughing as molten cheese stretched between us. That spontaneous moment—simple and unplanned—turned these sandwiches into a staple for every impromptu get-together since.
Ingredients
- Hawaiian sweet rolls: Their pillowy sweetness balances the savory cheese—don’t pull them apart before slicing, or you’ll lose that lovely sheet.
- Sliced cheddar cheese: I go for sharp cheddar for its bold flavor and excellent melt, but let your favorite cheese guide you.
- Unsalted butter, melted: Brushing it on top gives every bite a golden finish; melted is key for easy application.
- Deli ham or turkey (optional): A meaty layer adds heartiness, and I learned thinner slices make for a tidier bite.
- Dijon or yellow mustard (optional): Stirring a little into the butter gives a subtle tang that wakes up the palate.
- Honey (optional): It brings a gentle sweetness, especially if you like contrast with sharp cheese.
- Garlic powder (optional): Sprinkling on top transforms the aroma to pure comfort food territory.
Instructions
- Set up your oven and pan:
- Preheat the oven to 350°F (175°C) and line your baking sheet with parchment paper—it makes clean-up so much easier.
- Slice the rolls together:
- Use a serrated bread knife to cut the whole block of rolls horizontally; working slowly helps keep the tops and bottoms intact.
- Fill them up:
- Place the bottom half on your tray and layer the cheddar slices evenly. If you’re adding deli meat, tuck it between the cheese layers for maximum melt.
- Top and butter:
- Replace the top half of the rolls, then whisk together melted butter, mustard, honey, and garlic powder if you like. Brush it generously across the tops so every roll gets some love.
- Bake until bubbling:
- Slide the tray in the oven and bake for about 10–15 minutes, watching for golden tops and gooey cheese.
- Slice and serve:
- Let cool just briefly, then slice along the roll seams for tidy, mini sandwiches. Serve while the cheese is still warm and melty.
 Pin it
 I still remember the look on my friend’s face when she pulled apart her first gooey roll—like she’d stumbled on the world’s coziest snack. These little guys have a way of bringing people together, even if you barely get a word in between bites.
Customizing Your Mini Grilled Cheese Rolls
After my third or fourth batch, I realized you can mix up the fillings endlessly—swapping in different cheeses, sprinkling on cooked bacon, or sneaking in a layer of caramelized onions. My favorite experiments happen when there are random fridge leftovers I want to use before grocery day. The one thing that always stays the same: that sweet Hawaiian bread foundation.
Pairing Suggestions for Anytime
On chilly nights, nothing beats dunking these mini melts into a steaming mug of tomato soup—classic comfort at its best. For parties, I like to pair them with crunchy pickles or a tangy slaw. They even stand up well alongside a green salad when you’re craving something quick but satisfying.
Simple Tricks for Oven Success
Having the rolls all lined up makes brushing on butter a breeze, and the parchment paper catches any runaway cheese. Letting them cool for just a minute makes slicing neater, especially if you’re aiming for sharp, mini squares. It’s always tempting to grab one right away, so I keep a spatula nearby to avoid burned fingertips.
- Don’t skip the preheat—the rolls toast best starting in a hot oven.
- If you want crispier tops, pop them under the broiler for the last minute (just watch them closely).
- Wipe your knife between cuts for cleaner slices and less cheese sticking everywhere.
 Pin it
 These bite-sized grilled cheese sandwiches are always a hit, whether you’re hosting friends or just treating yourself. Hope they bring as much laughter and melty goodness to your kitchen as they have to mine.
Recipe Questions & Answers
- → Can I use different cheeses?
-
Yes. Swap cheddar for Swiss, provolone, or pepper jack to change flavor and meltiness. Use thinner slices for quicker, more even melting.
- → How do I prevent soggy rolls?
-
Avoid over-saucing the interior and place cheese directly on the bread. Bake just until the cheese melts; pre-toasting the bottom half lightly can also help maintain texture.
- → Can I assemble ahead of time?
-
Assemble and store covered in the refrigerator up to 24 hours. Brush with butter mixture and bake just before serving for best freshness and crispness.
- → What’s the best way to reheat leftovers?
-
Warm in a 350°F oven for 8–10 minutes or reheat in a skillet over medium-low heat to keep the tops crisp and the cheese gooey.
- → Can these be frozen?
-
Freeze unbaked, tightly wrapped assembled sliders for up to one month. Thaw in the fridge before baking and add a few extra minutes to the bake time.
- → What are good serving options?
-
Serve with tomato soup, marinara, pickles, coleslaw, or a mustard-based dip for contrasting acidity and texture.
