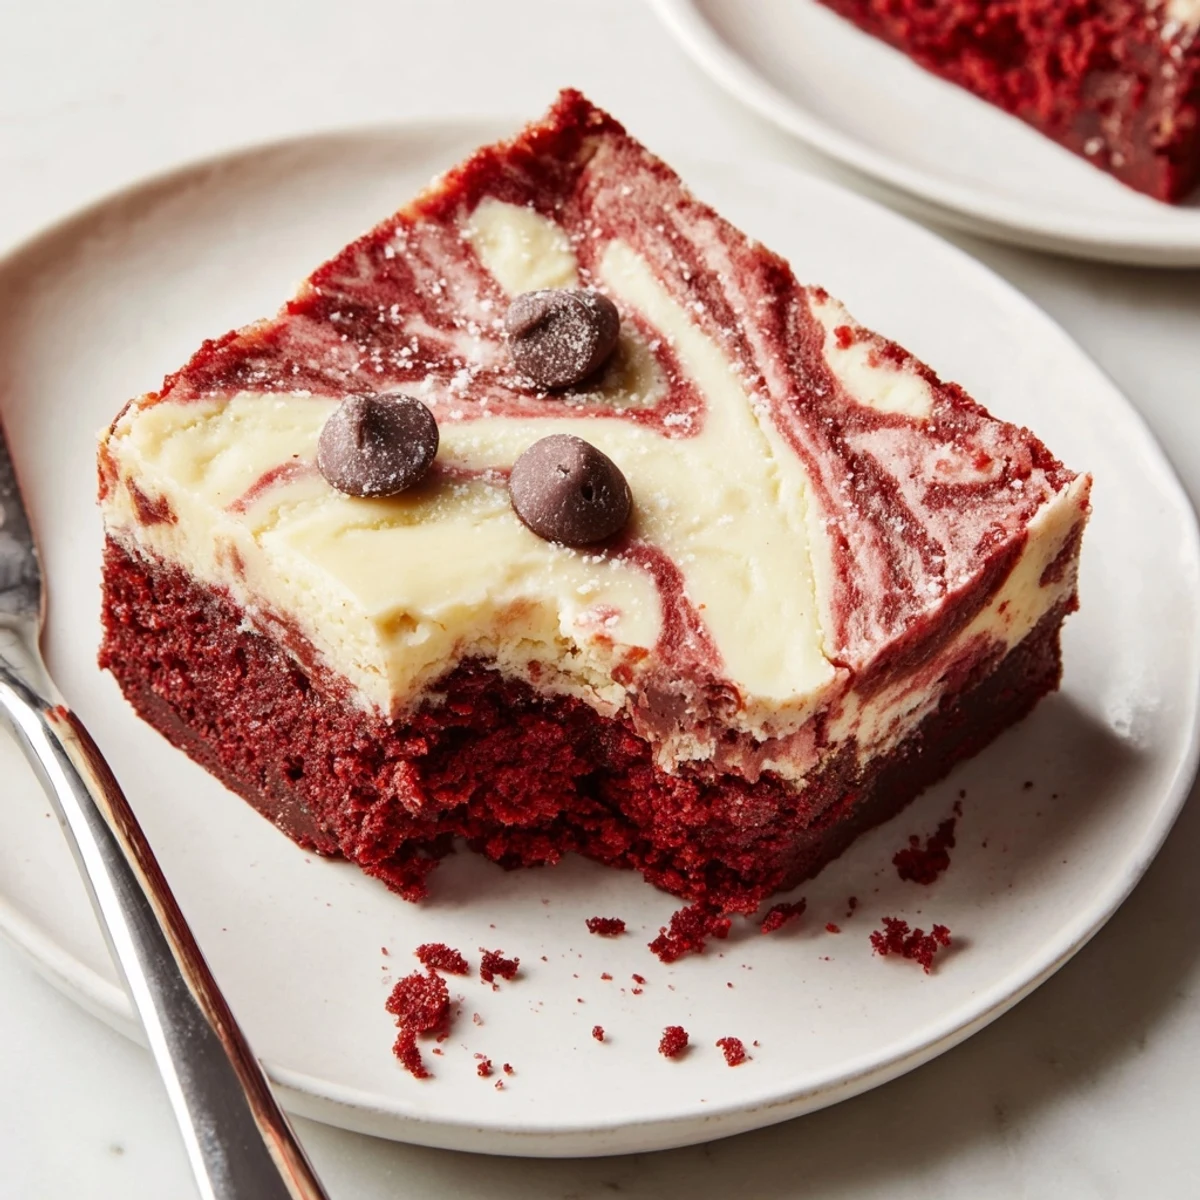
 Pin it
 These fudgy red velvet brownies are topped with a smooth, tangy cheesecake layer and finished with a marbled swirl. Melted butter and sugar are whisked with eggs, vanilla and red coloring; flour, cocoa and salt are folded in. Spread most batter, pour the cream cheese mixture, dollop remaining batter and swirl. Bake 33–37 minutes, cool fully, then chill at least 1 hour before slicing.
The first time I swirled together bright red velvet batter and creamy cheesecake, I didn’t expect the kitchen to smell this inviting—a little like cake, a little like chocolate, with a tang of anticipation. The red dye stained my fingertips, evidence of my impatience to see the finished swirls. There was a hum of excitement as the pan slid into the oven, and I remember laughing aloud when I realized I’d smudged batter on my cheek. Sometimes, the best dessert moments are a happy accident, not a master plan.
One winter evening, my friend Julia brought over a basket of strawberries, and we sliced them together while the brownies cooled. The swirl pattern we created was almost too pretty to slice, but we both agreed that waiting for them to chill was the hardest part. With coffee brewing in the background, we devoured the first fudgy bites, nodding at each other in silent approval. That night, the marbled brownies saw their debut as midnight treats—no occasion required.
Ingredients
- Unsalted butter: Melting the butter first makes the brownie layer fudgy and helps mix it all together without lumps.
- Granulated sugar: Beat it well with the butter for a crackly top—I learned that the shiny crust comes from a little extra mixing here.
- Eggs: Room-temperature eggs yield a smoother, glossier batter; tip: if they're cold, rest them in warm water for a few minutes.
- Vanilla extract: Adds depth to both layers, and the aroma while whisking reminds me why I never skip it.
- Red food coloring: The key to that classic red hue—my advice is start with less, then add more for vibrancy.
- All-purpose flour: Sift to avoid clumps in the brownie for a fine, tender crumb.
- Unsweetened cocoa powder: Just enough chocolate—not too rich but bold enough to shine through cheesecake.
- Salt: A pinch balances sweetness and intensifies flavor; don’t be tempted to skip it.
- Cream cheese: Room temperature cream cheese ensures the cheesecake swirls are silky, not lumpy.
- Extra granulated sugar (for cheesecake layer): This bit sweetens the tang, making the cheesecake layer lush without being overwhelming.
- Egg (for cheesecake layer): Binds and adds creaminess; I crack it into a separate bowl just in case of shell surprises.
- Vanilla extract (for cheesecake layer): Enhances the cheesecake hit with those cozy notes that complement the brownie.
Instructions
- Set the stage:
- Preheat your oven to 175°C (350°F) and line an 8-inch square pan with parchment, letting the ends hang over for easy lifting—it's worth the extra minute for neat edges later.
- Mix the brownie base:
- Whisk melted butter and sugar in a medium bowl until glossy and combined; the warmth releases a sweet, toasty aroma as you mix.
- Add eggs & flavor:
- Whisk in the eggs, vanilla, and red food coloring until smooth and vibrant—don’t worry, your batter should look dazzlingly red at this stage.
- Sift & fold:
- Sift in flour, cocoa, and salt; gently fold with a spatula just until you see no more dry patches, holding back 1/4 of the batter for swirling.
- Make the cheesecake layer:
- In a fresh bowl, blend softened cream cheese and sugar until fluffy, then beat in the egg and vanilla for silky smoothness—resist the urge to overmix.
- Assemble and swirl:
- Spread 3/4 of the red velvet batter in the pan, pour cheesecake batter on top, then dollop the remaining red batter over and swirl gently with a skewer for a marbled effect.
- Bake to perfection:
- Bake for 33–37 minutes, until the center is just set and a toothpick comes out with a few moist crumbs; the kitchen will smell like a bakery crossed with a candy shop.
- Cool and chill:
- Let the brownies cool completely, then refrigerate for at least an hour—this makes slicing clean, fudgy squares a breeze.
 Pin it
 I’ll never forget slicing these for my cousin’s birthday picnic—the moment everyone saw the red-and-white swirls, you could feel the surprise and delight ripple across the picnic blanket. Suddenly, this simple brownie had transformed into the centerpiece, and even the adults lined up for seconds.
How to Store Leftover Brownies
Once cooled and sliced, I’ve learned brownies stash best in an airtight container in the fridge. Stacked with parchment between layers, they keep their fudgy bite for up to four days, and if you sneak a corner cold, the cheesecake flavor almost pops even more.
Serving Suggestions That Wow
The marbled brownies look striking alone, but a dusting of powdered sugar or a handful of fresh berries makes them look festive without fuss. On special days, a tiny dollop of whipped cream and a mint sprig have guests convinced you bought them from a fancy bakery.
Ingredient Swaps and Troubleshooting
If you run out of red food coloring, a touch of beet juice can give a surprisingly natural blush, though the flavor is just a hint earthier. Swirl in some mini chocolate chips for extra decadence, or use gluten-free flour to share with more friends (but add 2 extra tablespoons for best texture).
- Always cool completely before slicing to avoid messy edges.
- If the brownies seem underdone, a few extra minutes in the oven is better than rushing—carry over heat sets them up just right.
- Keep cream cheese at room temperature for the smoothest swirl—cold lumps will show up in the final bars.
 Pin it
 Bake these once, and I bet your kitchen becomes the spot everyone hopes is serving dessert. Here’s to treats that look impressive but feel cozy—and to sharing swirly, fudgy moments with good company.
Recipe Questions & Answers
- → Can I use gel food coloring instead of liquid?
-
Yes. Gel color is more concentrated so start with less and add until you reach the hue you want. It won’t add extra liquid, so batter consistency stays correct.
- → How do I prevent the cheesecake layer from cracking?
-
Avoid overbaking: the center should be mostly set with a slight jiggle. Use room-temperature cream cheese and mix until smooth to reduce air bubbles. Cool fully, then chill to finish setting.
- → What gives the brownies their fudgy texture?
-
Melted butter, a modest amount of flour and minimal mixing keep the brownies dense and fudgy. Folding the dry ingredients gently prevents excess gluten development.
- → Can I add chocolate chips for extra richness?
-
Yes—sprinkle chocolate chips over the brownie layer before adding the cheesecake. They’ll sink slightly and create pockets of melted chocolate throughout.
- → How do I get clean, neat slices?
-
Cool completely in the pan, then chill at least an hour. Use a sharp knife warmed in hot water and wiped dry between cuts for clean edges.
- → Is it possible to freeze these bars?
-
Yes. After cooling and slicing, wrap tightly and freeze for up to 2 months. Thaw overnight in the refrigerator for best texture before serving.
