 Pin it
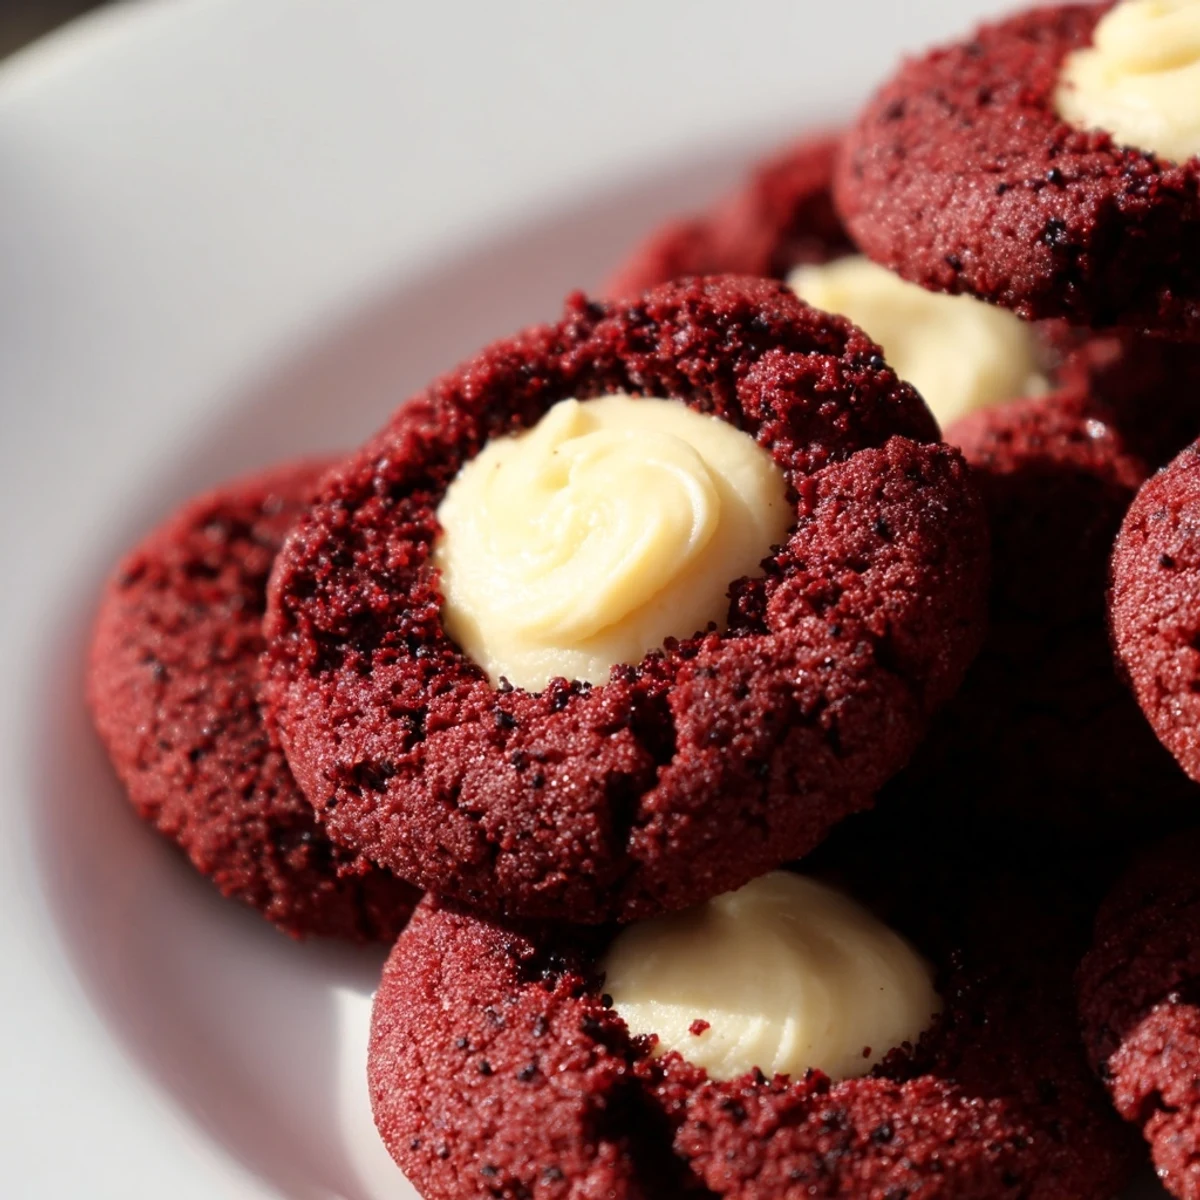
 These stunning red velvet thumbprint cookies feature a tender, cocoa-infused dough filled with smooth cream cheese centers. The combination of velvety texture and rich chocolate flavor creates an impressive treat that's surprisingly simple to make.
Perfect for holiday gatherings, Valentine's Day, or whenever you want to add a pop of color to your dessert spread. The thumbprint technique allows for easy customization—swap the cream cheese filling for white chocolate ganache or add festive sprinkles for extra flair.
With just 20 minutes of prep and 12 minutes of baking, you'll have 24 beautiful cookies that store well in the refrigerator for up to four days.
My sister accidentally dyed an entire batch of sugar cookies bright crimson during a Christmas baking marathon years ago. We laughed until our sides hurt, but when we tasted them, something magical happened. That happy little mistake sparked my obsession with red velvet everything. Now these thumbprint cookies are my way of honoring that chaotic, wonderful afternoon in our tiny apartment kitchen.
Last December, I made three dozen of these for my office cookie exchange and watched them disappear in record time. My coworker Sarah actually chased me down in the hallway to beg for the recipe. Theres something about that dramatic red against the white filling that makes people gravitate toward them before they even take a bite.
Ingredients
- All-purpose flour: The structure that holds everything together, but do not overmix or these tender cookies will turn tough.
- Unsweetened cocoa powder: Just enough to give that signature red velvet depth without overpowering the delicate vanilla notes.
- Unsalted butter: Make sure it is properly softened to room temperature so it creams beautifully with the sugar.
- Red food coloring: Gel coloring works best for that vibrant jewel tone without adding too much liquid to your dough.
- Cream cheese: The real star here, use full-fat for the silkiest filling that will not weep or separate during baking.
Instructions
- Prep your station:
- Preheat oven to 350 degrees F and line baking sheets with parchment paper, giving yourself plenty of counter space for the assembly process.
- Mix the dry team:
- Whisk together flour, cocoa powder, baking soda, and salt in a medium bowl until they are one uniform family.
- Build the butter base:
- Cream softened butter and sugar in a large bowl for about 2 minutes until it looks pale and fluffy, almost like vanilla frosting.
- Add the wet ingredients:
- Pour in egg yolk, milk, vanilla, and food coloring, beating until the color is evenly distributed and no streaks remain.
- Bring it together:
- Gradually fold in the dry ingredients until just combined, being careful not to overwork the dough.
- Make the filling:
- Whisk cream cheese, powdered sugar, and vanilla extract in a small bowl until completely smooth and set aside.
- Shape the cookies:
- Roll dough into 1-inch balls and arrange on prepared baking sheets with about 2 inches of breathing room between each.
- Create the thumbprint:
- Use your thumb or the back of a teaspoon to gently press an indentation into the center of each ball, being careful not to go all the way through.
- Fill and bake:
- Spoon about half a teaspoon of cream cheese filling into each indentation, then bake for 11 to 13 minutes until edges are set but centers still look slightly soft.
- Cool completely:
- Let the cookies rest on the baking sheet for 5 minutes before moving them to a wire rack, as they are incredibly fragile when hot.
 Pin it
 My daughter now requests these for her birthday instead of cake, and watching her carefully press her tiny thumb into each dough ball makes my heart swell every single time. Food has this incredible way of weaving itself into our happiest memories, creating traditions we never planned to start.
Make-Ahead Magic
You can refrigerate the dough balls for up to 24 hours before baking, which actually intensifies the flavor. Just let them sit at room temperature for about 15 minutes before shaping and filling.
Filling Variations
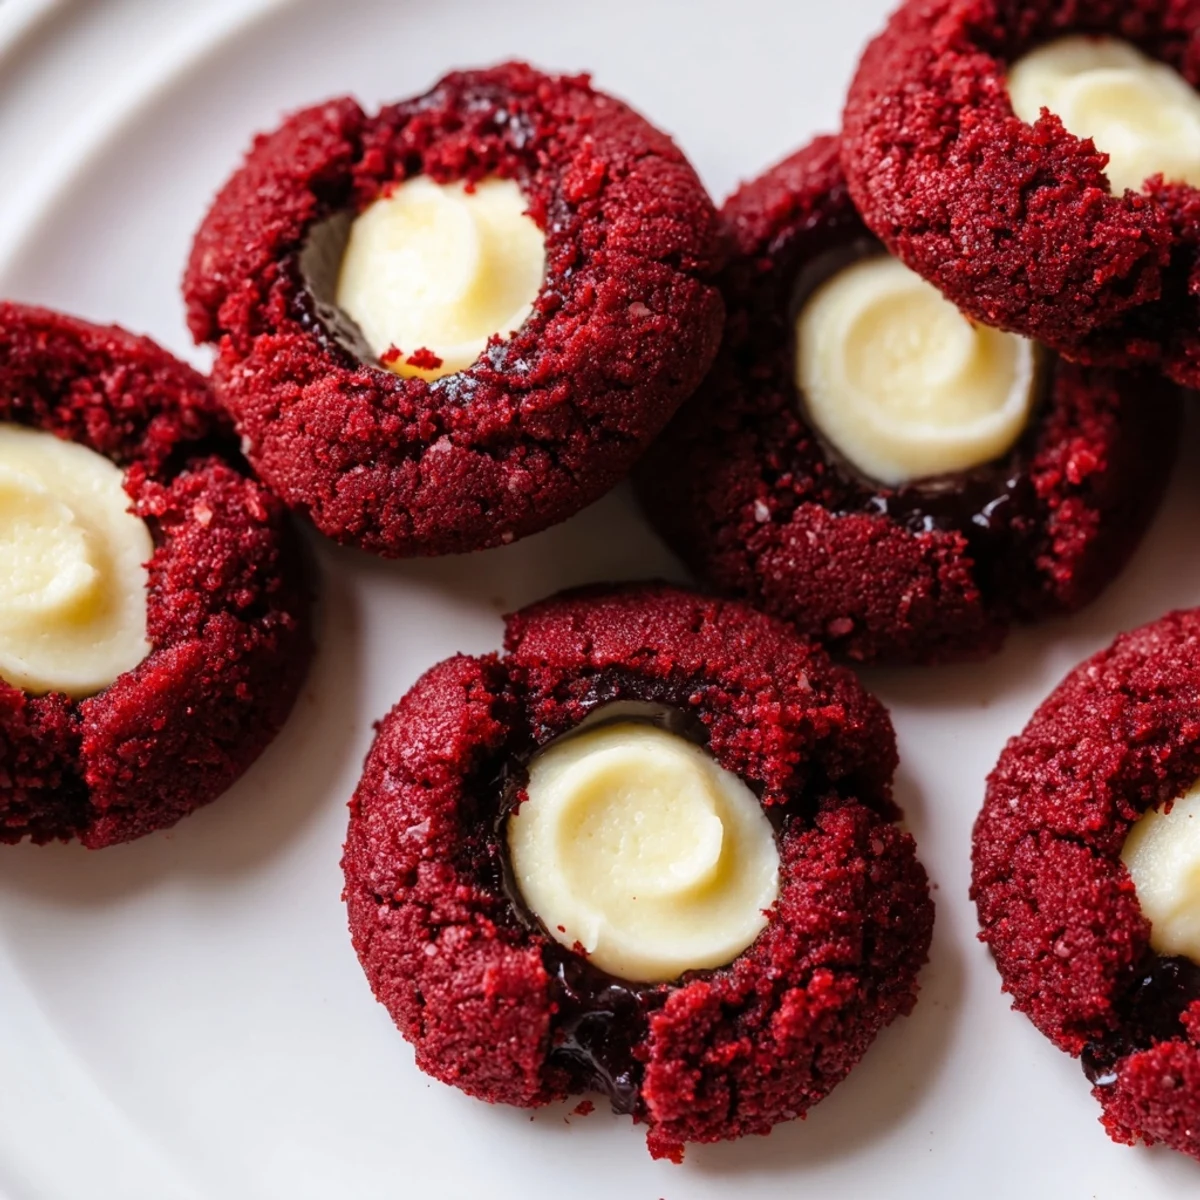
While the cream cheese filling is classic, white chocolate ganache creates this incredible decadence that people cannot stop talking about. Simply melt equal parts white chocolate and heavy cream, then cool slightly before spooning into the centers.
Storage Secrets
These cookies actually improve after a night in the refrigerator, as the flavors meld together and the texture becomes even more tender.
- Keep them in an airtight container between layers of parchment paper.
- They will stay fresh for up to 4 days, though they rarely last that long in my house.
- For longer storage, freeze unfilled cookies and add fresh filling when ready to serve.
 Pin it
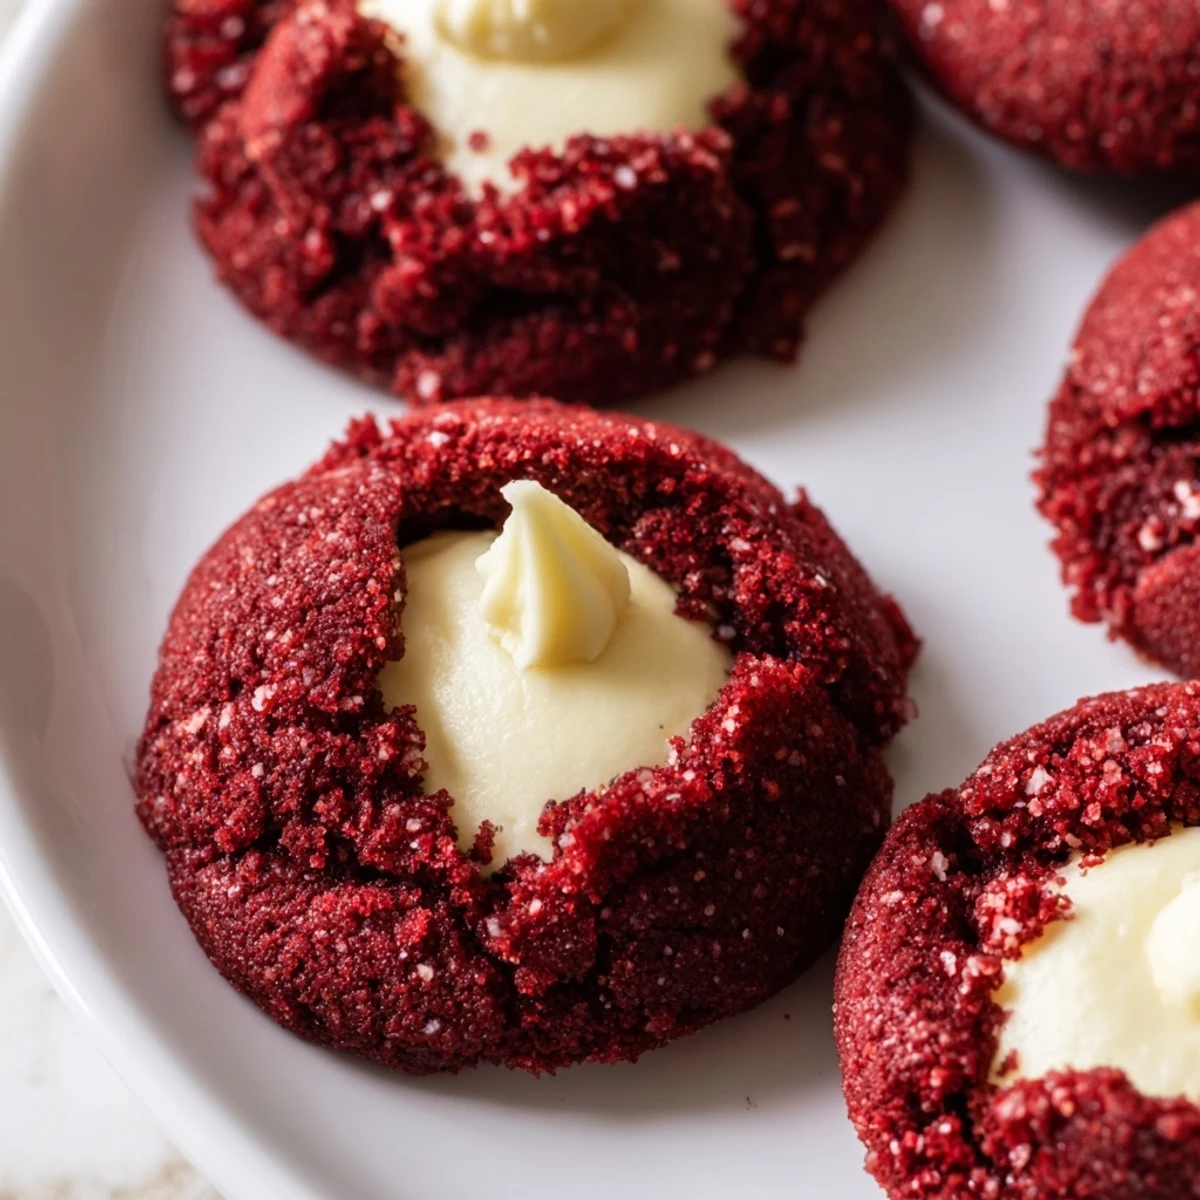
 There is something deeply satisfying about pressing your thumb into that pillowy red dough, knowing you are about to create something that will make someone smile. Happy baking, friend.
Recipe Questions & Answers
- → What makes red velvet cookies different from regular chocolate cookies?
-
Red velvet cookies combine cocoa powder with a touch of acidic ingredients and buttermilk-like dairy, creating a distinctive tender crumb and subtle tangy flavor profile. The vibrant red color and soft texture set them apart from traditional chocolate cookies.
- → Can I make the dough ahead of time?
-
Yes, you can prepare the dough up to 24 hours in advance. Wrap it tightly in plastic wrap and refrigerate. Let it soften slightly at room temperature for 10-15 minutes before rolling into balls and baking.
- → What other fillings work well in these thumbprint cookies?
-
Beyond cream cheese, try white chocolate ganache, dark chocolate fudge, raspberry jam, or lemon curd. For holidays, peppermint ganache or caramel sauce make excellent seasonal variations.
- → Why did my thumbprints lose their indentation during baking?
-
If the centers puff up too much, press the indentations deeper before baking. You can also gently press them down again immediately after removing from the oven while they're still warm.
- → How should I store these cream cheese-filled cookies?
-
Store in an airtight container in the refrigerator for up to 4 days. The cream cheese filling requires refrigeration for food safety. Bring to room temperature 15 minutes before serving for optimal texture.
- → Can I freeze these red velvet thumbprint cookies?
-
Freeze unfilled baked cookies for up to 3 months. Thaw and fill with fresh cream cheese mixture when ready to serve. Freezing cream cheese-filled cookies isn't recommended as the texture may become grainy.
