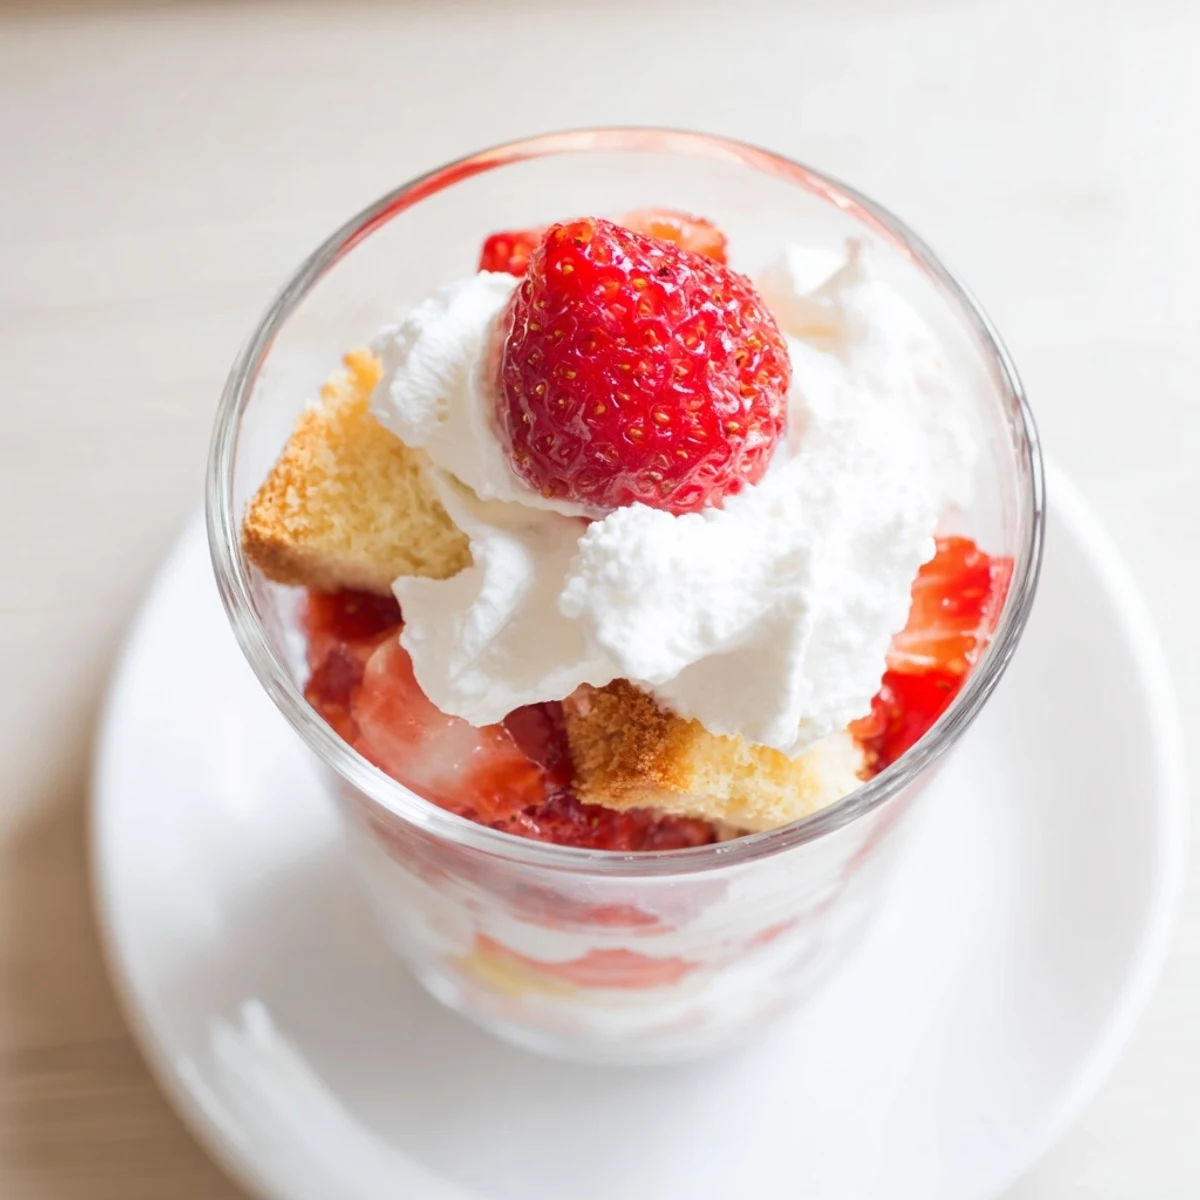
 Pin it
 Create these charming individual desserts featuring layers of homemade buttery shortcake, sweet macerated strawberries, and billowy vanilla whipped cream. The tender shortcakes bake in just 15 minutes, while fresh strawberries get a boost of brightness from lemon juice. Assembly is simple—break the golden shortcakes into bite-sized pieces and layer in clear cups with juicy berries and freshly whipped cream.
These portable treats are ideal for Valentine's Day gatherings, dinner parties, or anytime you want an elegant yet effortless dessert. The individual portions make serving effortless and each cup offers the perfect ratio of cake to fruit to cream.
The kitchen was filled with that perfect winter afternoon light when I first attempted these individual shortcake cups. I had invited my college roommate over for what I called a fancy dessert night, though really I just wanted an excuse to bake something romantic and sweet. We ended up eating them standing at the counter, laughing about old times and getting whipped cream on our noses. Now they are my go to for intimate celebrations.
Last Valentine's Day I made six of these for a small dinner party with my partner and two closest friends. Something about eating from clear glass cups, seeing those beautiful red layers and cream, made the evening feel like a restaurant experience. One friend actually asked if I had ordered them from a bakery, which I took as the highest compliment.
Ingredients
- All purpose flour: Forms the structure of your biscuits and gives them that classic tender crumb
- Granulated sugar: Sweetens both the shortcake dough and helps draw out those beautiful strawberry juices
- Baking powder and baking soda: Work together to create lift and that lovely golden rise
- Cold unsalted butter: The secret to flaky layers is keeping this butter ice cold until it hits the oven
- Buttermilk: Adds tang and tenderness while reacting with the leaveners for extra rise
- Pure vanilla extract: Deepens flavor in both the biscuits and whipped cream
- Fresh strawberries: Choose the reddest ones you can find for maximum sweetness and color
- Lemon juice: Brightens the strawberry mixture and helps them release their natural juices
- Heavy whipping cream: Whips up into those billowy clouds that make this dessert feel indulgent
- Powdered sugar: Sweetens and stabilizes the whipped cream without making it grainy
Instructions
- Preheat and prepare your baking station:
- Get your oven to 425°F and line a baking sheet with parchment paper so your biscuits bake evenly.
- Whisk the dry ingredients:
- In a large bowl combine flour, sugar, baking powder, baking soda, and salt until everything is evenly distributed.
- Cut in the cold butter:
- Use a pastry cutter or your fingertips to work cold cubed butter into the flour mixture until you see coarse crumbs with some pea sized pieces remaining.
- Add the wet ingredients:
- Pour in buttermilk and vanilla, stirring gently until just combined but do not overmix or your biscuits will be tough.
- Shape and bake the shortcakes:
- Drop 6 equal mounds onto the prepared baking sheet and bake for 12 to 15 minutes until golden brown on top then let them cool completely.
- Prepare the strawberry filling:
- Toss diced strawberries with sugar and lemon juice and let them sit for at least 10 minutes to macerate into a sweet juicy mixture.
- Whip the cream:
- Beat cold heavy cream with powdered sugar and vanilla using a hand mixer until soft peaks form that hold their shape.
- Assemble the cups:
- Break cooled shortcakes into bite sized chunks and layer them in serving cups with strawberries and whipped cream, ending with cream and a strawberry garnish.
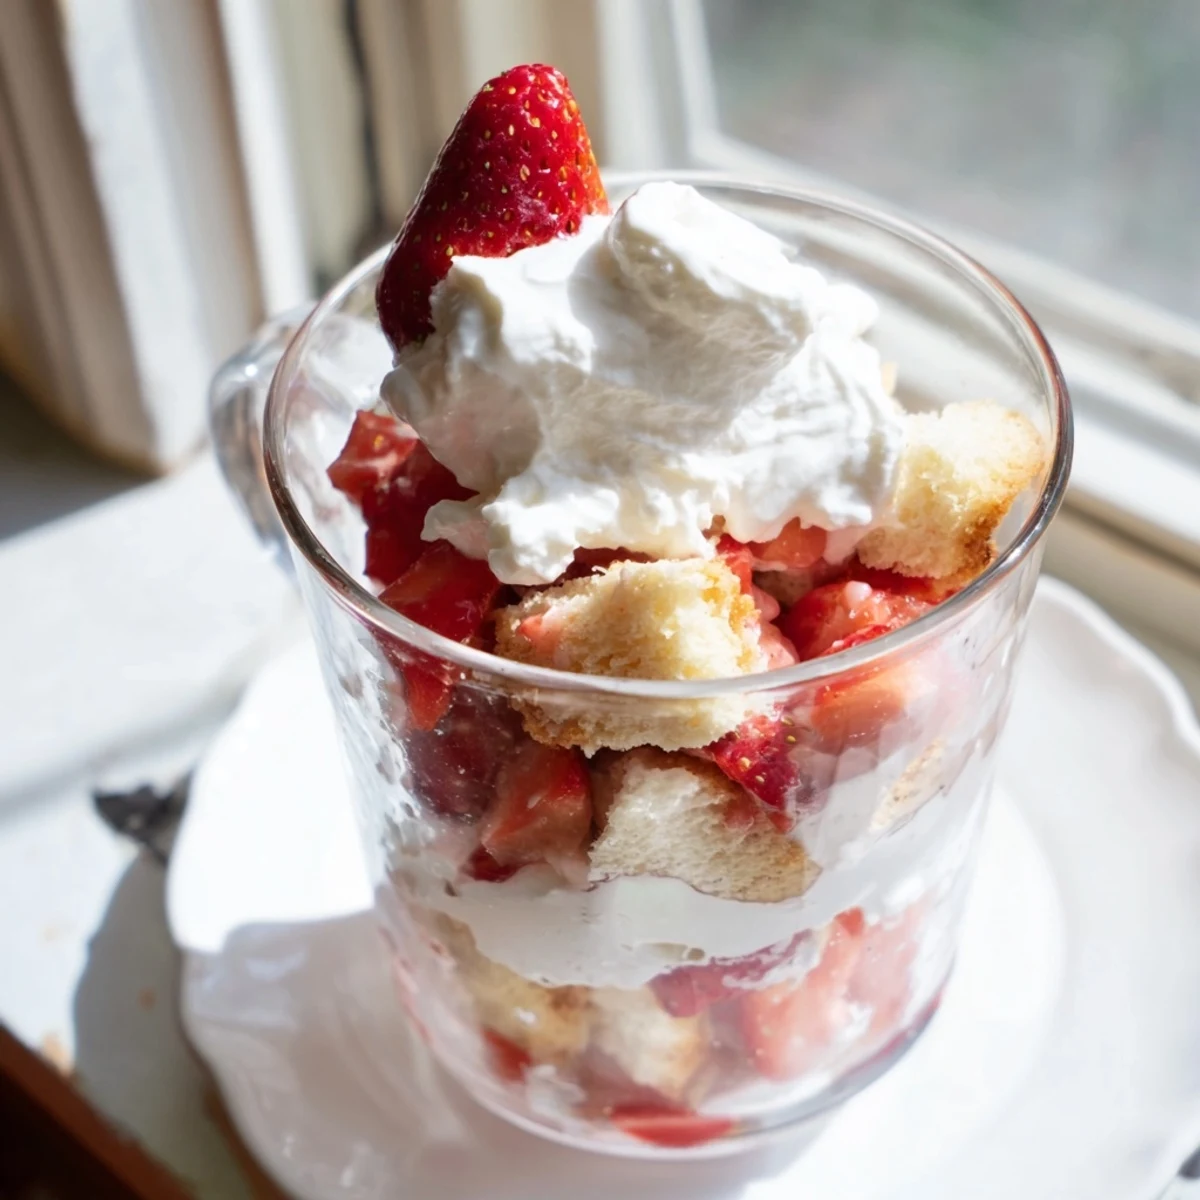 Pin it
 My niece helped me make these last summer and she insisted on adding extra whipped cream to every layer. I let her do it her way and they became the most decadent dessert I have ever served. Now whenever I visit she asks if we can make the fancy cup cakes again.
Choosing Your Berries
I have learned that the smallest sweetest strawberries give the best results because they pack more flavor into each bite. Look for berries that are deep red all the way through without any white shoulders. If they are not quite sweet enough add an extra tablespoon of sugar to the macerating mixture.
Making It Ahead
You can bake the shortcakes up to a day in advance and store them in an airtight container at room temperature. The strawberry mixture actually gets better after a few hours in the fridge. Just whip the cream fresh and assemble right before serving for the best texture.
Perfect Presentation
Use clear glass cups or mason jars so you can see those beautiful red and cream layers from the outside. I like to save a few perfect strawberry halves to press into the sides of the glass before adding the layers. A small mint leaf or an extra dollop of cream on top makes them look bakery worthy.
- Chill your serving cups for 10 minutes before assembling
- Use a small spoon to carefully drop the layers against the glass sides
- Assemble these no more than an hour before serving or the biscuits get soggy
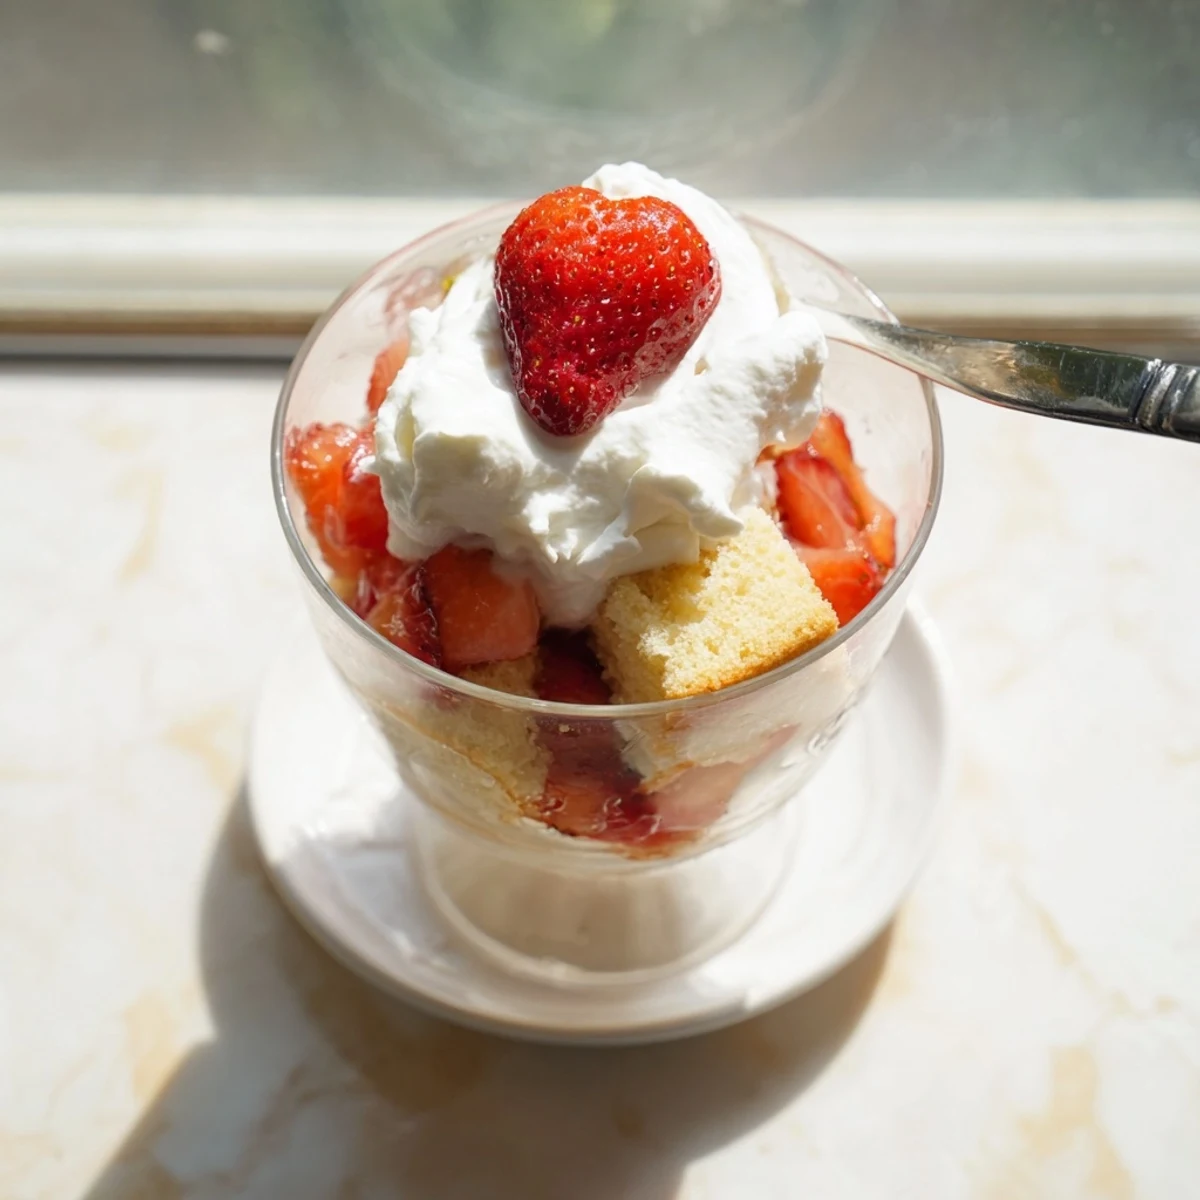 Pin it
 These little cups have a way of turning any Tuesday dinner into something worth celebrating. I hope they bring as much joy to your table as they have to mine.
Recipe Questions & Answers
- → Can I make these ahead of time?
-
Prepare components separately up to 24 hours in advance. Store shortcake at room temperature wrapped tightly, keep macerated strawberries refrigerated, and whip cream fresh before assembling for best texture.
- → What size cups work best for assembly?
-
Use 6-8 ounce clear glass cups, mason jars, or dessert glasses. The transparency shows off the beautiful layers. Wine glasses also create an elegant presentation for serving.
- → Can I use frozen strawberries instead of fresh?
-
Fresh berries provide the best texture and appearance. If using frozen, thaw completely and drain excess liquid before macerating. The result will be softer but still delicious.
- → How do I know when the shortcakes are done baking?
-
Shortcakes are ready when tops are golden brown and a toothpick inserted into the center comes out clean. They should feel firm to the touch. Cool completely before breaking into pieces.
- → Can I make these gluten-free?
-
Substitute the all-purpose flour with a 1:1 gluten-free flour blend designed for baking. Ensure other ingredients are certified gluten-free. The texture may vary slightly.
