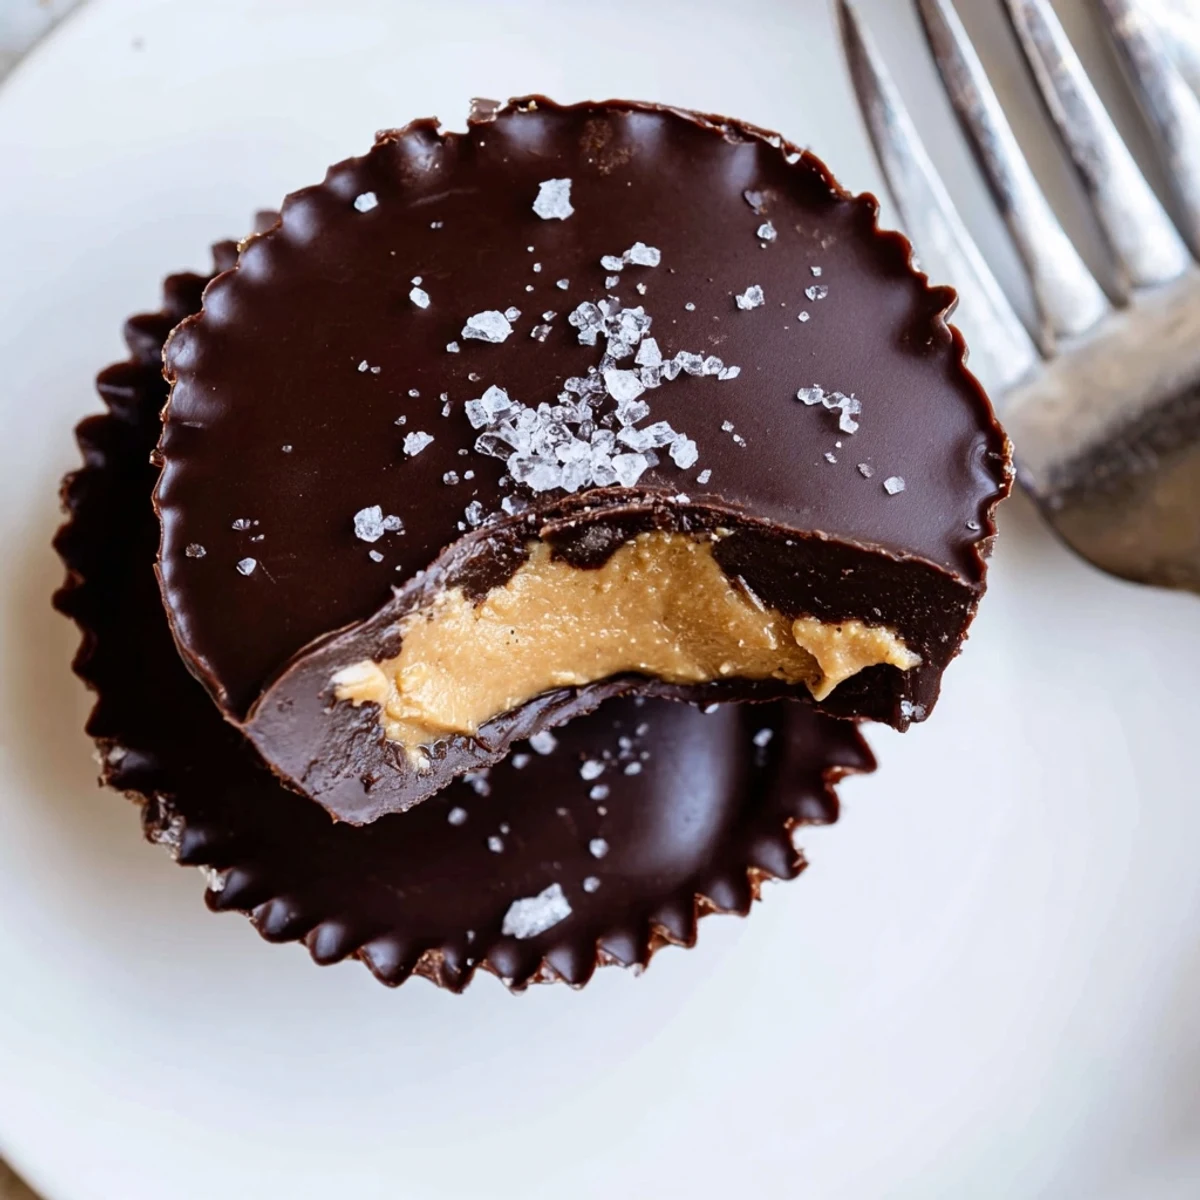
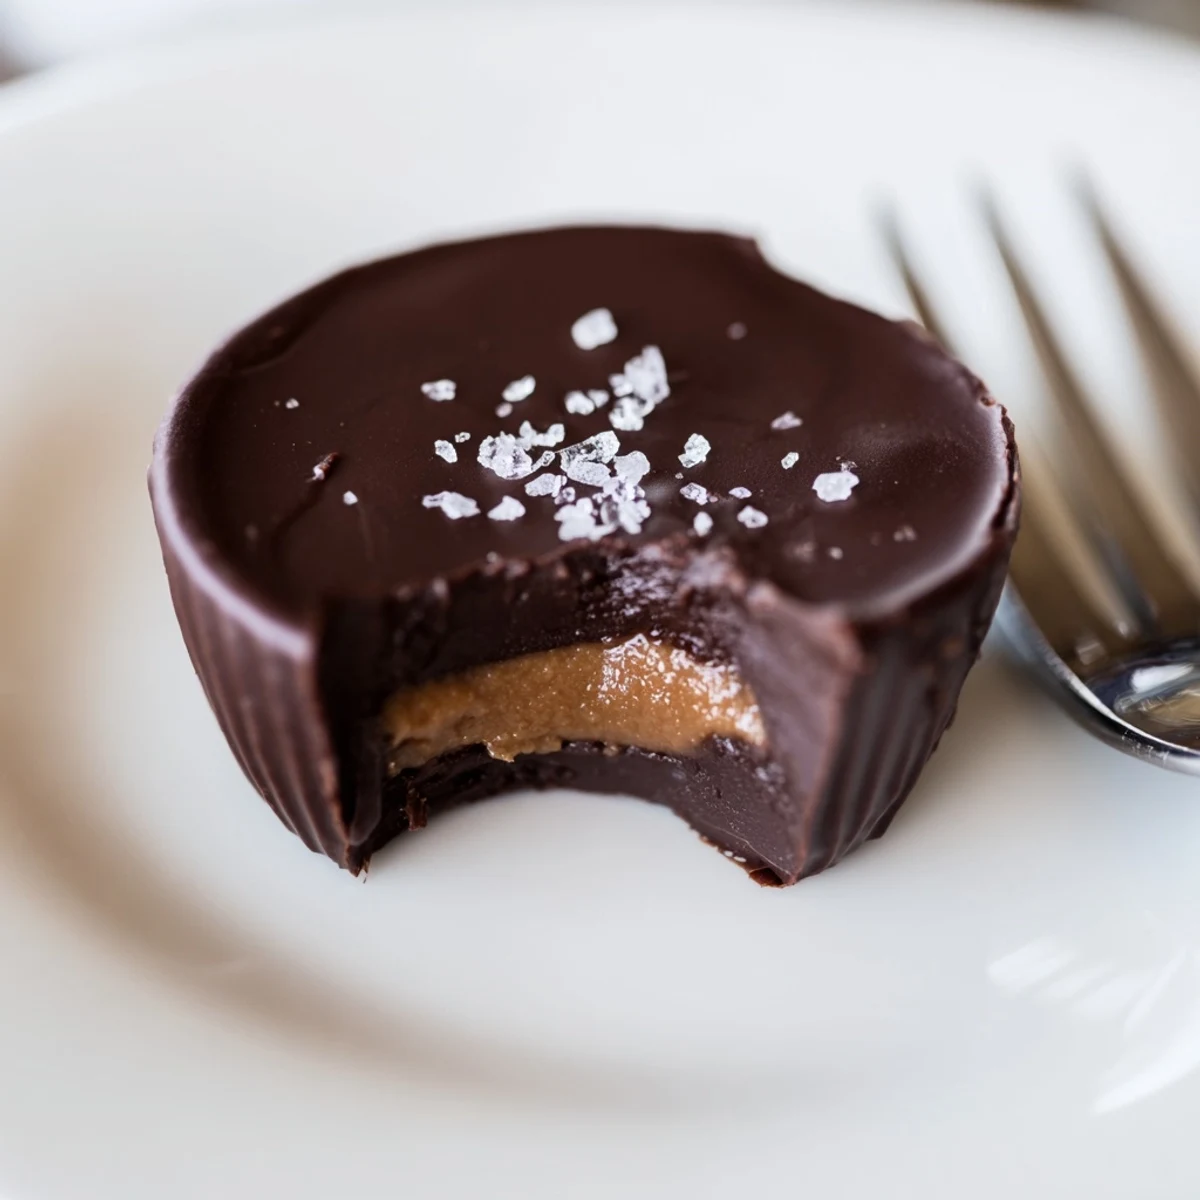
 Pin it
 This treat combines smooth chocolate layers with a creamy peanut butter filling, creating a delightful balance of flavors and textures. Easy to prepare, it only requires melting chocolate and mixing a sweetened peanut butter blend before chilling to set. Perfect for quick desserts or thoughtful homemade gifts, these cups offer customizable options like vegan versions or added crunchy textures for variety. Simply melt, layer, chill, and enjoy the satisfying contrast of rich chocolate and velvety peanut butter.
My roommate in college used to make these every Sunday night while we studied for finals. Something about that salty-sweet combination just made everything feel manageable. She taught me the trick of tapping the pan against the counter to get perfectly smooth tops. Now I can not make them without thinking of those late nights in our tiny apartment kitchen.
Last Christmas I made three batches and wrapped them in little foil boxes for everyone in my family. My dad called me two days later asking if I had forgotten to give him his share because they had mysteriously vanished from the fridge. Turns out my brother had discovered them at 2 AM and could not stop eating them. Now I have to make double batches just to ensure they actually make it to the gift stage.
Ingredients
- 225 g (8 oz) semi-sweet or dark chocolate, chopped: The quality really shows here so use something you would happily eat plain. Chocolate chips work fine but chopped bars melt more evenly.
- 1 tbsp coconut oil or unsalted butter: This tiny amount makes the chocolate set up perfectly smooth and gives it that gorgeous snap when you bite in.
- 120 g (½ cup) creamy peanut butter: Natural peanut butter works but the filling will be softer. Regular creamy gives you that classic Reese texture we all know and love.
- 30 g (¼ cup) powdered sugar: Do not try to swap this for regular sugar. The powdered sugar dissolves completely into the peanut butter without leaving any gritty texture.
- 20 g (2 tbsp) unsalted butter, softened: Room temperature butter mixes seamlessly into the peanut butter creating that perfect fudge-like consistency.
- ¼ tsp vanilla extract: Pure vanilla extract adds a lovely warmth that rounds out the sweetness. Skip the imitation stuff here.
- Pinch of salt: This is the secret ingredient that makes all the flavors pop. Fine sea salt dissolves best but whatever you have works.
Instructions
- Prepare your pan:
- Line a standard 12-cup muffin tin with paper liners. Do not skip this step or you will never get these out in one piece.
- Melt the chocolate:
- Combine chocolate and coconut oil in a heatproof bowl. Melt over a double boiler or in 30-second microwave bursts stirring until perfectly smooth. Do not overheat or the chocolate will seize and become grainy.
- Create the bottom layer:
- Spoon about 1 teaspoon of melted chocolate into each liner and tilt gently to coat the bottom. Freeze for 10 minutes until completely set. This quick freeze makes the next steps so much easier.
- Make the filling:
- Mix peanut butter powdered sugar softened butter vanilla and salt in a bowl until smooth and thick. The mixture should hold its shape when you scoop it.
- Form the peanut butter discs:
- Roll the peanut butter mixture into 12 small balls then flatten slightly into discs. Place one disc on top of each chocolate layer pressing gently to adhere.
- Seal with chocolate:
- Spoon remaining melted chocolate over the peanut butter discs covering them completely. Tap the tin gently against the counter to level the tops and release any air bubbles.
- Set completely:
- Refrigerate for 30 minutes or until fully set. They should feel firm to the touch and peel away from the liners easily.
 Pin it
 My daughter now requests these for every school party and her friends actually cheer when she brings them in. Watching kids get excited about something homemade instead of store-bought makes my heart happy. The best part is how proud she looks telling everyone she helped make them.
Getting The Chocolate Ratio Right
After making these dozens of times I have learned that the chocolate-to-peanut butter ratio is personal. Some people want a thick chocolate shell while others prefer more filling. Start with the recommended amounts then adjust in future batches to suit your taste. The bottom layer should be thin but substantial enough to hold the filling without breaking when you bite in.
Temperature Matters
Room temperature ingredients are crucial for the filling to come together smoothly. Cold butter will leave lumps in your peanut butter mixture and melted chocolate that is too hot will scorch. patience during the melting process pays off in the final texture. I have learned that rushing this step results in disappointing treats no matter how good the ingredients are.
Make Them Your Own
Once you master the basic technique the variations are endless. Different nut butters work beautifully and white chocolate makes an elegant version for special occasions. I have even added crushed pretzels to the filling for a salty crunch that people cannot stop talking about.
- Try adding a tiny pinch of cinnamon to the peanut butter filling for unexpected warmth
- A few drops of peppermint extract in the chocolate makes them taste like thin mint cookies
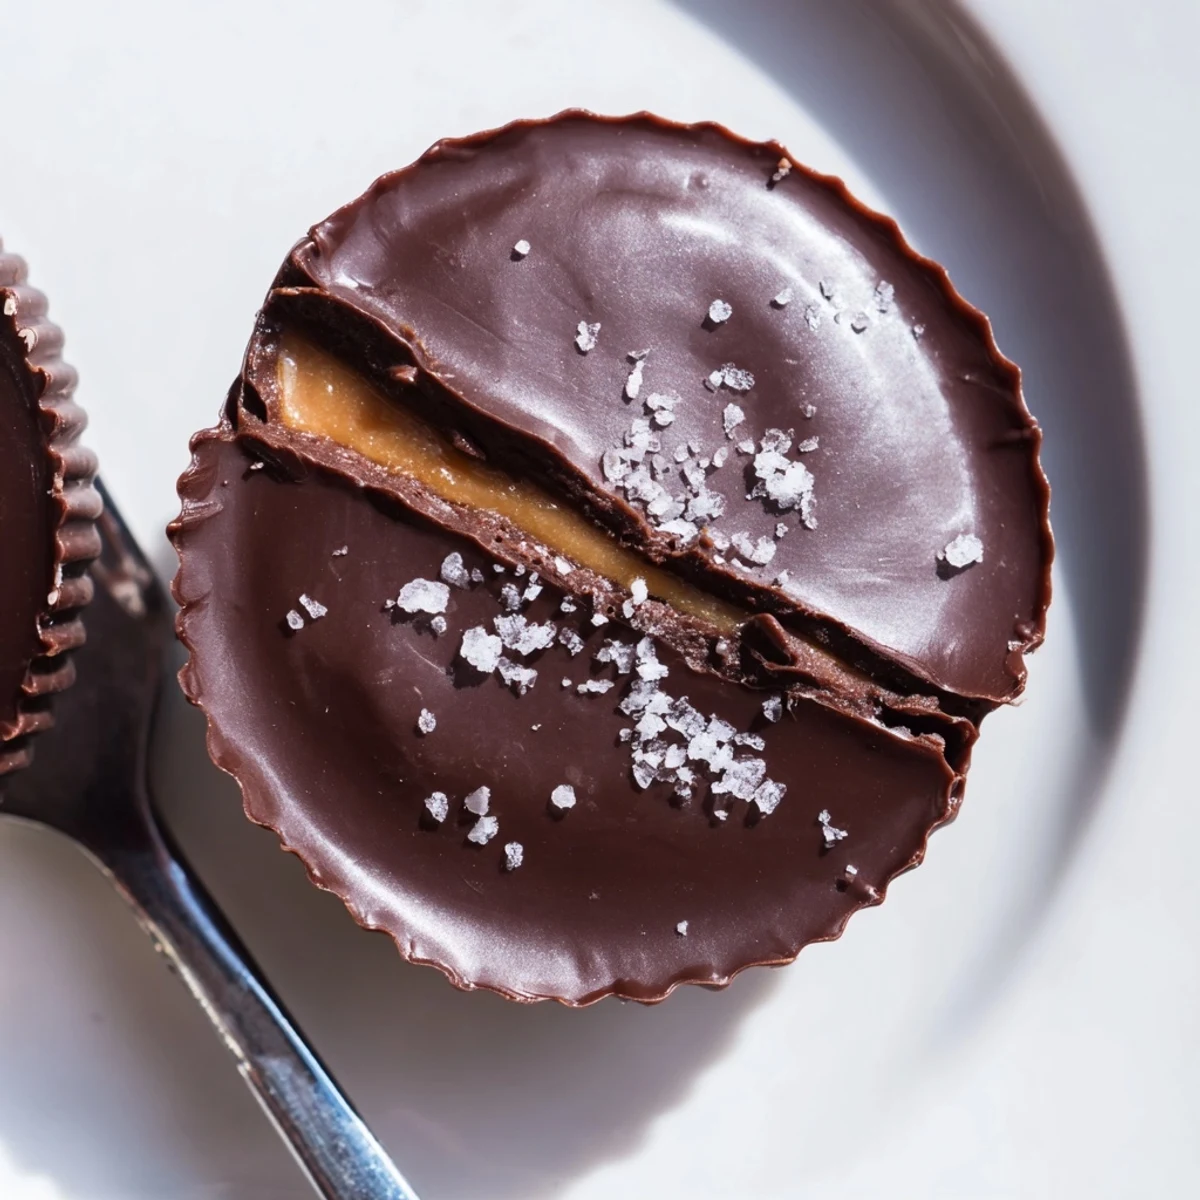
- Flaky sea salt on top before chilling transforms these into something seriously gourmet
 Pin it
 These little cups have become my go-to for everything from holiday gifts to late night cravings. Something about making them yourself just makes them taste better than anything you can buy.
Recipe Questions & Answers
- → What type of chocolate works best?
-
Semi-sweet or dark chocolate offers a rich, balanced flavor, but chocolate chips can be used for convenience.
- → Can I make these cups vegan?
-
Yes, by substituting dairy chocolate with dairy-free alternatives and using plant-based butter in the filling.
- → How do I prevent the chocolate from seizing while melting?
-
Melt chocolate gently over a double boiler or in short microwave bursts, stirring frequently to maintain smoothness.
- → Is it necessary to chill the cups before serving?
-
Chilling helps the layers set firmly for easy removal and enhances texture, though they can be served at room temperature.
- → Can I add texture to the filling?
-
Yes, using crunchy peanut butter instead of creamy will add a pleasant crunch to the filling.
