 Pin it
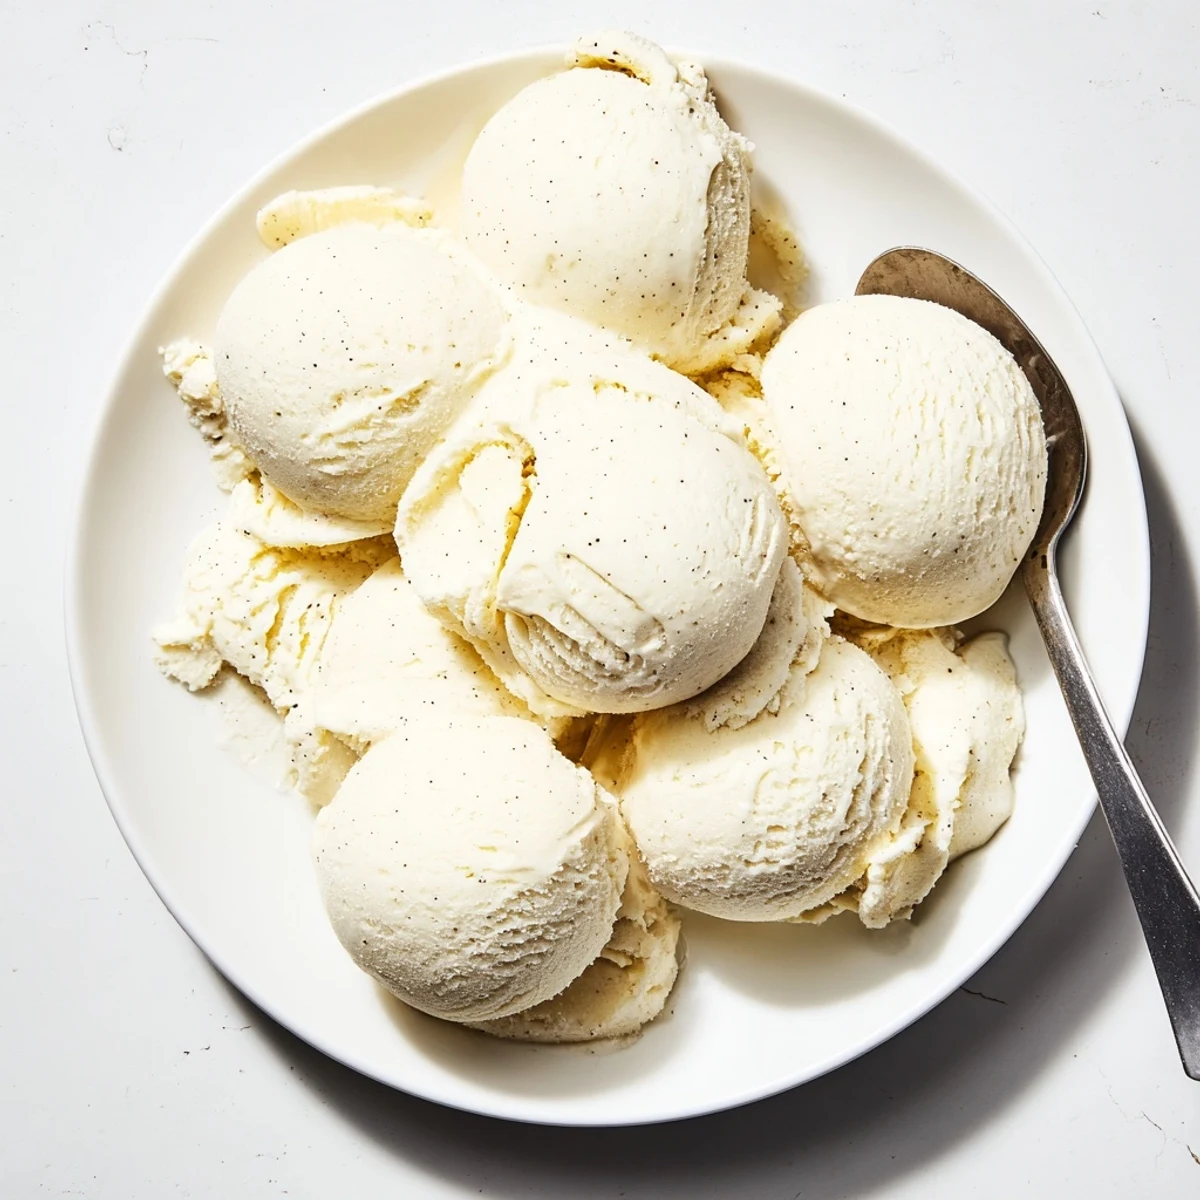
 Create your own rich and creamy vanilla ice cream at home with this classic custard-based method. The process involves infusing cream and milk with real vanilla bean seeds, then combining with egg yolks and sugar to create a smooth, luxurious base. After chilling the custard mixture, churn it in an ice cream maker until softly frozen, then firm up in the freezer for at least three hours. The result is an irresistibly smooth and creamy frozen dessert that beats anything store-bought. Customize with chocolate, fruit, nuts, or cookie pieces during the final churning minutes for endless variations.
The screen door would slam shut behind me every July afternoon, and my grandmother would already be at the stove, stirring something that smelled like warm vanilla hugs. Homemade ice cream was her answer to every sweltering day, and she never once touched a measuring cup, just poured and tasted and nodded to herself. I stood on a step stool watching the custard ripple and coat her wooden spoon, completely hypnotized by the transformation from simple pantry staples into something magical. That woman taught me more about patience in her kitchen than anyone ever has since.
My friend Marco nearly fell off his porch chair the evening I brought over a batch swirled with crushed graham crackers and salted caramel. He had always insisted he was strictly a sorbet person, claimed dairy based desserts sat too heavy in the heat. Three servings later he was asking if I could teach his daughter how to make it, and I realized this recipe does that to people.
Ingredients
- Heavy cream (500 ml): The fat content here is everything, so do not substitute with light cream or half and half if you want that luxurious mouthfeel.
- Whole milk (250 ml): Balances the richness of the cream and keeps the final texture scoopable rather than gummy.
- Granulated sugar (150 g): Dissolves into the custard during heating and also lowers the freezing point so your ice cream stays smooth.
- Vanilla bean (1 pod) or pure vanilla extract (2 tsp): A real vanilla bean gives you those tiny black specks and a perfume that extract cannot fully replicate, but a good quality extract works beautifully on a weeknight.
- Large egg yolks (4): These are your thickening agents, and they create the custard base that separates artisan style ice cream from the fluffy stuff.
Instructions
- Wake up the vanilla:
- Split the bean down the middle with a paring knife and scrape the seeds into a saucepan with the milk, cream, and the emptied pod. Warm everything over medium low heat until you see steam curling off the surface, then pull it off the burner and let it sit for 15 minutes so the vanilla really permeates the dairy.
- Build your custard foundation:
- Whisk the egg yolks and sugar together in a bowl until the mixture turns pale yellow and falls off the whisk in thick ribbons. This step is where air and sugar team up to give you a lighter final texture.
- Marry the two:
- Fish out the vanilla pod, then pour the warm cream in a slow stream over the yolks while whisking like you mean it. Rushing this step scrambles the eggs, so take your time and pour with confidence.
- Cook until it coats:
- Return everything to the saucepan over low heat and stir with a wooden spoon, never stopping, until the custard thickens enough to leave a clean line when you run your finger through it on the spoon back. Hit about 80 degrees Celsius and then immediately remove it from the heat.
- Strain and chill:
- Pour the custard through a fine sieve into a clean bowl to catch any cooked bits, then let it cool to room temperature before sliding it into the fridge for at least two hours. Thoroughly chilled base churns better and freezes with fewer ice crystals.
- Churn with purpose:
- Pour the cold custard into your ice cream maker and follow the manufacturer instructions until it reaches the consistency of soft serve. This usually takes 20 to 25 minutes depending on your machine.
- Freeze to finish:
- Transfer the softly frozen ice cream into a lidded container, press a piece of parchment against the surface to prevent ice crystals, and freeze for at least three hours until firm. Let it sit at room temperature for five minutes before scooping so it softens just enough.
 Pin it
 One August evening I set a bowl of this ice cream in front of my niece alongside a wedge of warm peach cobbler, and she went quiet for a full minute, which for a chatty seven year old says everything. She looked up with vanilla on her nose and declared it the best day of her entire life. Food does that sometimes, turns an ordinary Tuesday into a core memory without warning.
Flavors Worth Exploring
Melt 80 grams of dark chocolate into the hot custard right after straining for a deeply chocolaty version that rivals any gelato shop. During the last two minutes of churning you can toss in chopped toasted pistachios, crumbled cookies, or diced strawberries for texture and surprise. I once folded in a ribbon of blackberry jam and it streaked through the vanilla base like purple marble, beautiful and tart.
Serving and Pairing Ideas
This ice cream loves contrast, so think warm cobblers, crunchy waffle cones, or a drizzle of olive oil and flaky salt if you want to sound fancy at a dinner party. Fresh berries and a sprig of mint make it feel effortless and bright. A shot of espresso poured over a scoop turns dessert into an impromptu affogato that will have everyone asking for the recipe.
Storage and Leftover Advice
Homemade ice cream is best within the first week because it lacks the stabilizers that keep commercial brands creamy for months. Pressing parchment paper directly against the surface before lidding makes a noticeable difference in preventing that gritty freezer burn layer.
- Let the container sit on the counter for five minutes before scooping rather than microwaving.
- If it becomes too firm after extended freezing, pulse it briefly in a food processor to restore smoothness.
- Never refreeze melted ice cream because the texture will turn icy and grainy beyond repair.
 Pin it
 Every batch is a small act of care, from the gentle stirring to the patient waiting, and the people you share it with will taste that effort immediately. Scoop generously and serve without fuss.
Recipe Questions & Answers
- → Why do I need to chill the custard before churning?
-
Chilling the custard for at least 2 hours allows the flavors to fully develop and ensures the mixture is cold enough for proper freezing. Warm custard won't freeze correctly in your ice cream maker, resulting in a grainy or icy texture rather than the smooth, creamy consistency you're aiming for.
- → Can I make this without an ice cream maker?
-
Yes, though the texture will be slightly different. Pour the chilled custard into a shallow freezer-safe container and freeze for 45 minutes. Remove and stir vigorously with a fork to break up ice crystals. Repeat this process every 30-45 minutes for about 3-4 hours until frozen but creamy. The result will still be delicious, though possibly less smooth than maker-churned.
- → Why did my custard curdle during cooking?
-
Curdling occurs when the mixture gets too hot or boils. Keep the heat low and stir constantly with a wooden spoon. The target temperature is around 80°C (175°F) - just hot enough to thicken the custard so it coats the back of the spoon. If you see small curds forming, immediately remove from heat and whisk vigorously, then strain through a fine sieve.
- → How long can I store this in the freezer?
-
Properly stored in an airtight container, your homemade ice cream will maintain its best quality for about 1-2 weeks. After that, it may start to develop ice crystals or lose some of its creamy texture. For the freshest taste and smoothest consistency, enjoy within the first week of freezing.
- → What's the purpose of straining the custard?
-
Straining through a fine sieve removes any bits of cooked egg that may have formed during heating, ensuring an exceptionally smooth final texture. It also catches any vanilla pod pieces if you forgot to remove them earlier. This extra step takes just seconds but makes a noticeable difference in the silky quality of your finished treat.
- → Can I substitute vanilla extract for the vanilla bean?
-
Absolutely. Use 2 teaspoons of pure vanilla extract instead of the whole bean. Add it after removing the cream mixture from the heat, during the infusion step. While vanilla bean provides those elegant black speckles and a slightly more complex flavor, high-quality extract delivers wonderful vanilla flavor and is much more budget-friendly.
