 Pin it
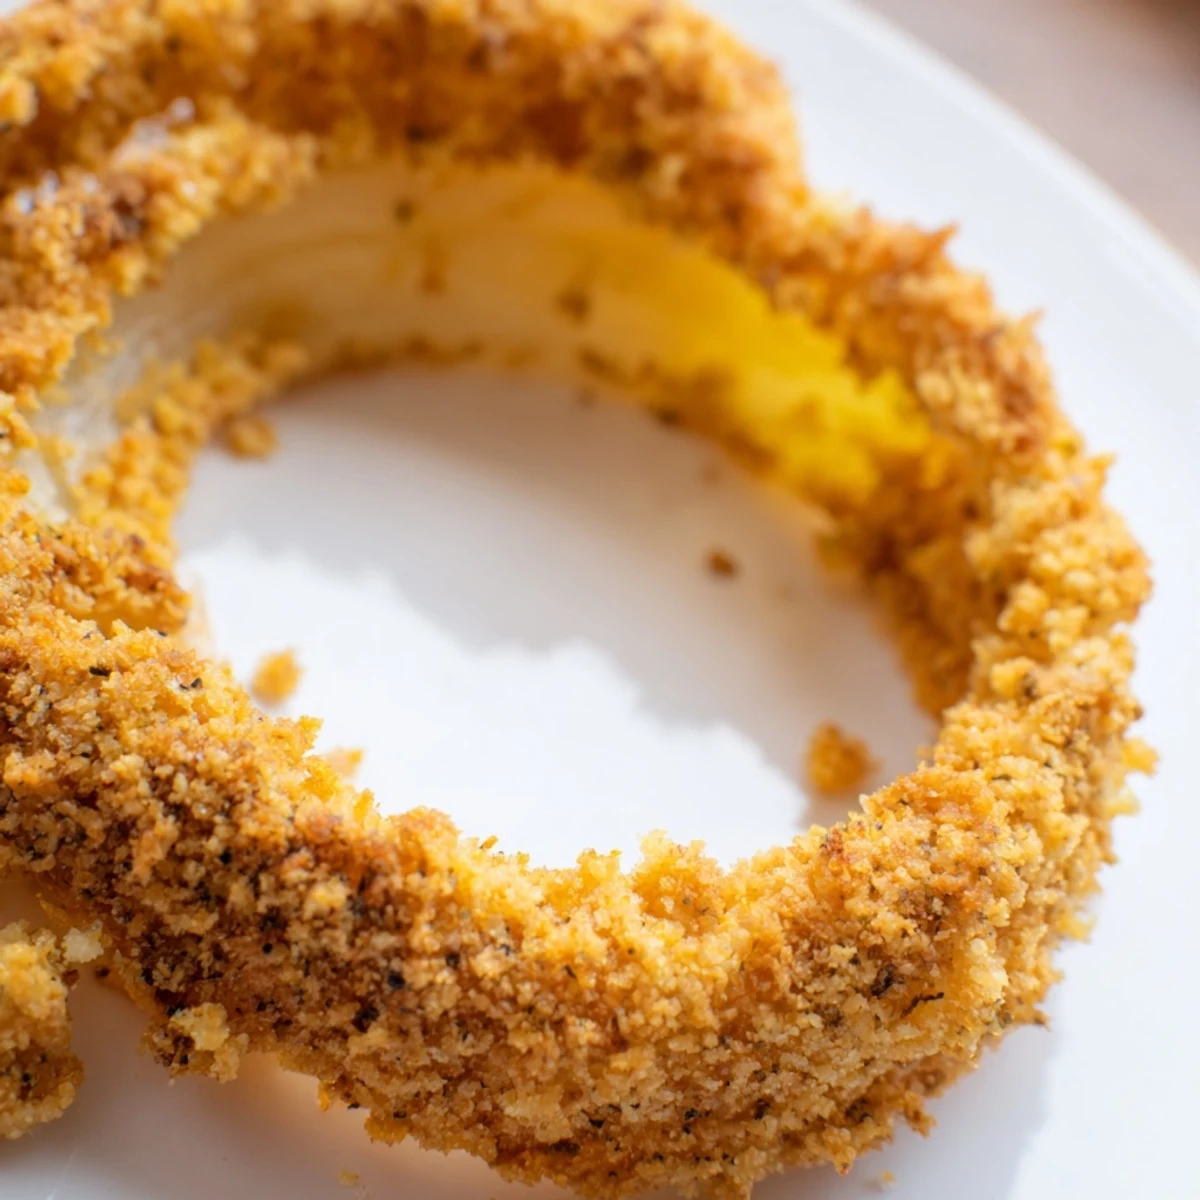
 These golden onion rings offer the satisfying crunch of fried versions without the grease. Coated in a savory blend of panko breadcrumbs and Parmesan, they bake until perfectly crisp in just 20 minutes. Ideal for serving alongside burgers or as a standalone appetizer with your favorite dipping sauces.
My kitchen smelled like a county fair when I first attempted baked onion rings—that particular blend of crispy coating and caramelized onion sweetness that somehow tastes like childhood and weekends all at once. I was tired of fighting the splatter and smell of deep-fried versions, so I started experimenting with the oven, wondering if I could capture that same golden crunch without the mess. The answer came on a Tuesday evening when a perfectly simple triple-dip breading system revealed itself, and suddenly I was standing there holding something that actually tasted like the real thing.
I made these for my sister's game night last month, and watching her bite into one with zero hesitation—no "oh, baked, so probably disappointing" face—told me everything. Three guests came back for seconds, and one asked if I'd deep-fried them because the crunch was so thorough and honest. That's when I knew the technique was solid enough to share.
Ingredients
- Large yellow onions (2): Use fresh, firm ones with no soft spots; they'll slice cleaner and cook more evenly. Sweet varieties like Vidalia work beautifully if you can find them.
- All-purpose flour (1 cup): This is your first adhesion layer and helps the egg mixture grip properly.
- Large eggs (2): They're your binding agent, so don't skip or substitute with egg whites.
- Buttermilk (1 cup): The acidity helps the coating adhere and adds subtle tanginess; regular milk works in a pinch, but buttermilk makes a real difference.
- Panko breadcrumbs (2 cups): Panko gives you those distinctive crispy air pockets that regular breadcrumbs can't match.
- Grated Parmesan cheese (½ cup): Freshly grated is infinitely better than pre-shredded; the difference is noticeable once you taste it.
- Smoked paprika (1 teaspoon): This adds warmth and depth without overpowering the onion flavor.
- Garlic powder, onion powder (½ teaspoon each): These amplify savory notes in the coating.
- Salt and black pepper (½ teaspoon salt, ¼ teaspoon pepper): Taste as you go; remember the Parmesan adds salt too.
- Cooking spray or olive oil spray: A light coat prevents sticking and helps brown the rings evenly.
Instructions
- Set your oven and prepare the stage:
- Heat your oven to 220°C (425°F) and line two baking sheets with parchment paper. A quick spray of cooking spray on the parchment makes flipping less stressful later.
- Slice and separate your onions:
- Peel your onions, then cut them into ½-inch rings—steady your knife hand and go slow so the rings stay intact. Discard those tiny inner rings; they're too fragile and cook too fast.
- Assemble your breading station:
- Three shallow bowls make this tactile and foolproof. Whisk together flour, salt, pepper, garlic powder, onion powder, and smoked paprika in bowl one. Beat eggs with buttermilk in bowl two until they're completely combined. Mix panko and Parmesan in bowl three, breaking up any clumps so the cheese distributes evenly.
- Coat each ring with intention:
- Take one onion ring, dip it in the flour mixture so all edges are covered, shake off the excess (you want coating, not a flour blanket), then submerge it in the egg mixture. Let the excess drip off for a second, then dredge it through the panko-Parmesan blend, pressing gently so the coating adheres without compacting.
- Arrange and spray:
- Place each coated ring on your prepared baking sheets in a single layer—they shouldn't touch. A light, even spray of cooking spray on top helps the coating crisp and brown.
- Bake with attention:
- Bake for 10 minutes until they start turning golden, then flip each ring carefully using tongs. Return them to the oven for another 8 to 10 minutes until the coating is deep golden and crispy all over.
- Serve while they're still warm:
- Pull them from the oven, let them cool for just a minute so your mouth doesn't regret it, and serve with your favorite dipping sauce.
 Pin it
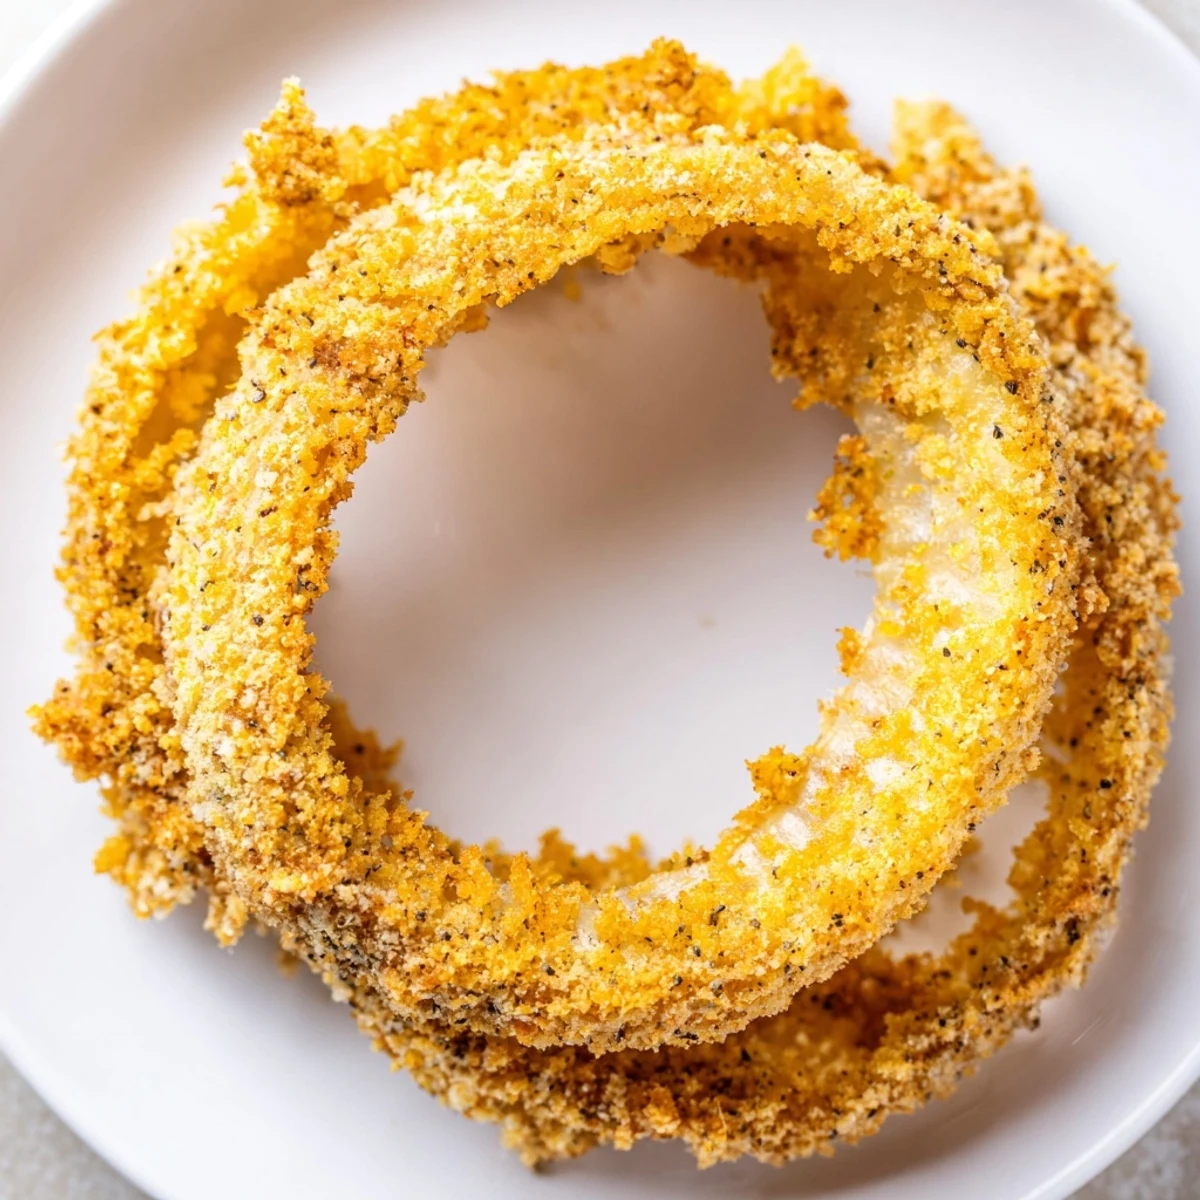
 I learned these lessons by making mistakes—soggy rings, pale rings, rings that fell apart mid-flip—and each failure taught me something. Now, when a friend pulls these from the oven and their face lights up at that genuine crunch, I remember why I bothered to figure it out in the first place.
The Secret to Crispy Baked Rings
The magic isn't in some exotic ingredient or complex technique; it's in respecting the three-step breading method and giving the oven enough heat to do its job. The flour-egg-panko progression is ancient kitchen wisdom, and it works because each layer has a specific purpose. Your oven running at a true 425°F matters too—an oven that runs cool will give you pale, chewy rings instead of the crispy exterior you're after.
Dipping Sauces That Matter
Crispy baked onion rings deserve a dipping sauce that pulls its weight, not something forgotten in the back of the fridge. A spicy mayo made from good quality mayo, sriracha, and a squeeze of lime transforms these from a snack into something you'll crave. Ranch works if that's your preference, but I've found that mixing it with a pinch of smoked paprika and hot sauce elevates it from expected to memorable.
Storage and Reheating Tips
These are best served fresh and warm, but life happens and leftovers occur—store them in an airtight container in the fridge for up to three days. To bring them back to life, reheat them in a 180°C (350°F) oven for about 5 minutes rather than the microwave, which will turn the coating soggy and sad. If you want to make them ahead, you can coat them, freeze them on the baking sheet uncovered, then transfer to a freezer bag and bake directly from frozen—just add a few extra minutes to the cooking time.
- Coat and freeze unbaked rings for up to two months if meal prep calls your name.
- Never microwave leftovers; the oven is your friend here.
- A quick refresh in a hot oven reminds them why they're crispy in the first place.
 Pin it
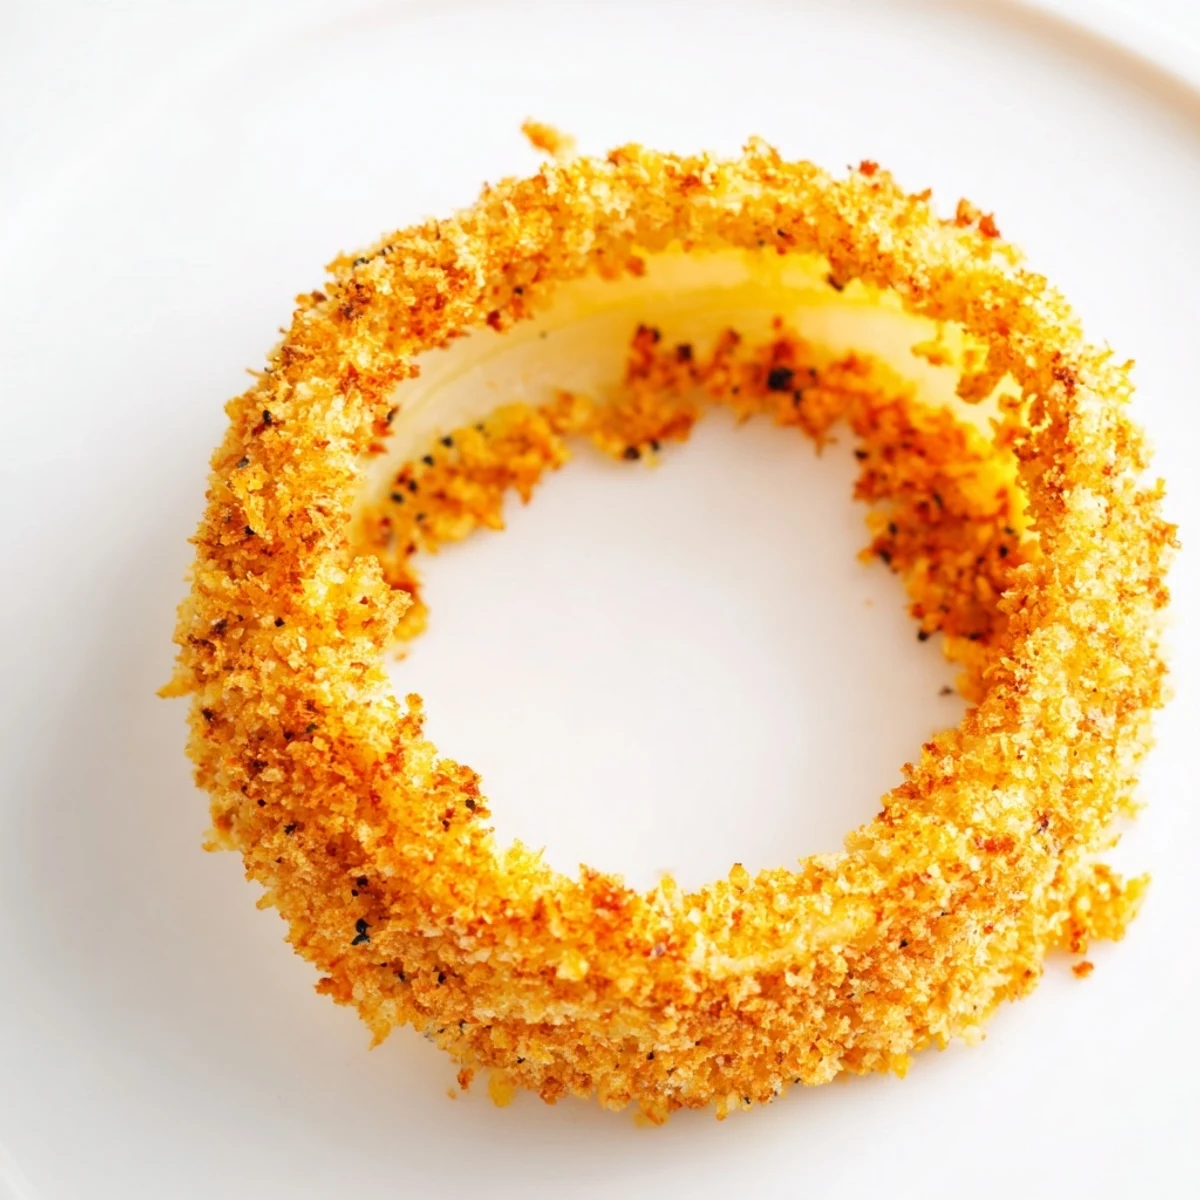
 These onion rings are proof that sometimes the best dishes are the ones that satisfy a craving without asking you to sacrifice your kitchen or your health to the oil gods. Make them once, and you'll understand why they deserve a permanent spot in your cooking rotation.
Recipe Questions & Answers
- → Can I air fry these rings?
-
Yes, air fry at 200°C (400°F) for 8-10 minutes, shaking halfway, until golden and crispy.
- → How do I store leftovers?
-
Place cooled rings in an airtight container and refrigerate for up to 3 days. Reheat in the oven to restore crispiness.
- → Can I make them gluten-free?
-
Substitute the all-purpose flour and panko breadcrumbs with certified gluten-free alternatives to suit dietary needs.
- → What onions work best?
-
Large yellow onions are ideal due to their balance of sweetness and sharpness, though sweet onions work well too.
- → Why use buttermilk?
-
Buttermilk adds a subtle tang and its acidity helps tenderize the onion while ensuring the flour coating sticks effectively.
