 Pin it
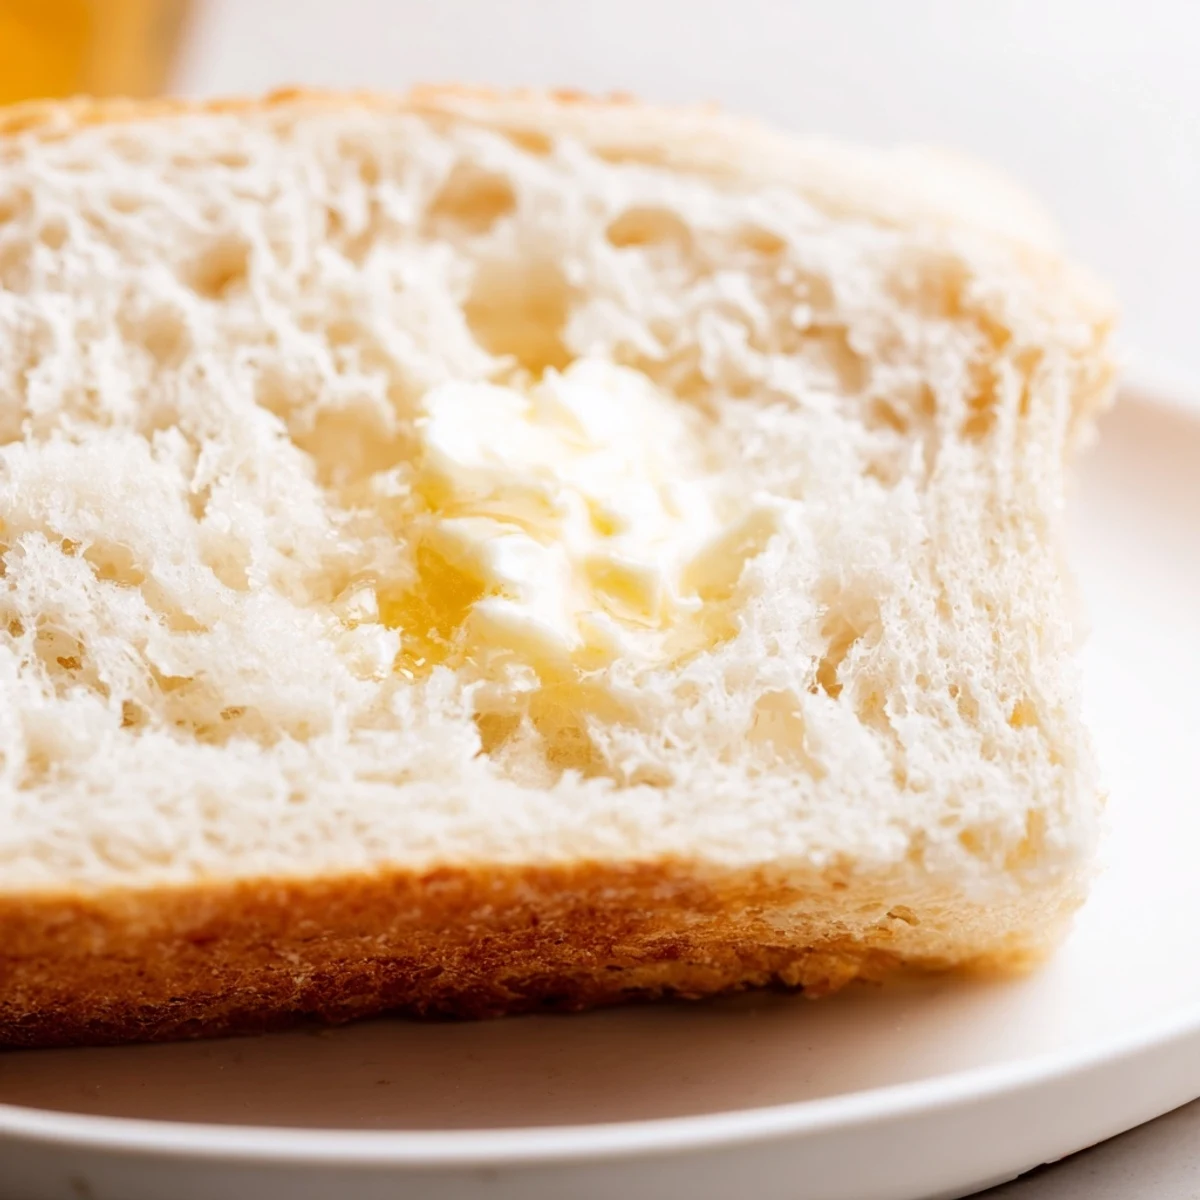
 Create two beautiful golden loaves with this straightforward method that yields perfectly soft interiors and lightly crusty exteriors. The dough requires just 20 minutes of active preparation before rising, making this an achievable project for bakers of any skill level.
The generous amount of sugar creates that characteristic subtle sweetness while ensuring a tender crumb that stays fresh for days. Perfect for school lunches, weekend breakfast toast, or as the foundation for your next French toast creation.
The smell of yeast blooming in warm water still takes me back to my grandmother's tiny kitchen, where steam would fog up the windows during winter bread baking sessions. I remember standing on a step stool, watching her transform simple ingredients into something that felt like magic. Now whenever I bake this Amish white bread, I'm transported back to those quiet moments when patience yielded the most incredible rewards.
Last summer, my neighbor Sarah texted me at 7 AM asking if I could teach her to make bread before her kids woke up. We stood in my kitchen in our pajamas, flour dusting our shirts, while I walked her through kneading dough for the first time. When she pulled her loaves out of the oven three hours later, she actually cried—they looked just like the ones from her childhood bakery.
Ingredients
- Warm water (about 43°C/110°F): This temperature activates the yeast without killing it—test it on your wrist like baby formula
- Granulated sugar: Feeds the yeast and adds just enough sweetness to make this bread special
- Active dry yeast: Make sure it's fresh and give it time to get foamy before proceeding
- Salt: Essential for flavor and controlling yeast growth
- Vegetable oil or melted butter: Keeps the bread tender and extends its shelf life
- All-purpose flour (5 1/2 – 6 cups): Start with less and add gradually until the dough feels right
- Melted butter for topping: Creates that irresistible soft crust on freshly baked loaves
Instructions
- Wake up the yeast:
- Dissolve the sugar in warm water, sprinkle yeast on top, and watch it bubble to life for 5–10 minutes.
- Build the dough:
- Stir in salt and oil, then gradually add flour until the dough pulls away from the bowl.
- Knead with love:
- Work the dough on a floured surface for 6–8 minutes until it's smooth and bounces back when pressed.
- First rise:
- Place dough in a greased bowl, cover, and let it double in size—about an hour in a warm spot.
- Shape and second rise:
- Punch down gently, divide in half, form loaves, and let them rise 1 inch above the pan rims.
- Bake to golden perfection:
- Bake at 350°F for 25–30 minutes until loaves sound hollow when tapped.
- Finish with butter:
- Brush warm loaves with melted butter for a softer crust, then cool before slicing.
 Pin it
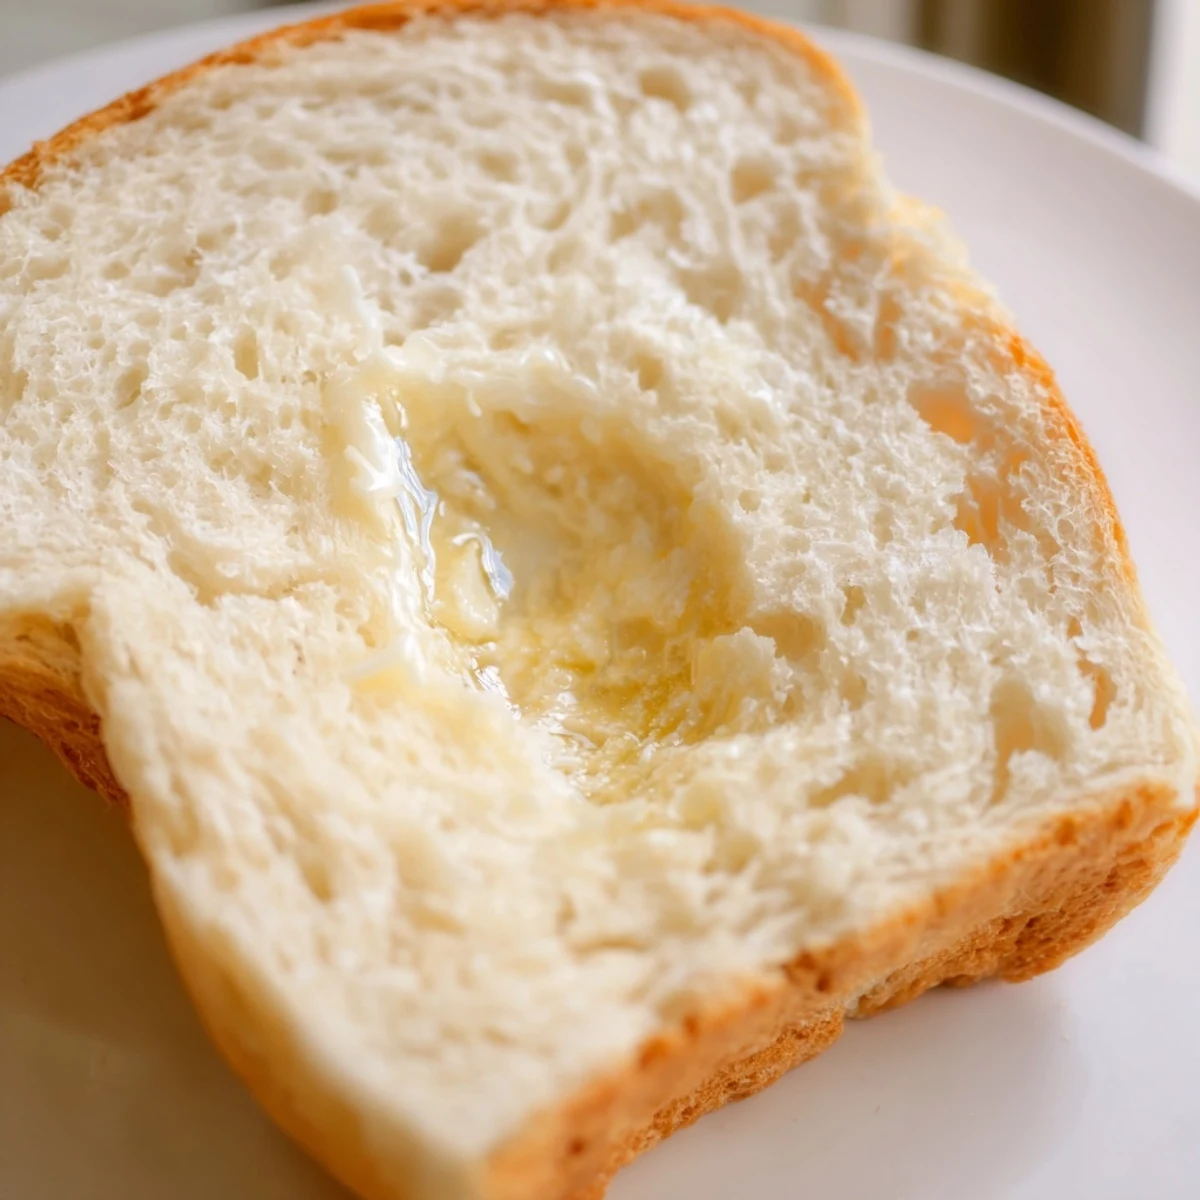
 During a particularly stressful week at work, I started baking bread every Sunday as a form of meditation. The rhythm of kneading became something I genuinely craved, and my coworkers started asking what was in my lunchbox every Monday morning. It became my therapy wrapped in flour and water.
Getting the Perfect Rise
I've learned that a warm, draft-free spot is crucial for dough to rise properly. In winter, I preheat my oven for exactly one minute, turn it off, and let the dough rise inside—its like creating a little cozy cocoon for your bread to grow.
Shaping Your Loaves
The secret to bakery-looking loaves is tucking the dough under itself as you shape it. I used to just plop the dough in the pan, but rolling it tight like a burrito creates those beautiful smooth tops you see in professional bread windows.
Storage and Freezing Tips
This bread freezes beautifully, which means I always keep a loaf tucked away for emergencies. Slice it before freezing so you can grab just what you need without thawing the whole thing.
- Wrap cooled loaves tightly in plastic wrap, then foil before freezing
- Thaw overnight on the counter for the best texture
- Revive slightly stale slices by toasting them—they'll taste freshly baked
 Pin it
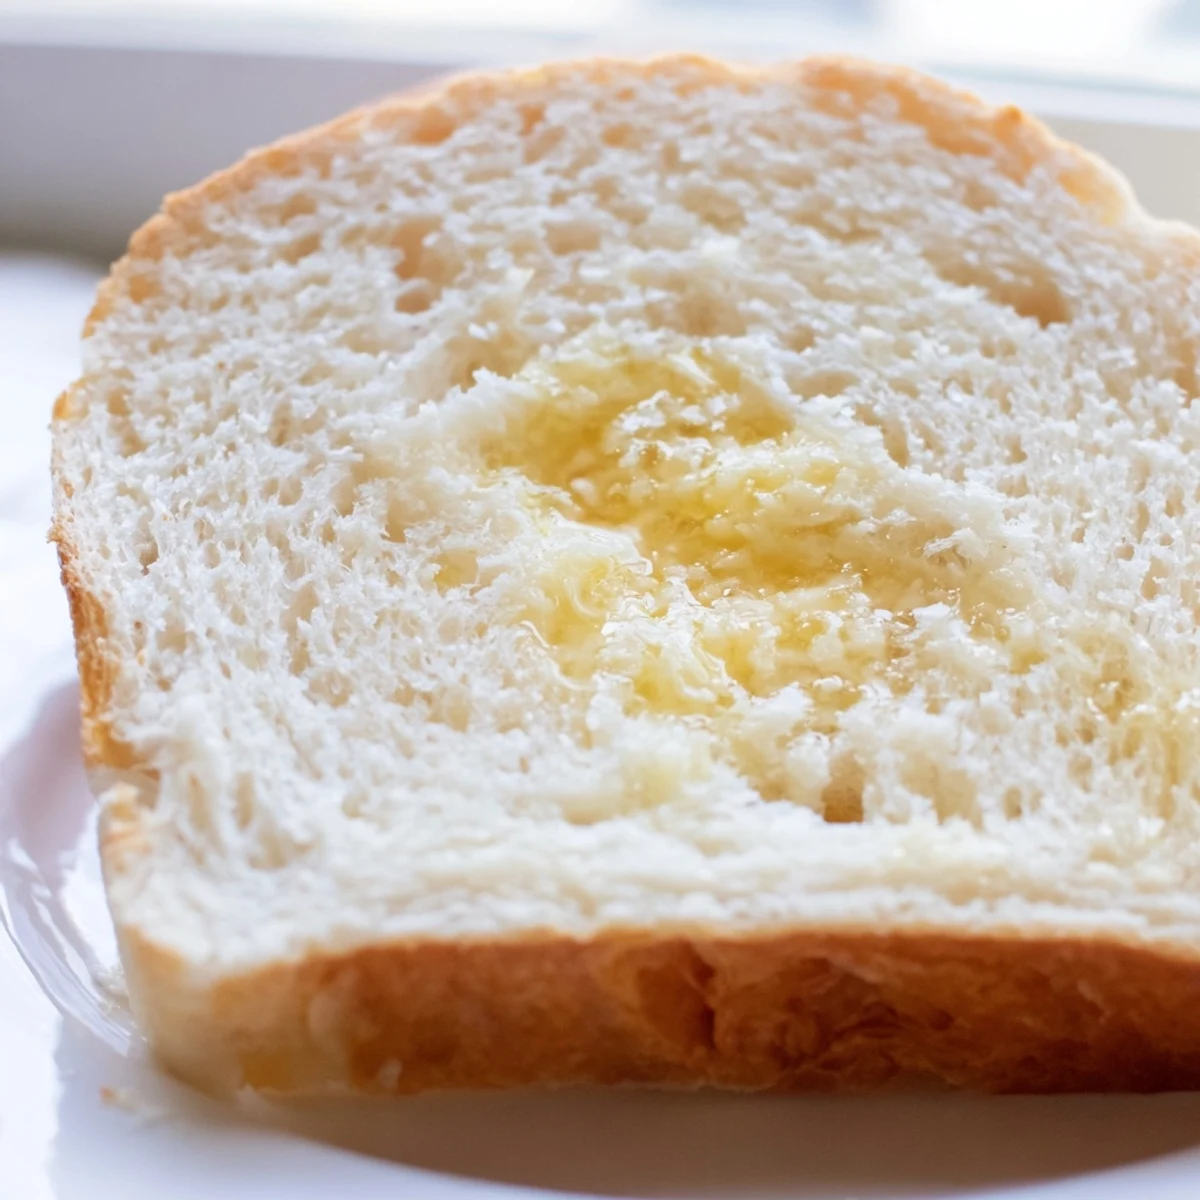
 There's something profoundly satisfying about making your own bread—like you're connecting with generations of home bakers who understood that the best things in life take just a little time and patience. Happy baking, friend.
Recipe Questions & Answers
- → Why is my bread too dense?
-
Dense bread usually results from not kneading enough or under-proofing. Ensure you knead for the full 6-8 minutes to develop gluten, and let the dough double in size during both rising periods.
- → Can I use whole wheat flour?
-
You can substitute up to half the all-purpose flour with whole wheat, though the loaf will be denser and slightly less fluffy. Add extra water since whole wheat absorbs more liquid.
- → How do I know when the bread is done baking?
-
The loaves should be golden brown and sound hollow when tapped on the bottom. An instant thermometer inserted into the center should read 190-200°F.
- → Why did my yeast not foam?
-
The water was likely too hot (over 110°F) which kills yeast, or too cold (below 100°F) which slows activation. Always check temperature with a thermometer for best results.
- → Can I make this in a stand mixer?
-
Absolutely. Use the dough hook and mix on low speed for 2-3 minutes until combined, then knead on medium-low for 5-6 minutes until smooth and elastic.
