 Pin it
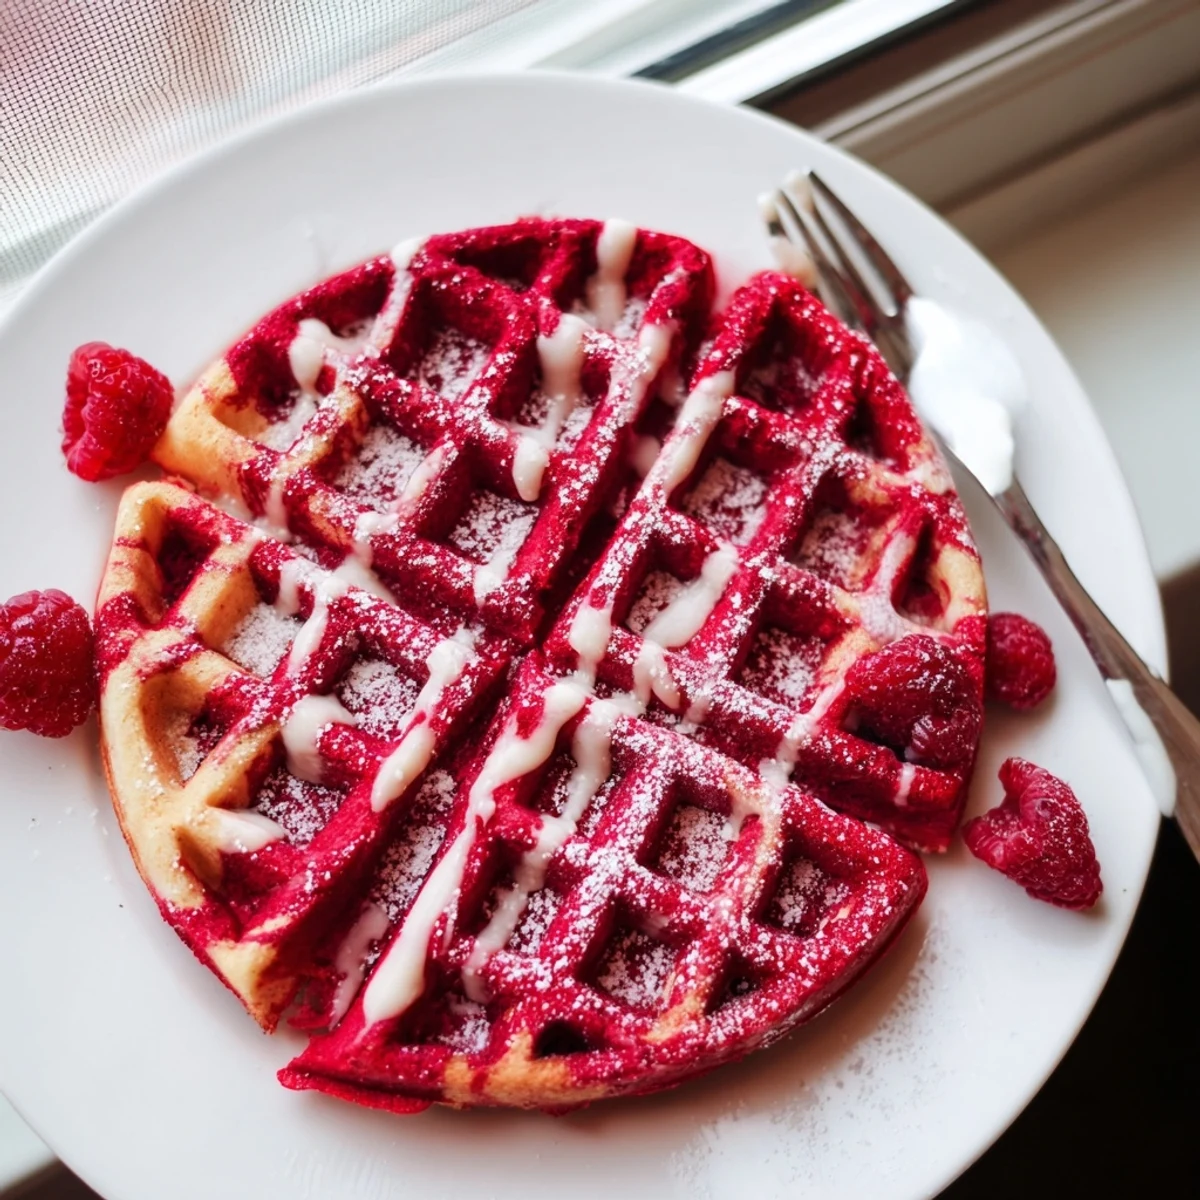
 These striking waffles combine the rich, chocolatey notes of red velvet with classic vanilla batter, swirled together for a stunning marbled appearance. The crisp exterior and tender interior make them ideal for leisurely weekend brunches or special morning occasions.
The buttermilk base ensures extra fluffy texture while the cocoa-red velvet portion provides that distinctive tangy sweetness. Ready in just 30 minutes, they're perfect for impressing guests or treating yourself to something extraordinary.
The first time I made red velvet waffles was actually a happy accident. I was planning to make regular chocolate waffles for a Saturday brunch with friends, but my daughter spotted the red food coloring in the pantry and begged me to make something fun. Those marbled patterns that emerged from the waffle iron made everyone at the table lean in closer, forks suspended midair, just admiring how something so simple could look so striking.
Last Valentine morning I made these for my husband, and he actually took a photo before digging in. The red and white swirls felt festive without being overly cheesy, and the smell that filled the kitchen was this perfect blend of chocolate chip cookies and birthday cake. He still requests them whenever we need a little celebrating.
Ingredients
- 2 cups all-purpose flour: The foundation that gives these waffles their structure and crisp exterior
- 2 tbsp granulated sugar: Just enough to enhance sweetness without making them dessert-like
- 2 tsp baking powder: Ensures the waffles rise tall and stay light inside
- 1/2 tsp baking soda: Works with buttermilk to create that classic red velvet tang
- 1/4 tsp salt: Balances the sweetness and lets cocoa shine through
- 1 3/4 cups buttermilk, room temperature: The secret to tender waffles and that signature subtle tang
- 2 large eggs: Provides structure and helps bind the batter together
- 4 tbsp unsalted butter, melted and slightly cooled: Adds richness and helps edges crisp beautifully
- 1 tsp vanilla extract: Amplifies the vanilla portion of the marble
- 2 tbsp unsweetened cocoa powder: Deepens the red velvet color and adds chocolate notes
- 1 tbsp red food coloring: Creates that vibrant crimson swirl that makes these waffles showstoppers
Instructions
- Whisk the dry foundation:
- In a large bowl, combine flour, sugar, baking powder, baking soda, and salt until evenly distributed
- Blend the wet mixture:
- In a separate bowl, whisk buttermilk, eggs, melted butter, and vanilla until smooth and slightly thickened
- Combine the batters:
- Gently fold wet ingredients into dry ingredients until just combined, leaving some small lumps for tender waffles
- Create the marble effect:
- Divide batter evenly between two bowls, then stir cocoa powder and red food coloring into one bowl until vibrant and smooth
- Heat your waffle iron:
- Preheat according to manufacturer instructions and lightly grease with oil or nonstick spray
- Swirl the magic:
- Drop alternating spoonfuls of red and vanilla batters onto the hot iron, then use a chopstick to gently swirl together once or twice
- Cook to golden perfection:
- Close lid and cook 3 to 5 minutes until waffles are crisp on the outside and set completely
- Serve immediately:
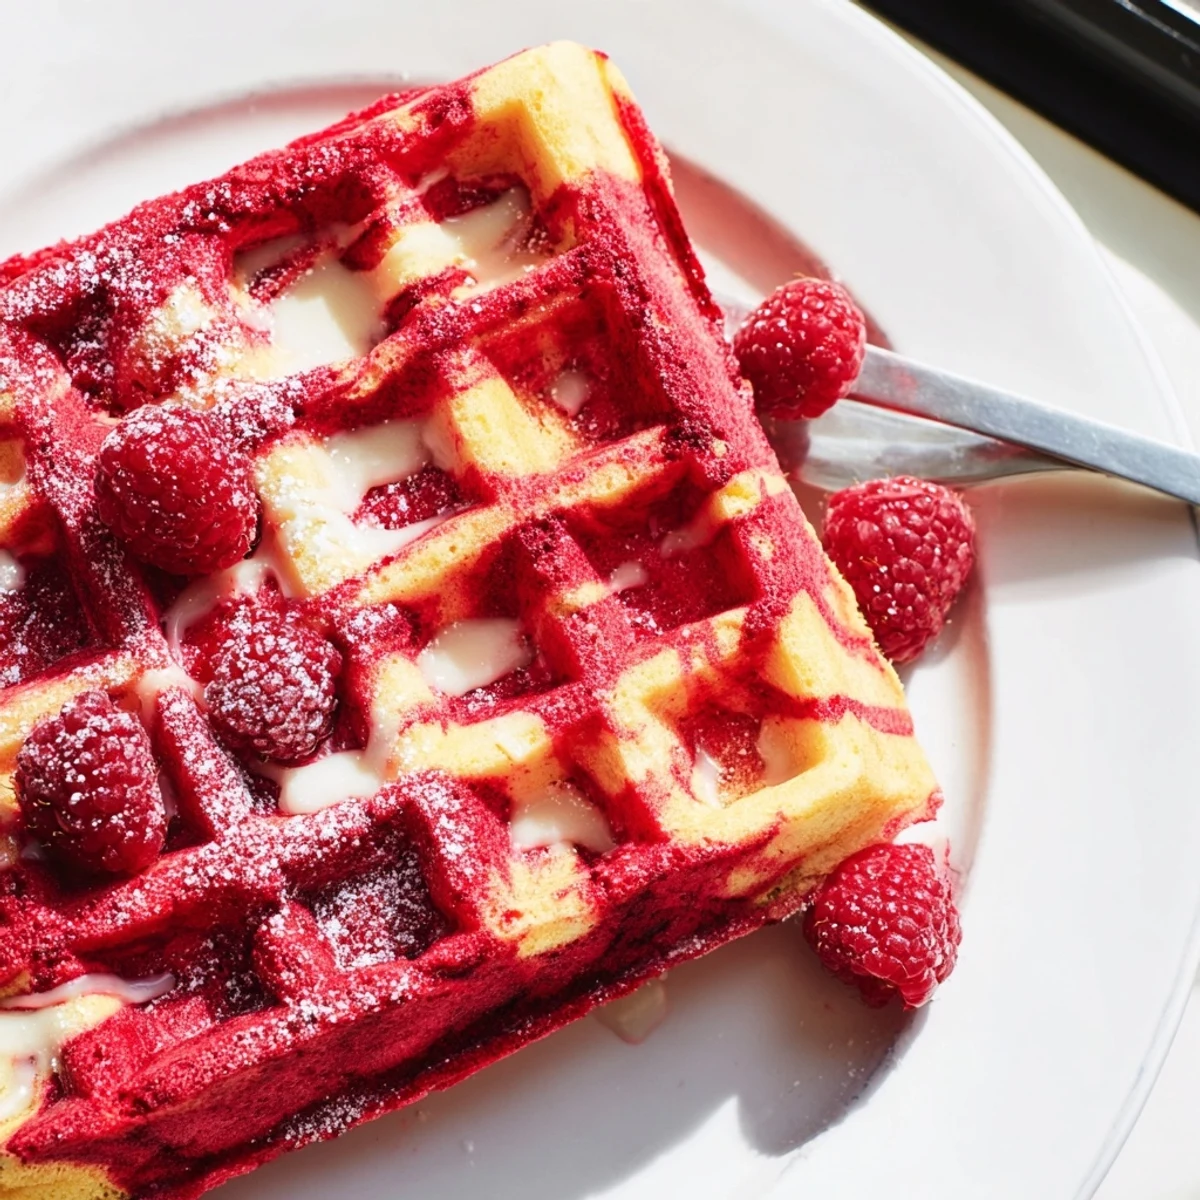
- Plate warm with cream cheese glaze, maple syrup, or fresh berries for that finishing touch
 Pin it
 My neighbor texted me the next day after she smelled butter and chocolate wafting through our open kitchen window. She came over with a carton of strawberries, and we sat on the back porch eating warm waffles with coffee while kids played in the yard. Some recipes feed you, but these feed something else too.
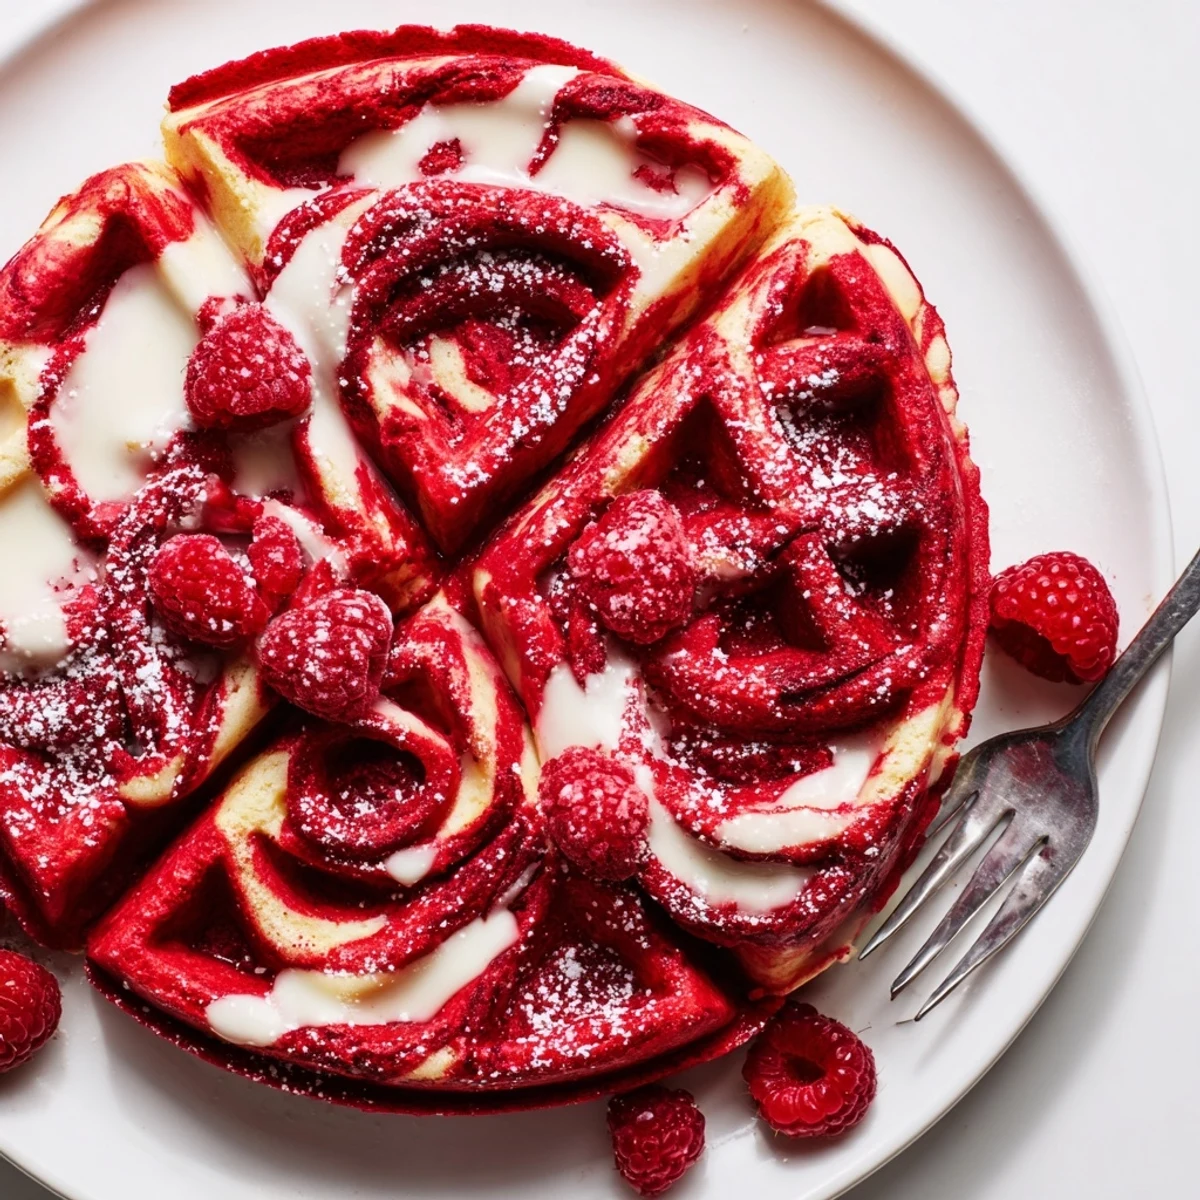
Getting the Perfect Swirl
The trick to those defined marble lines is not overdoing it when you swirl. One or two figure eights with your chopstick is plenty. I learned the hard way that enthusiastic swirling creates muddy pink waffles instead of that stunning contrast.
Keeping Them Crispy
If you are making these for a crowd, place cooked waffles in a single layer on a baking rack in a 200 degree oven. This keeps them crisp instead of soggy, which happens when you stack them on plates.
Making Them Your Own
Sometimes I swap the red coloring for blue on July 4th, or green for St. Patrick Day brunch. The technique stays the same, but the festive twist changes everything.
- Add chocolate chips to the red velvet portion for extra indulgence
- Mix a tablespoon of cream cheese into the vanilla batter for creaminess
- Top with powdered sugar through a sieve for a diner style finish
 Pin it
 There is something about cutting into a waffle and seeing those ruby ribbons winding through golden vanilla that feels like opening a small present. These are worth every bit of the extra effort.
Recipe Questions & Answers
- → What makes these waffles marbled?
-
The marbled effect comes from layering spoonfuls of red velvet batter alongside plain vanilla batter in the waffle iron, then gently swirling them together with a knife or chopstick before cooking.
- → Can I make the batter ahead of time?
-
Yes, prepare both batters and store them separately in the refrigerator for up to 24 hours. The batter may thicken slightly—add a splash of buttermilk to reach the proper consistency before cooking.
- → What toppings work best with red velvet waffles?
-
Cream cheese glaze complements the tangy red velvet flavors perfectly. Fresh berries, whipped cream, maple syrup, or a dusting of powdered sugar also make excellent toppings.
- → How do I store leftover waffles?
-
Cool completely, then freeze in a single layer before transferring to a freezer-safe bag. Reheat in a toaster or oven at 350°F for 5-7 minutes to restore crispness.
- → Can I use natural food coloring?
-
Beet juice or pomegranate juice can replace artificial red food coloring, though the color may be more subtle. Start with 1 tablespoon and adjust until you reach the desired hue.
- → What if I don't have buttermilk?
-
Greek yogurt thinned with a little milk works as a substitute. Alternatively, regular milk mixed with 1 tablespoon of lemon juice or vinegar per cup, left to sit for 5 minutes, creates a homemade buttermilk alternative.
